Adding/Modifying Categories on the TechPOS Shopping Cart

Modify the main categories on your e-commerce platform to enhance the shopping experience for your customers.

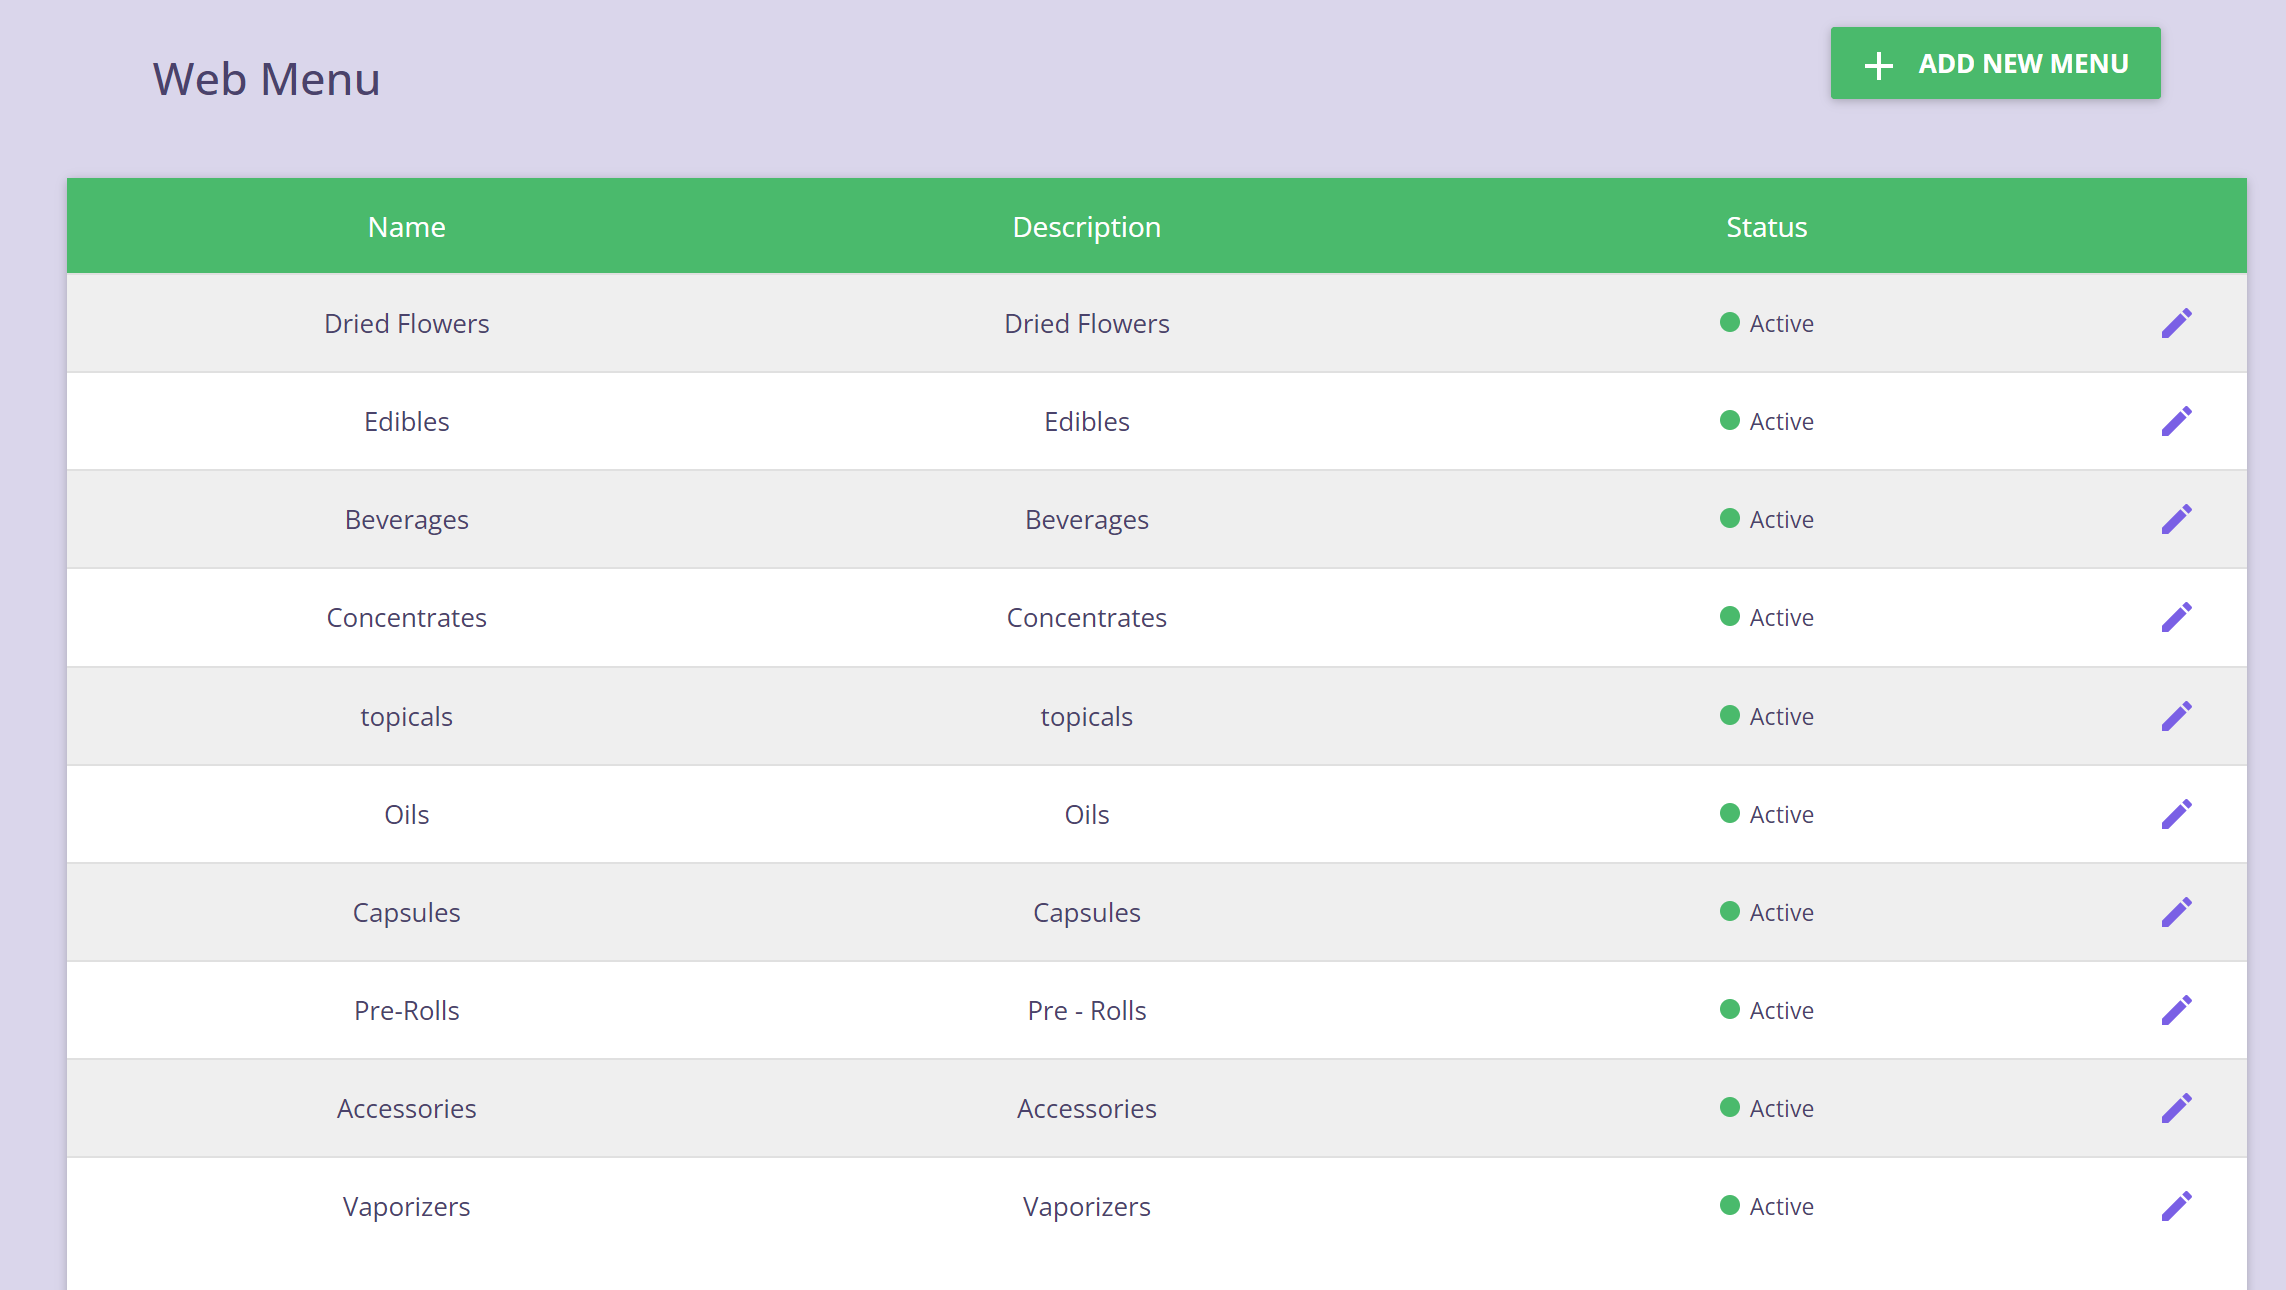
These categories are displayed in this section of the Shopping Cart:

Step 1: On the TechPOS Core, go to Menu > Web Menu > Menu (Categories List).

Step 2: Click on Add New Menu if you are adding a new category or click on the pencil button to edit existing categories.

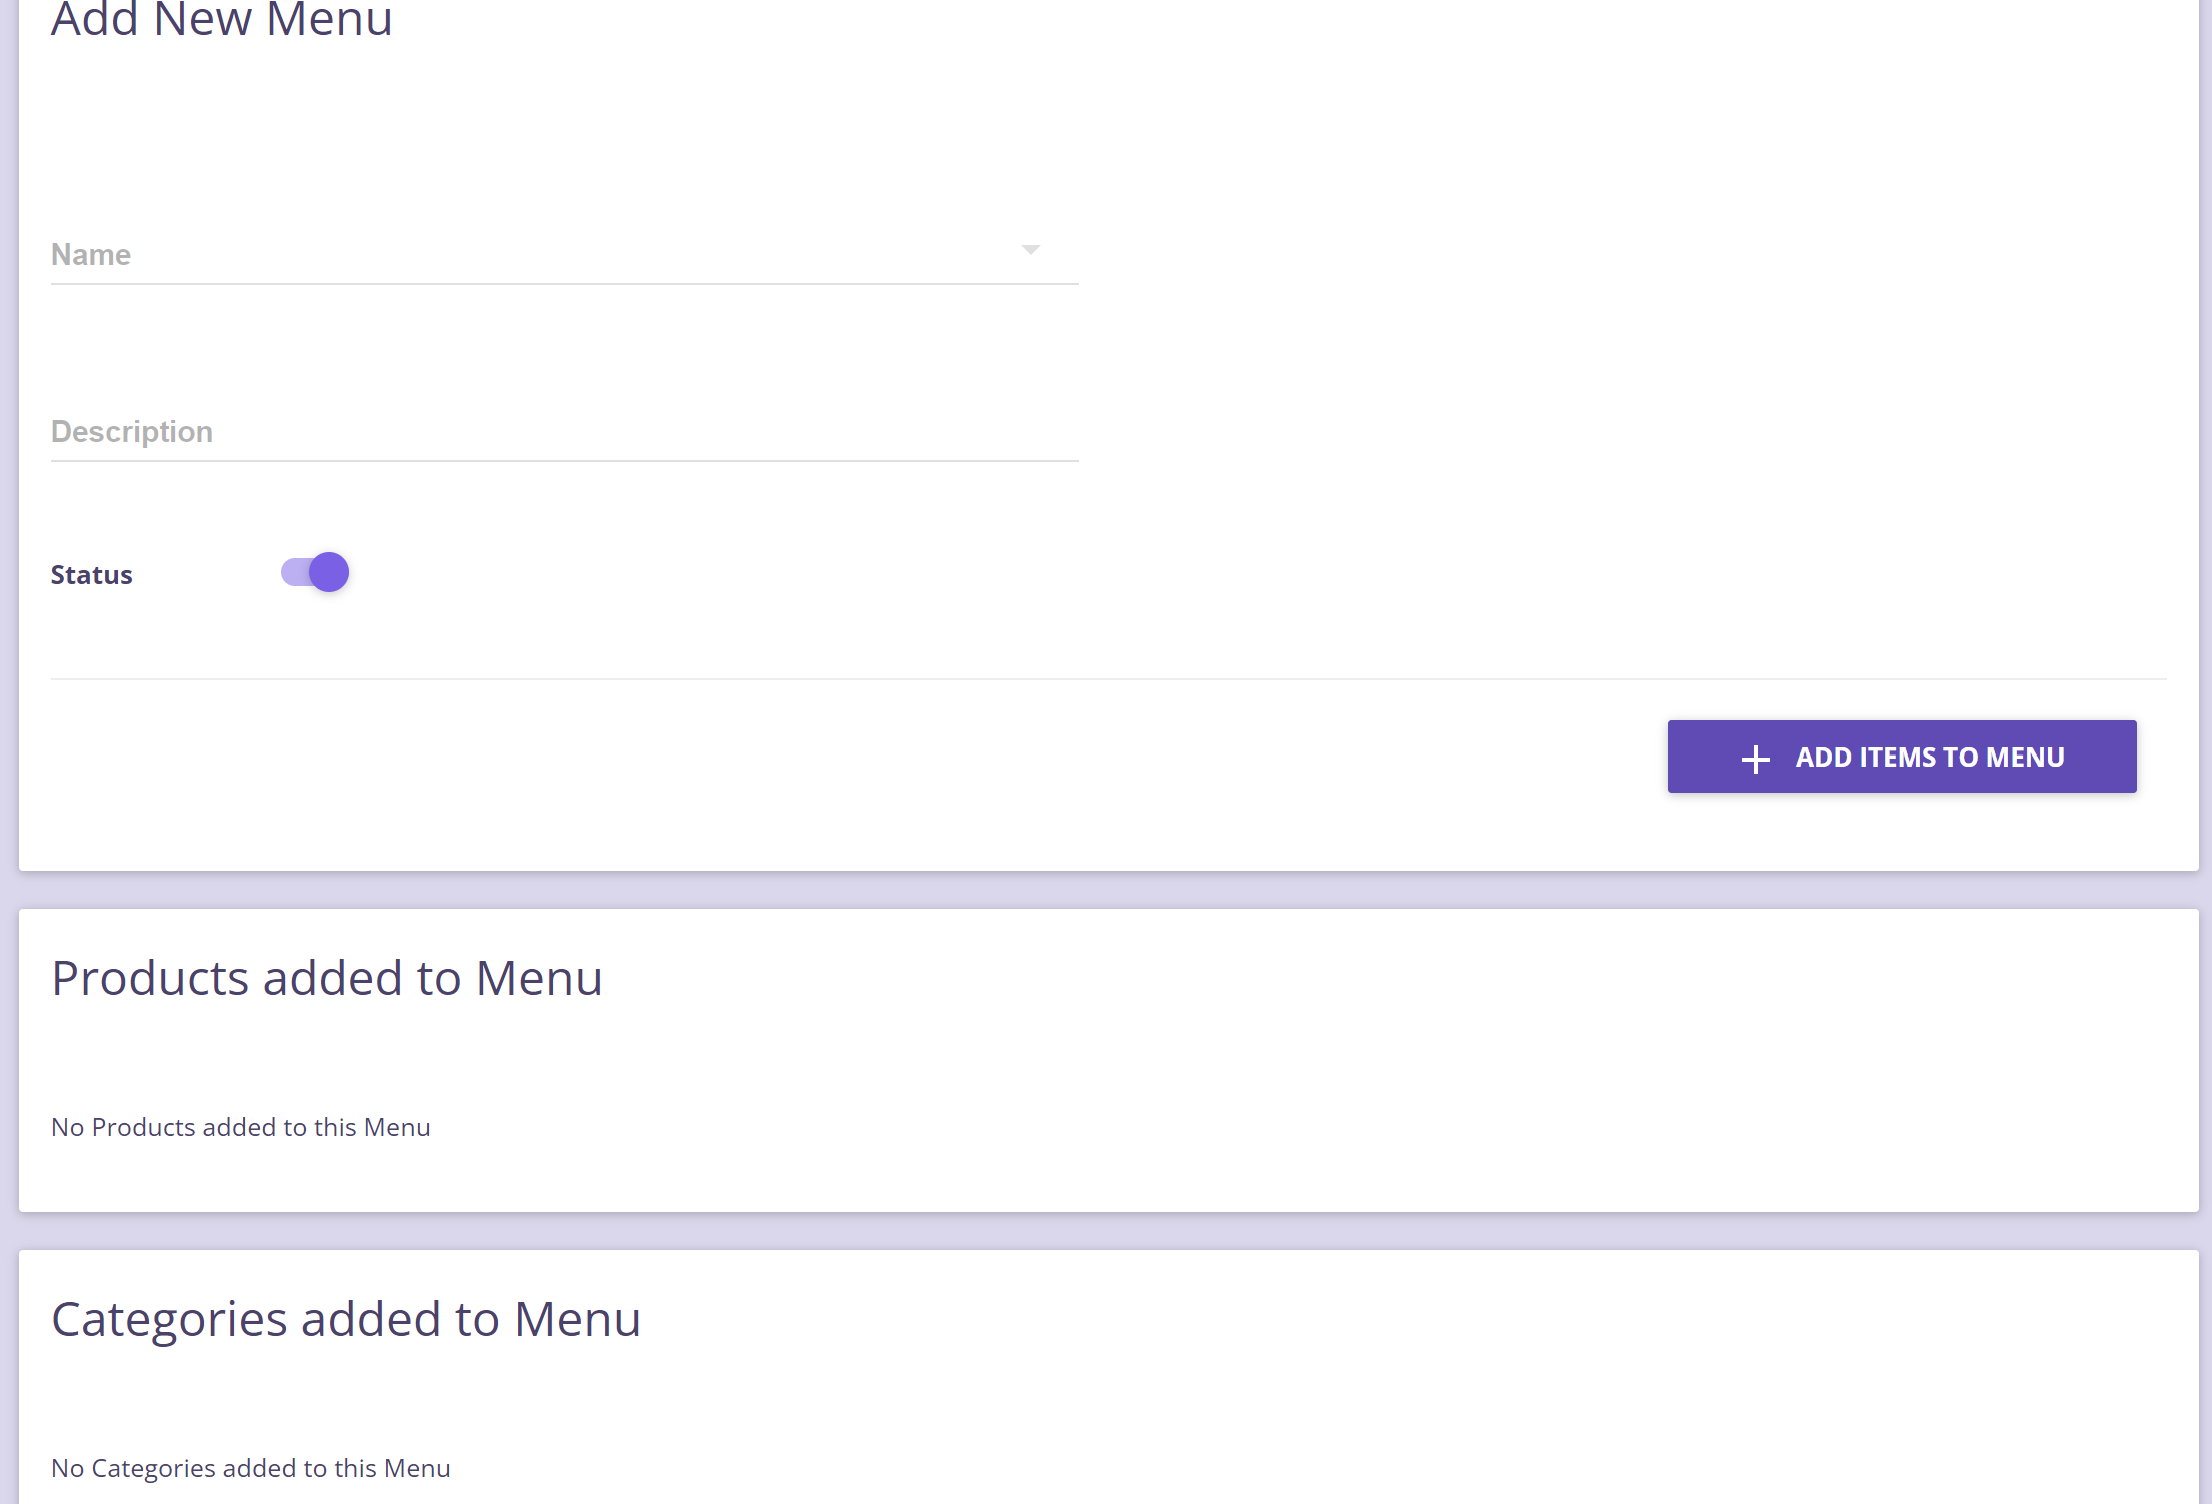
Step 3: Fill out the Menu information
 
    1. Name – this is the category name that will be displayed on the web menu.
    2. Description – add any description for the category.
    3. Status – this should be active.
    4. Display on Menu Page? – should be active if you would like to show it on the website, inactivate it if you would like to hide it.

Step 4: Add items by Categories

Step 5: Add by Product – if you do not like to add the entire category but only choose few specific products, you can go with this option. This option is usually used if you have special promotions that you would like to add under one category.

Click on Save, the category should now be added on the Web Menu.