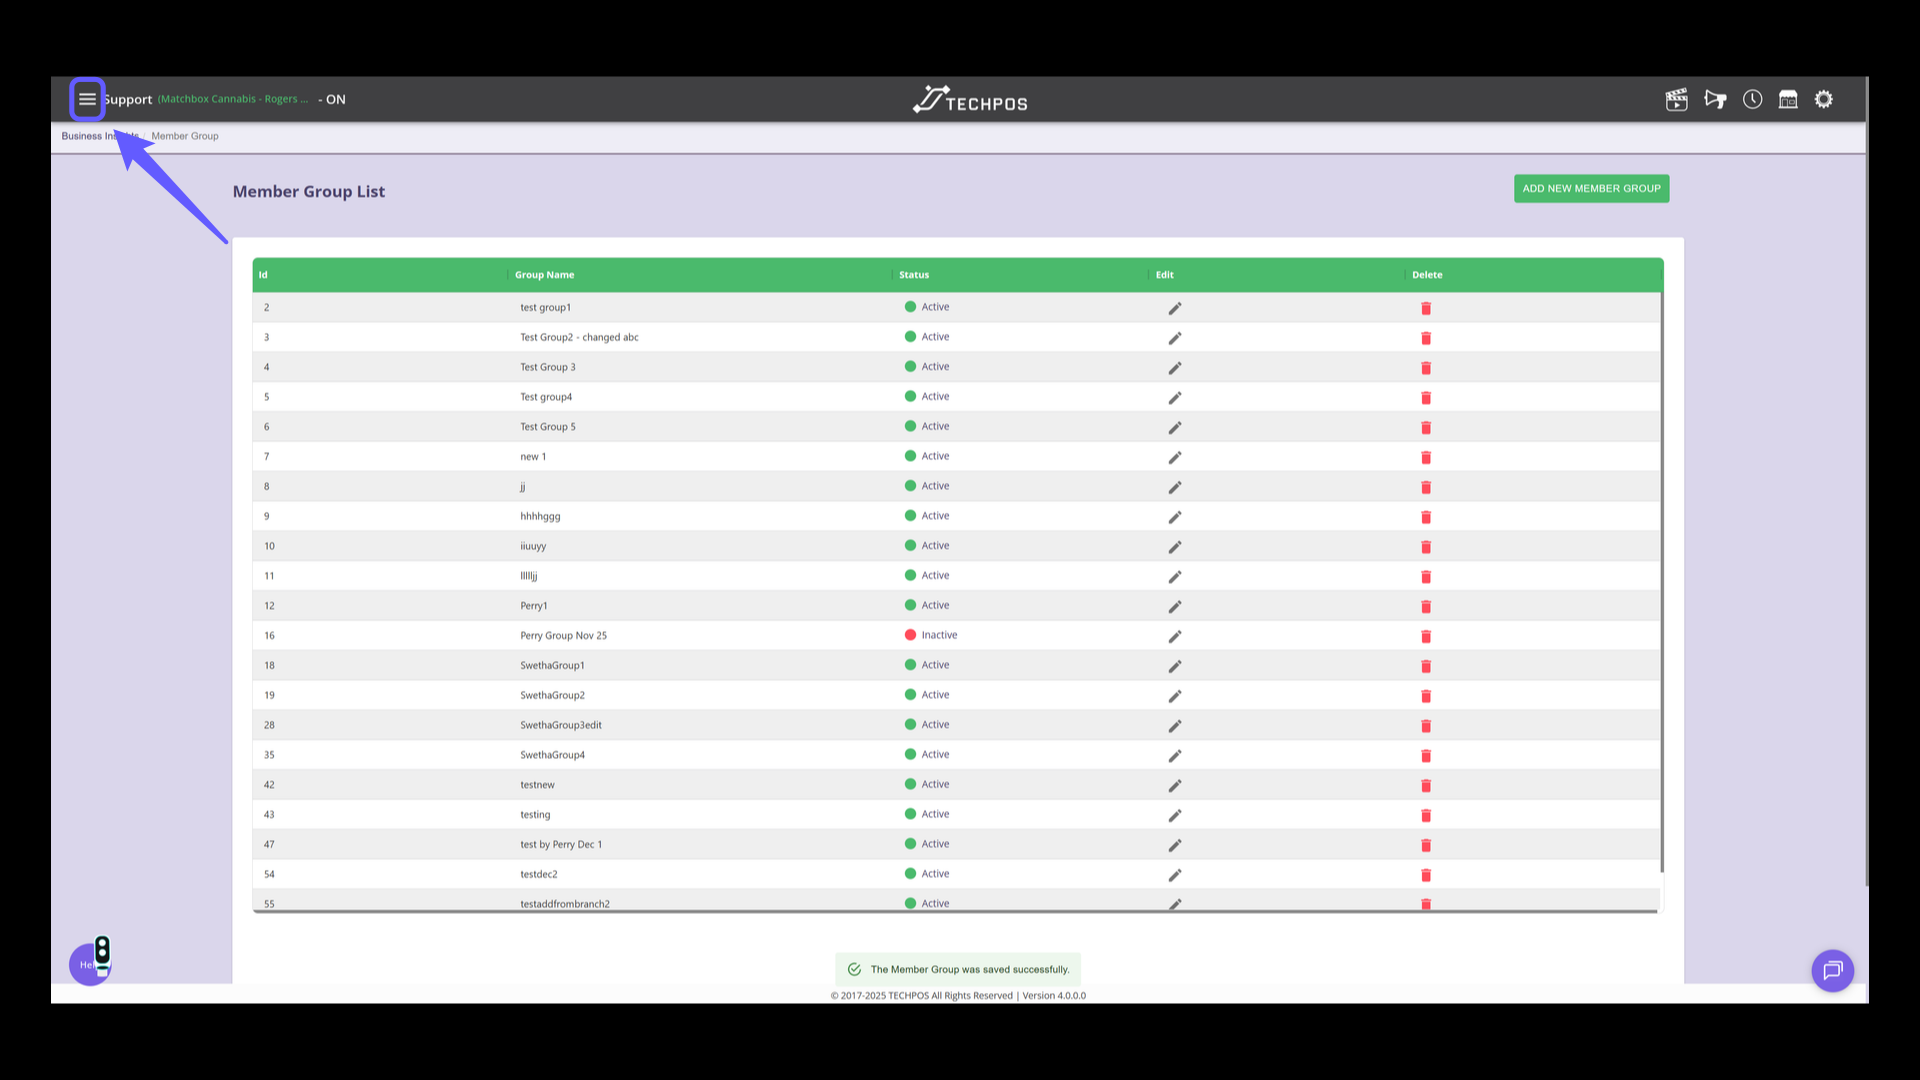
1. Open Menu Options
Click the menu icon to access menu options.
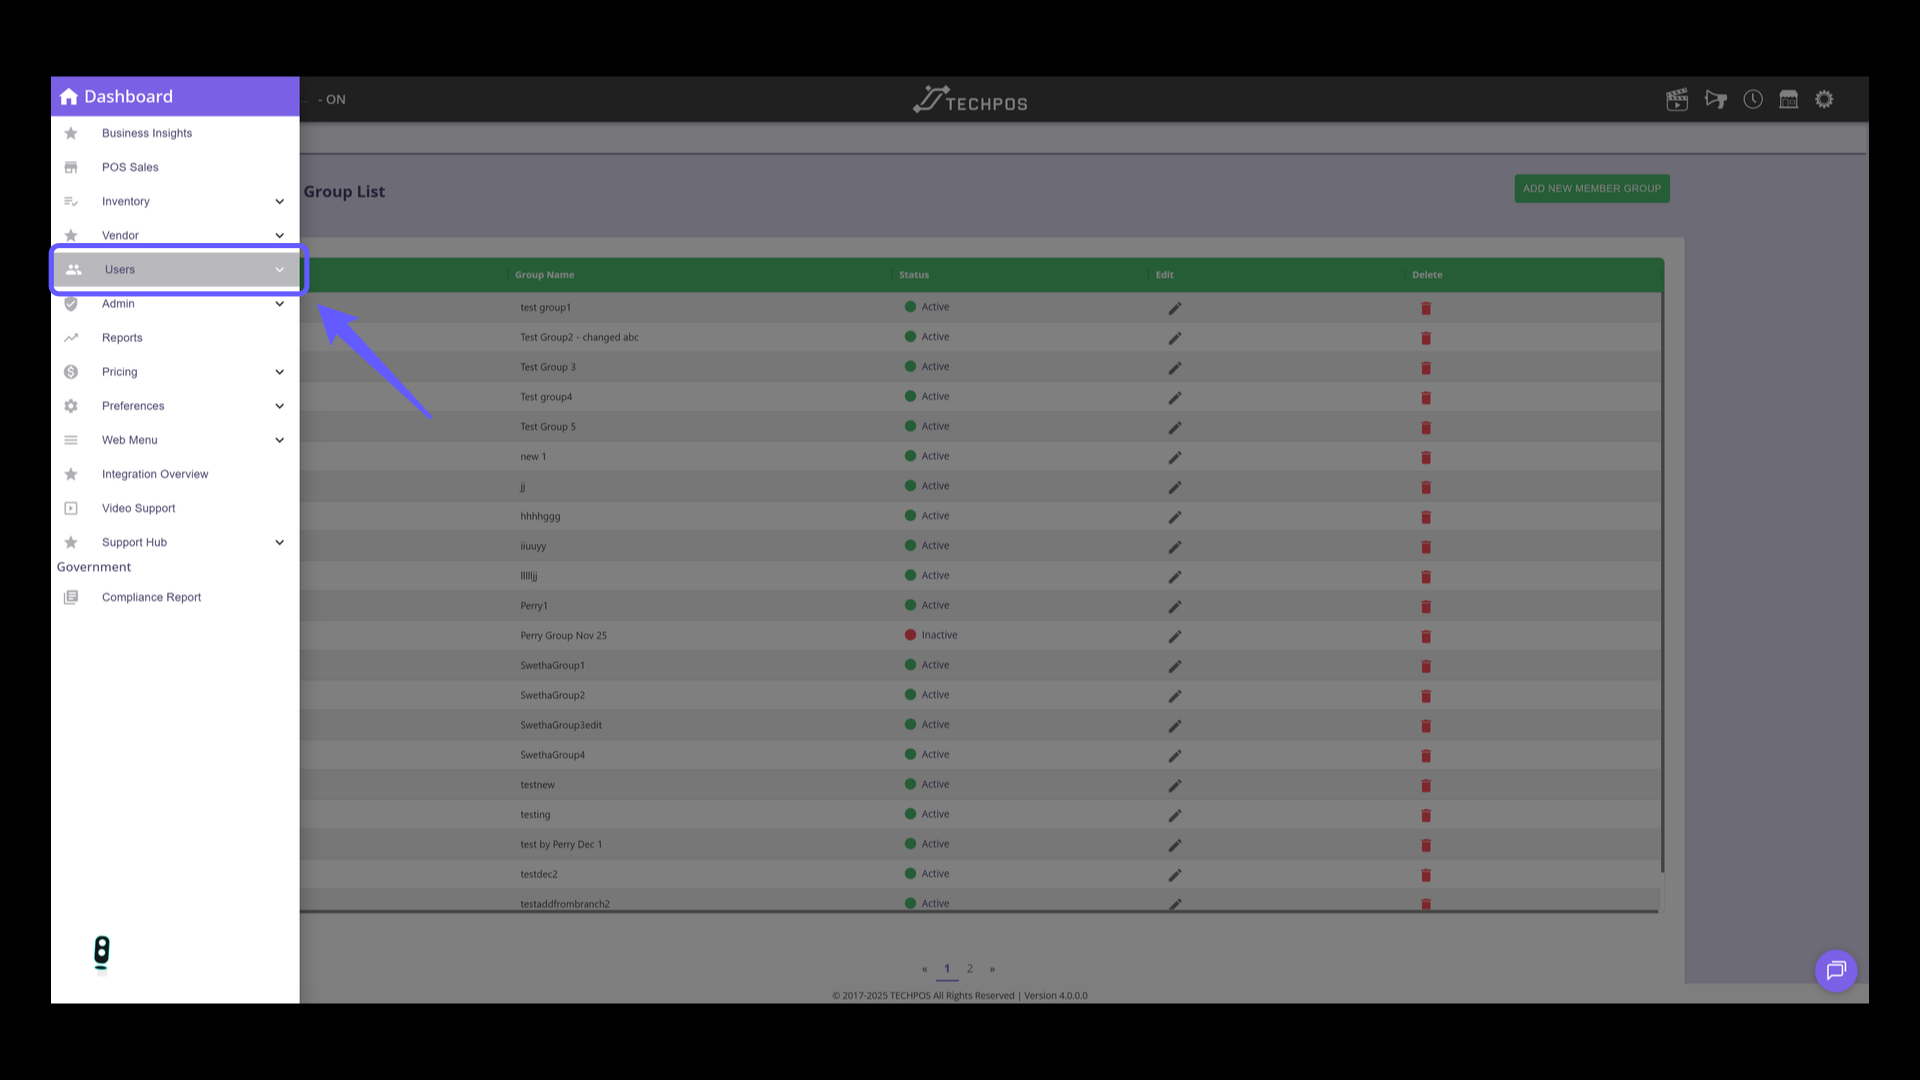
2. Access User Management
Select 'Users' from the menu.
3. Access the Member Group Section
Select 'Member Group' from the menu.
4. Edit Existing Member Group
Click the pencil icon to edit the selected member group.

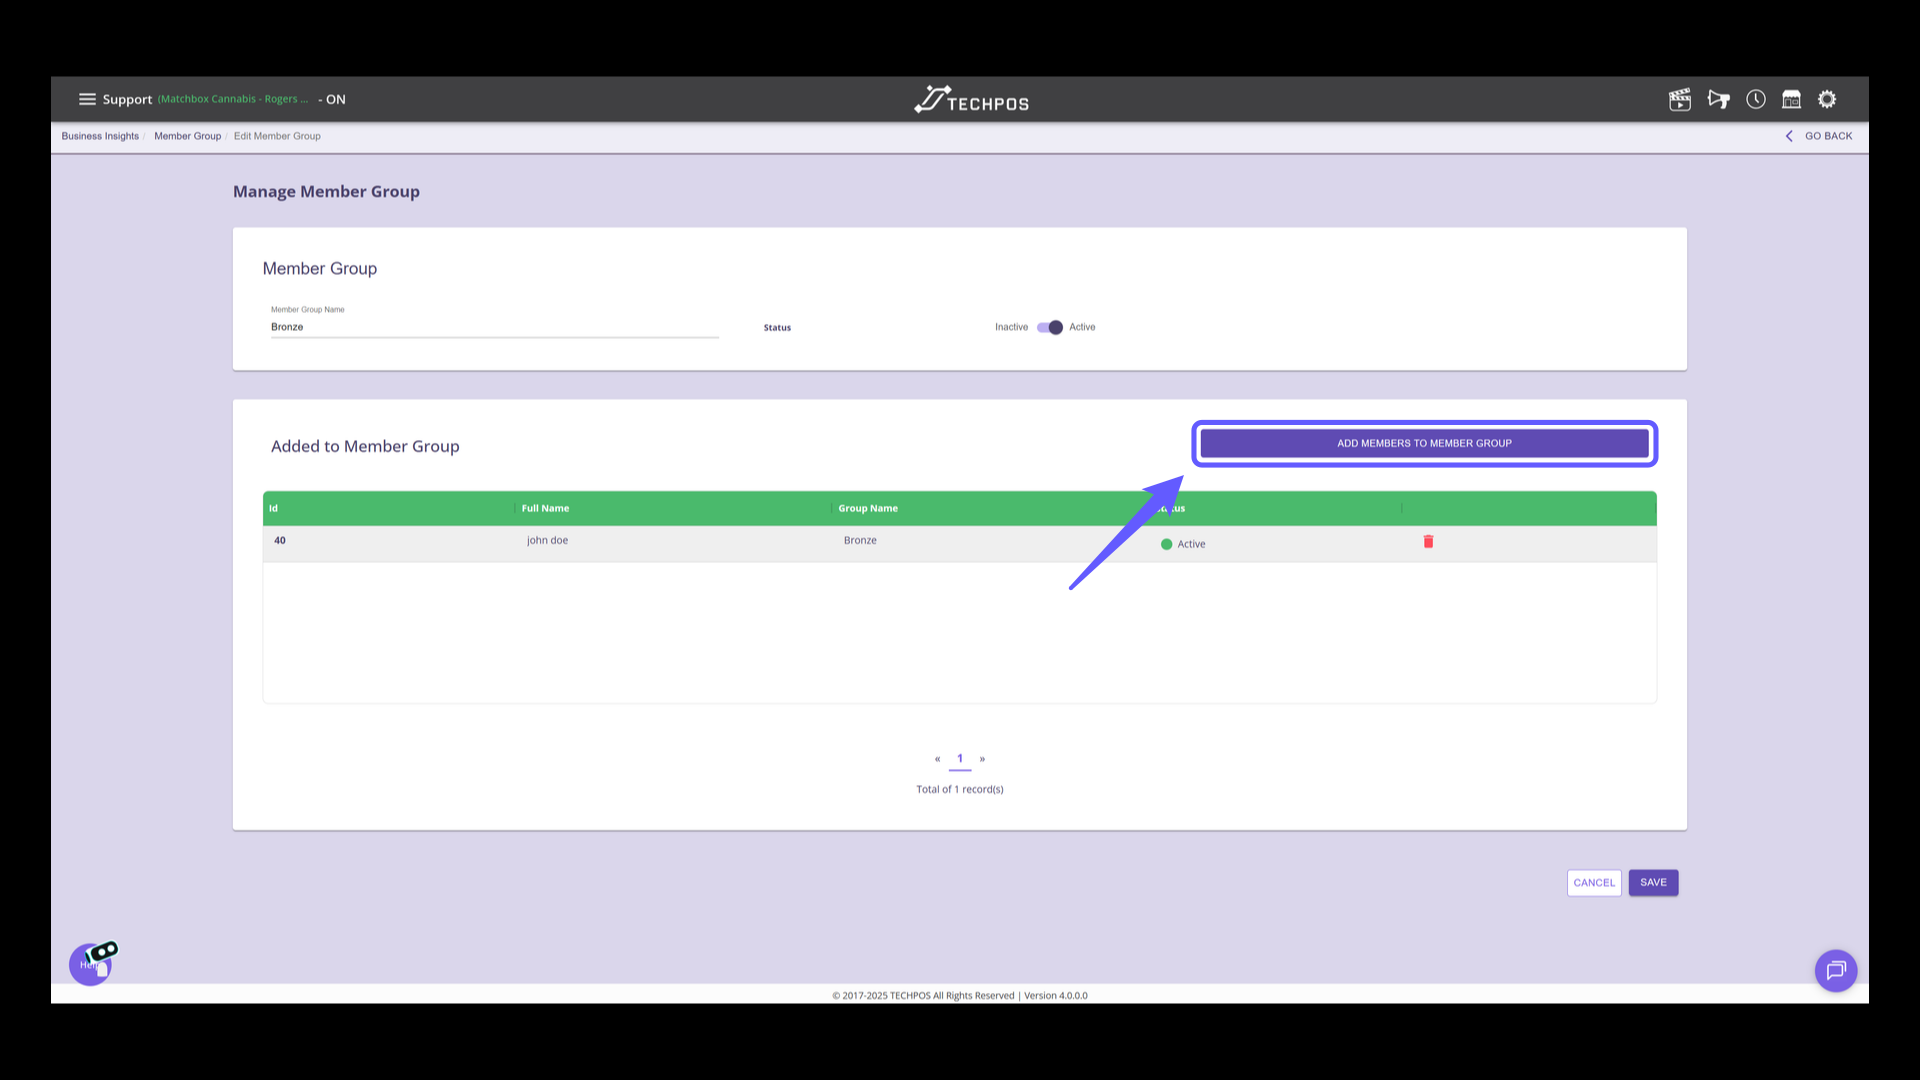
5. Add Members to Group
Click 'ADD MEMBERS TO MEMBER GROUP' to include new members in the selected group.
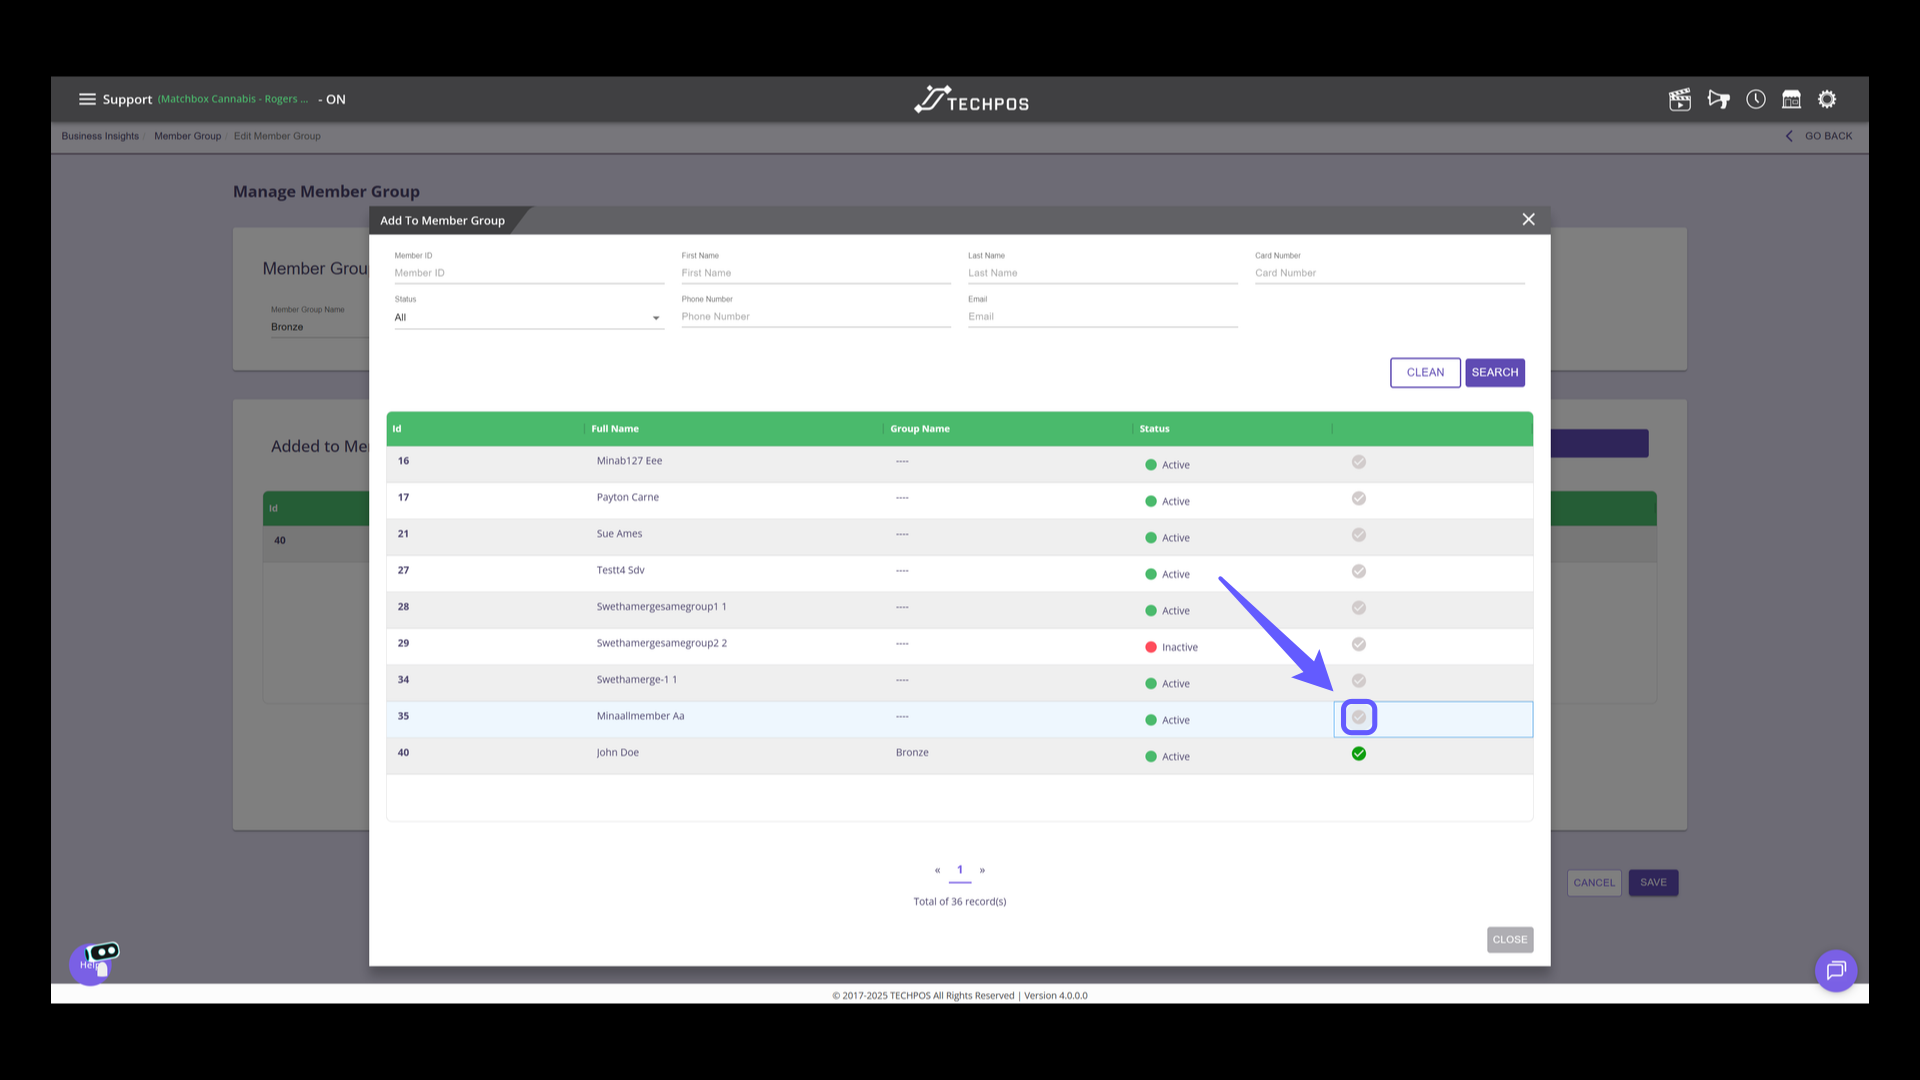
6. Select Members to Add
Click the selection box to add a member to the group.
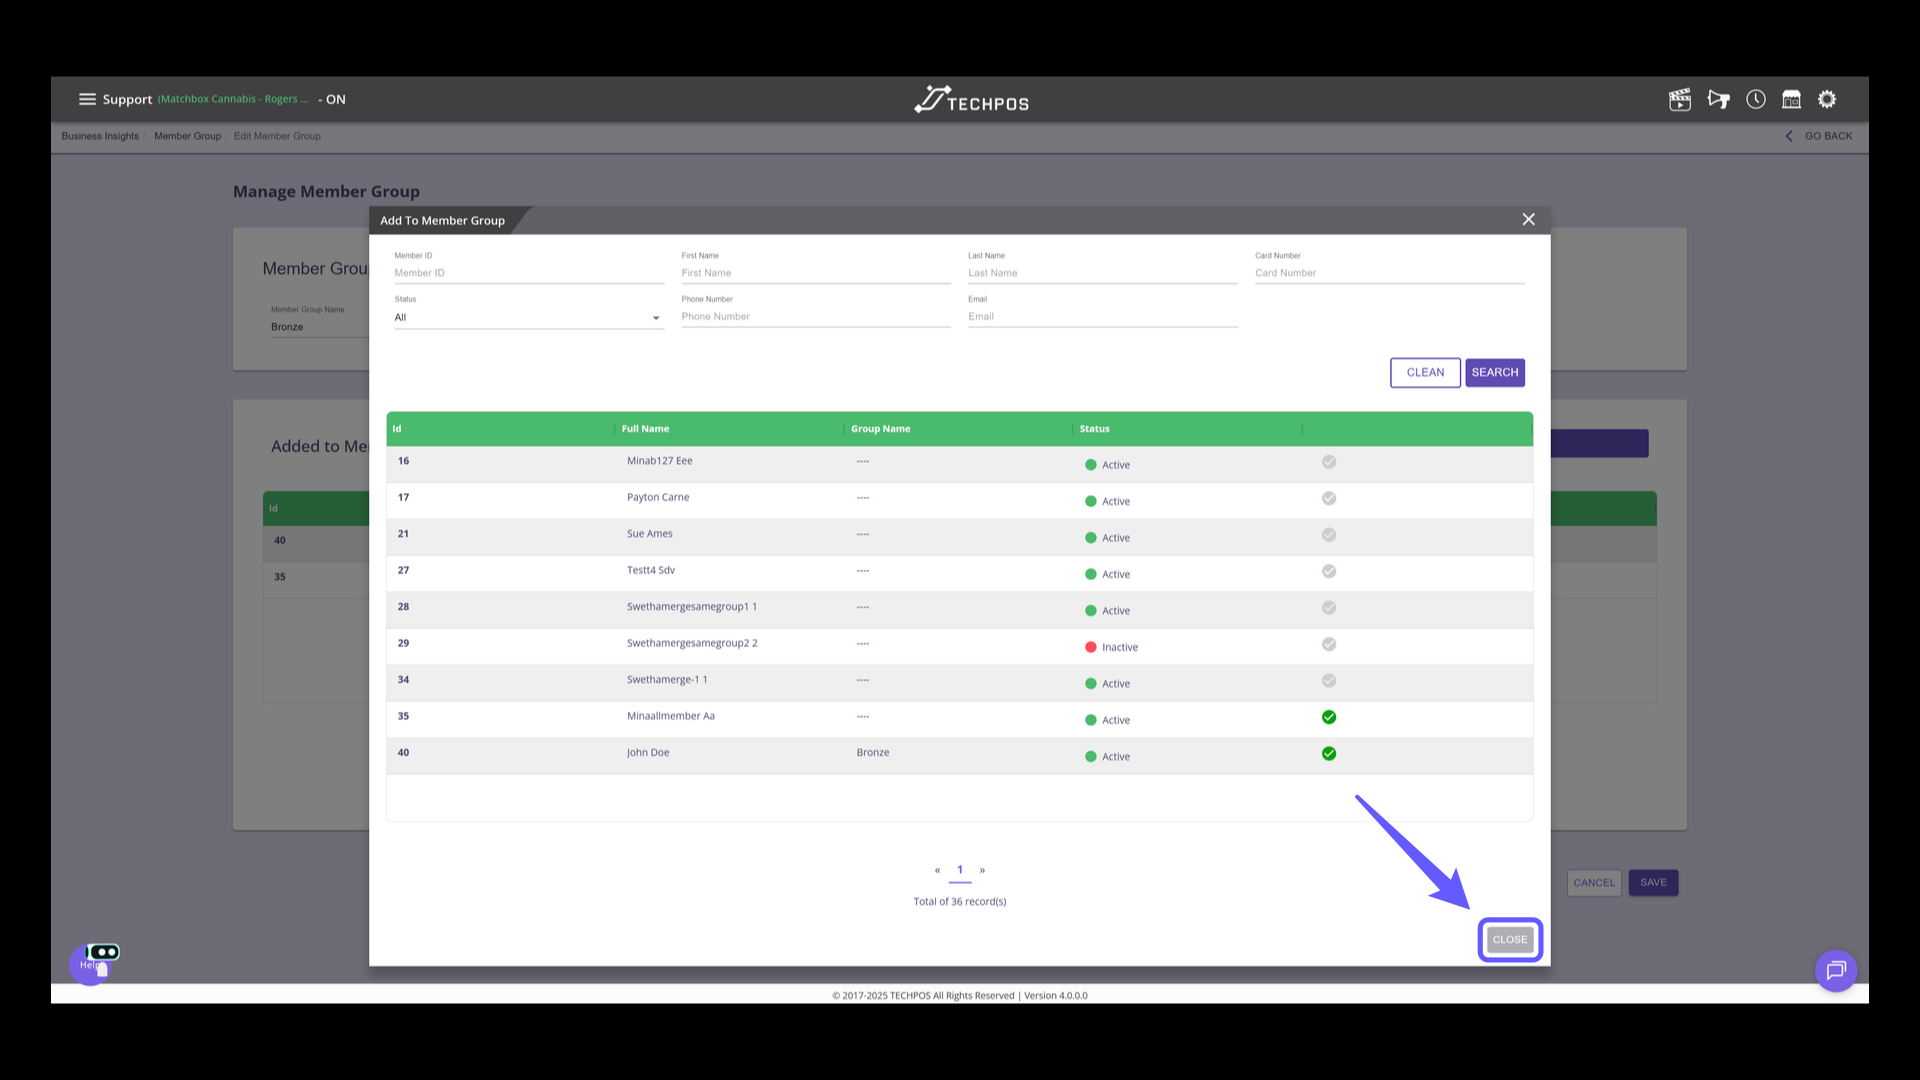
7. Close the Dialog Box
Click 'Close' to exit the dialog box and return to the previous screen.
8. Save Changes
Click 'Save' to confirm your changes.

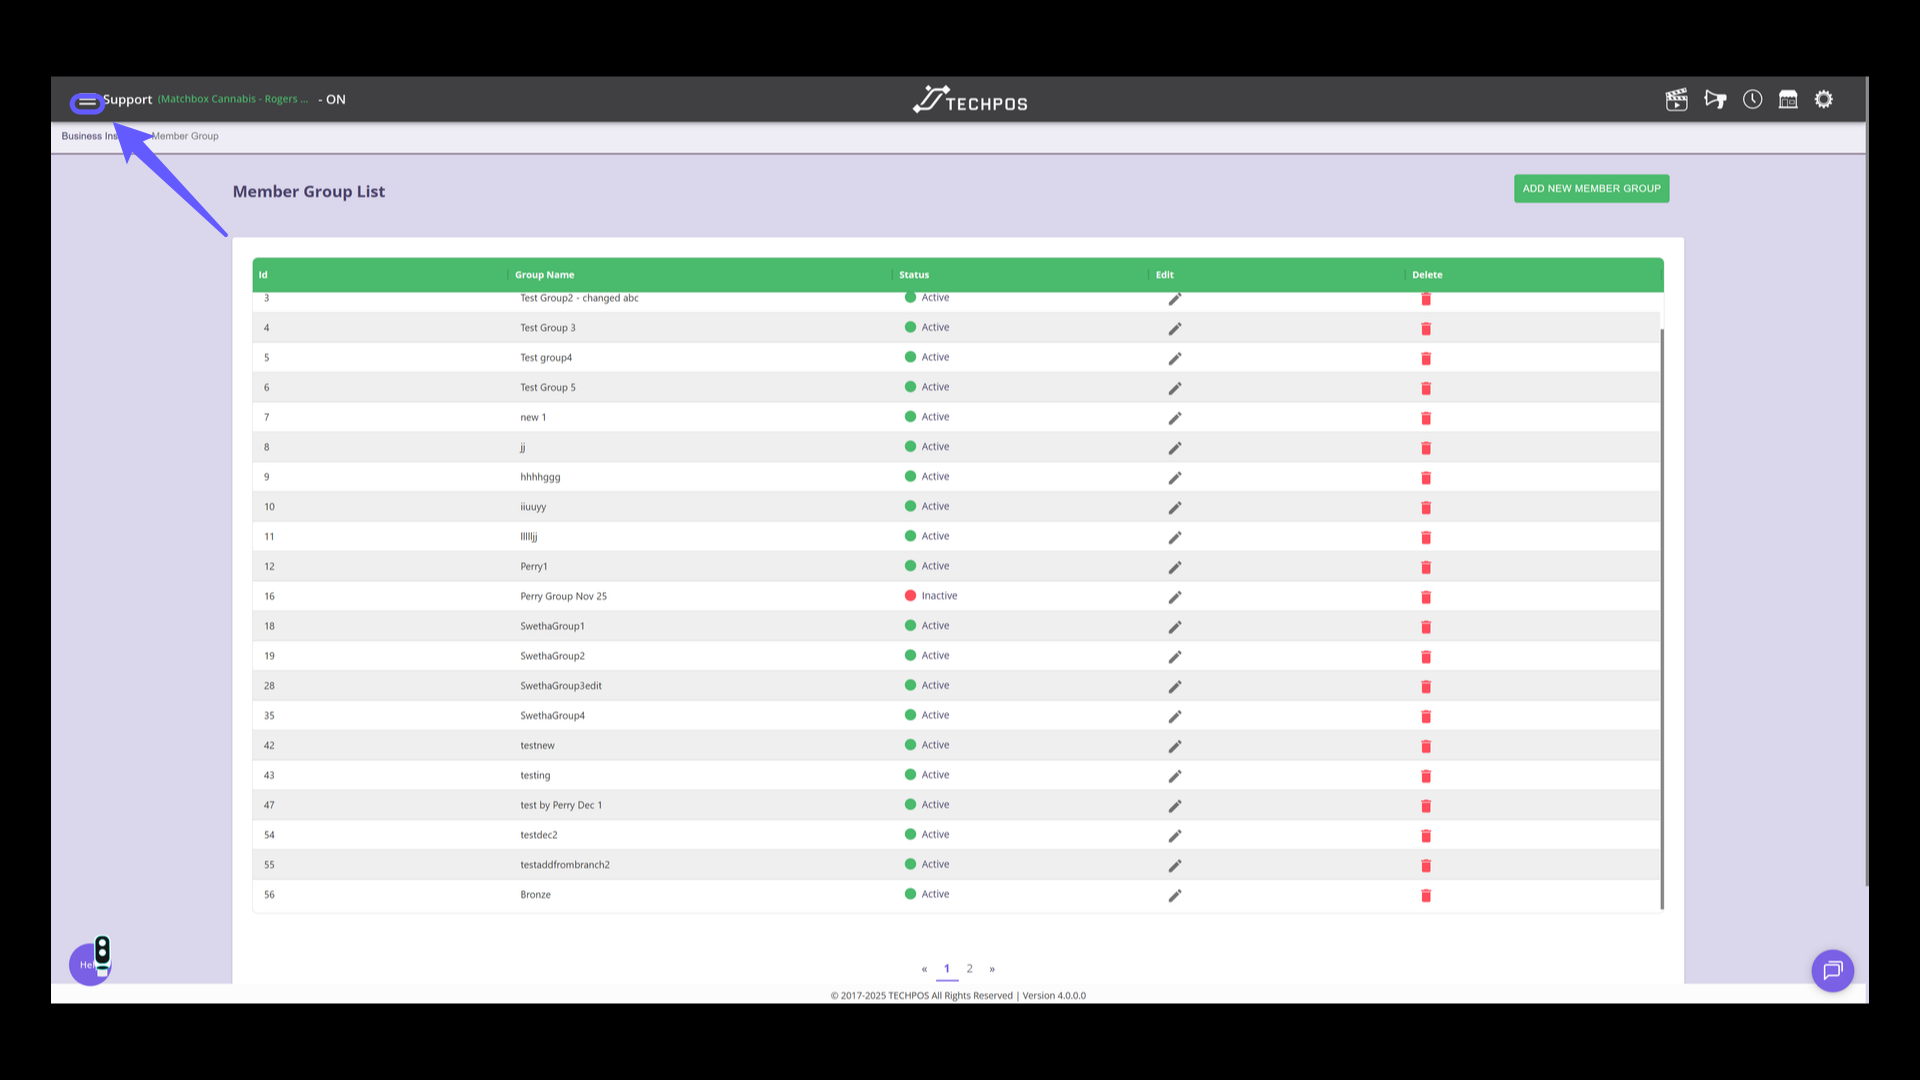
9. Assigning a Group on the Member Profile.
Another option is to assign member group on the member profile. Click the three horizontal lines to open the menu options.
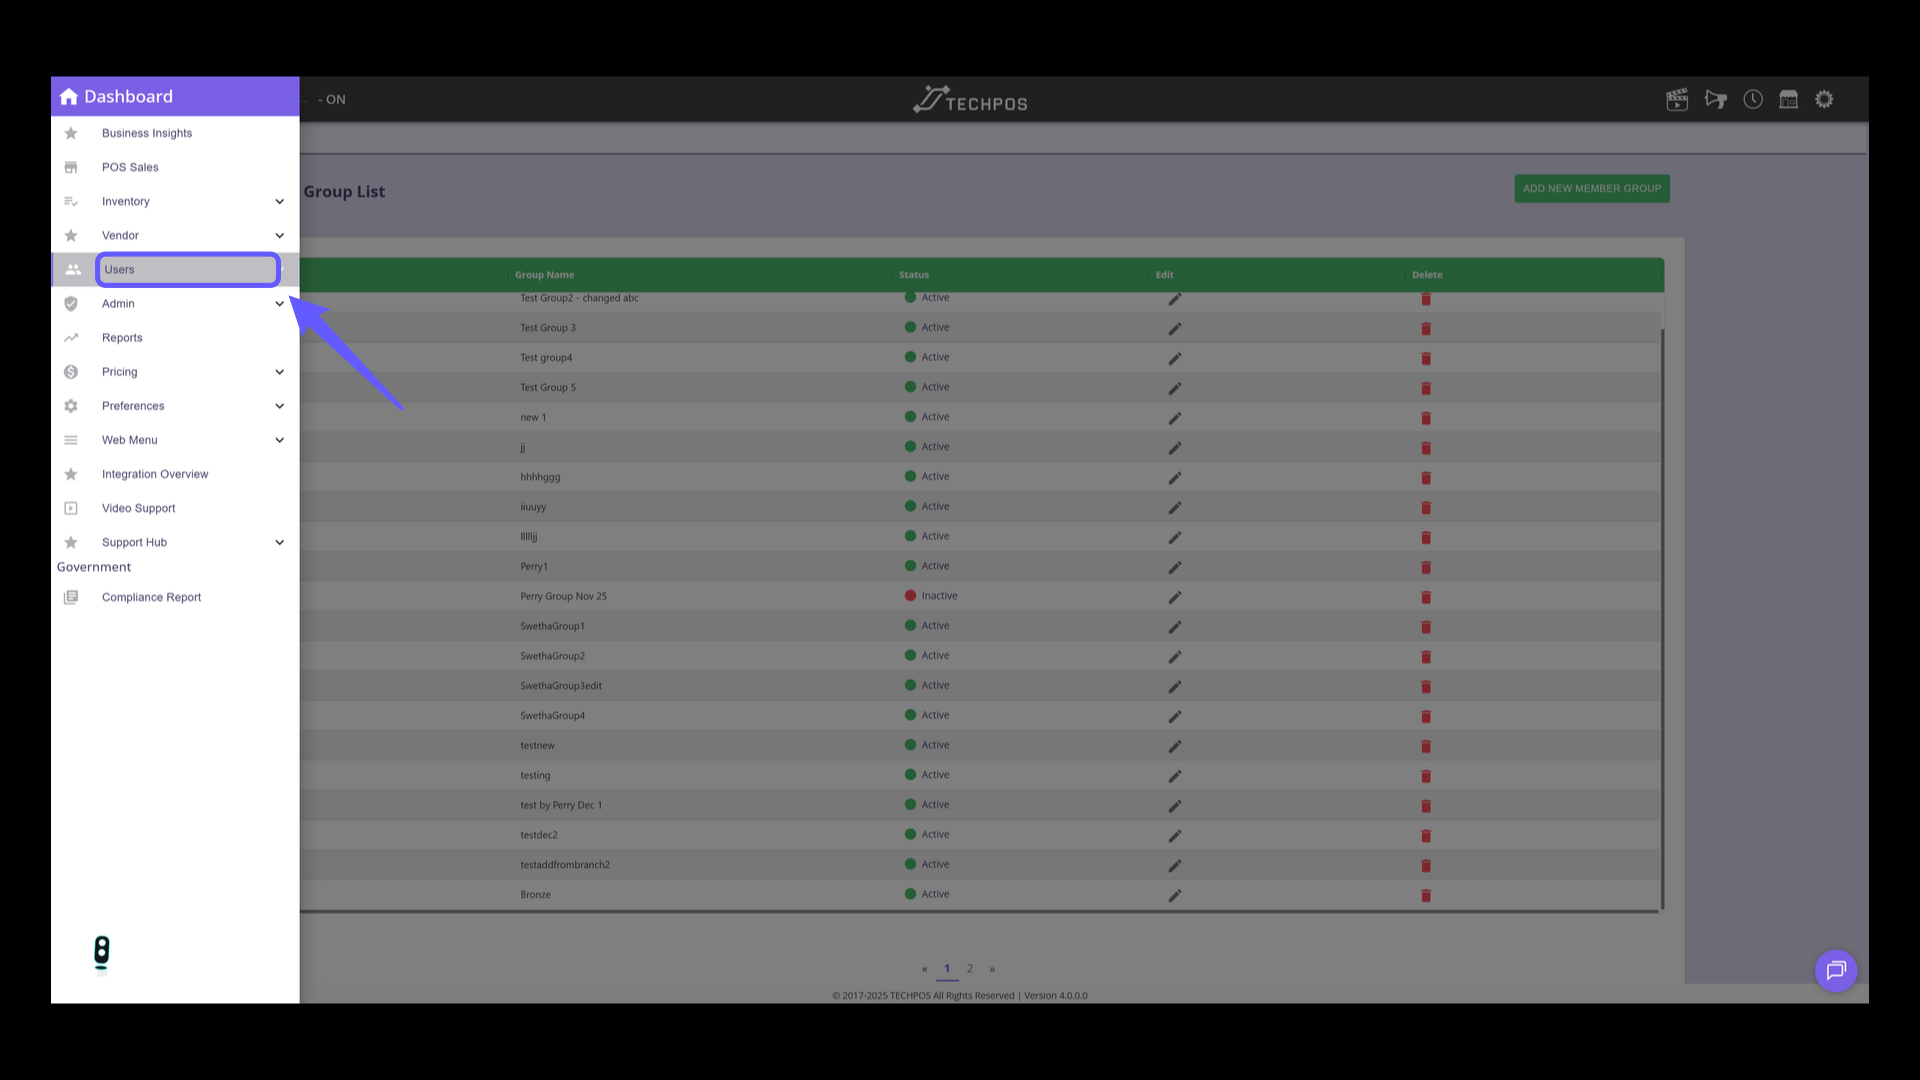
10. Access User Options
Select 'Users' from the dashboard menu.
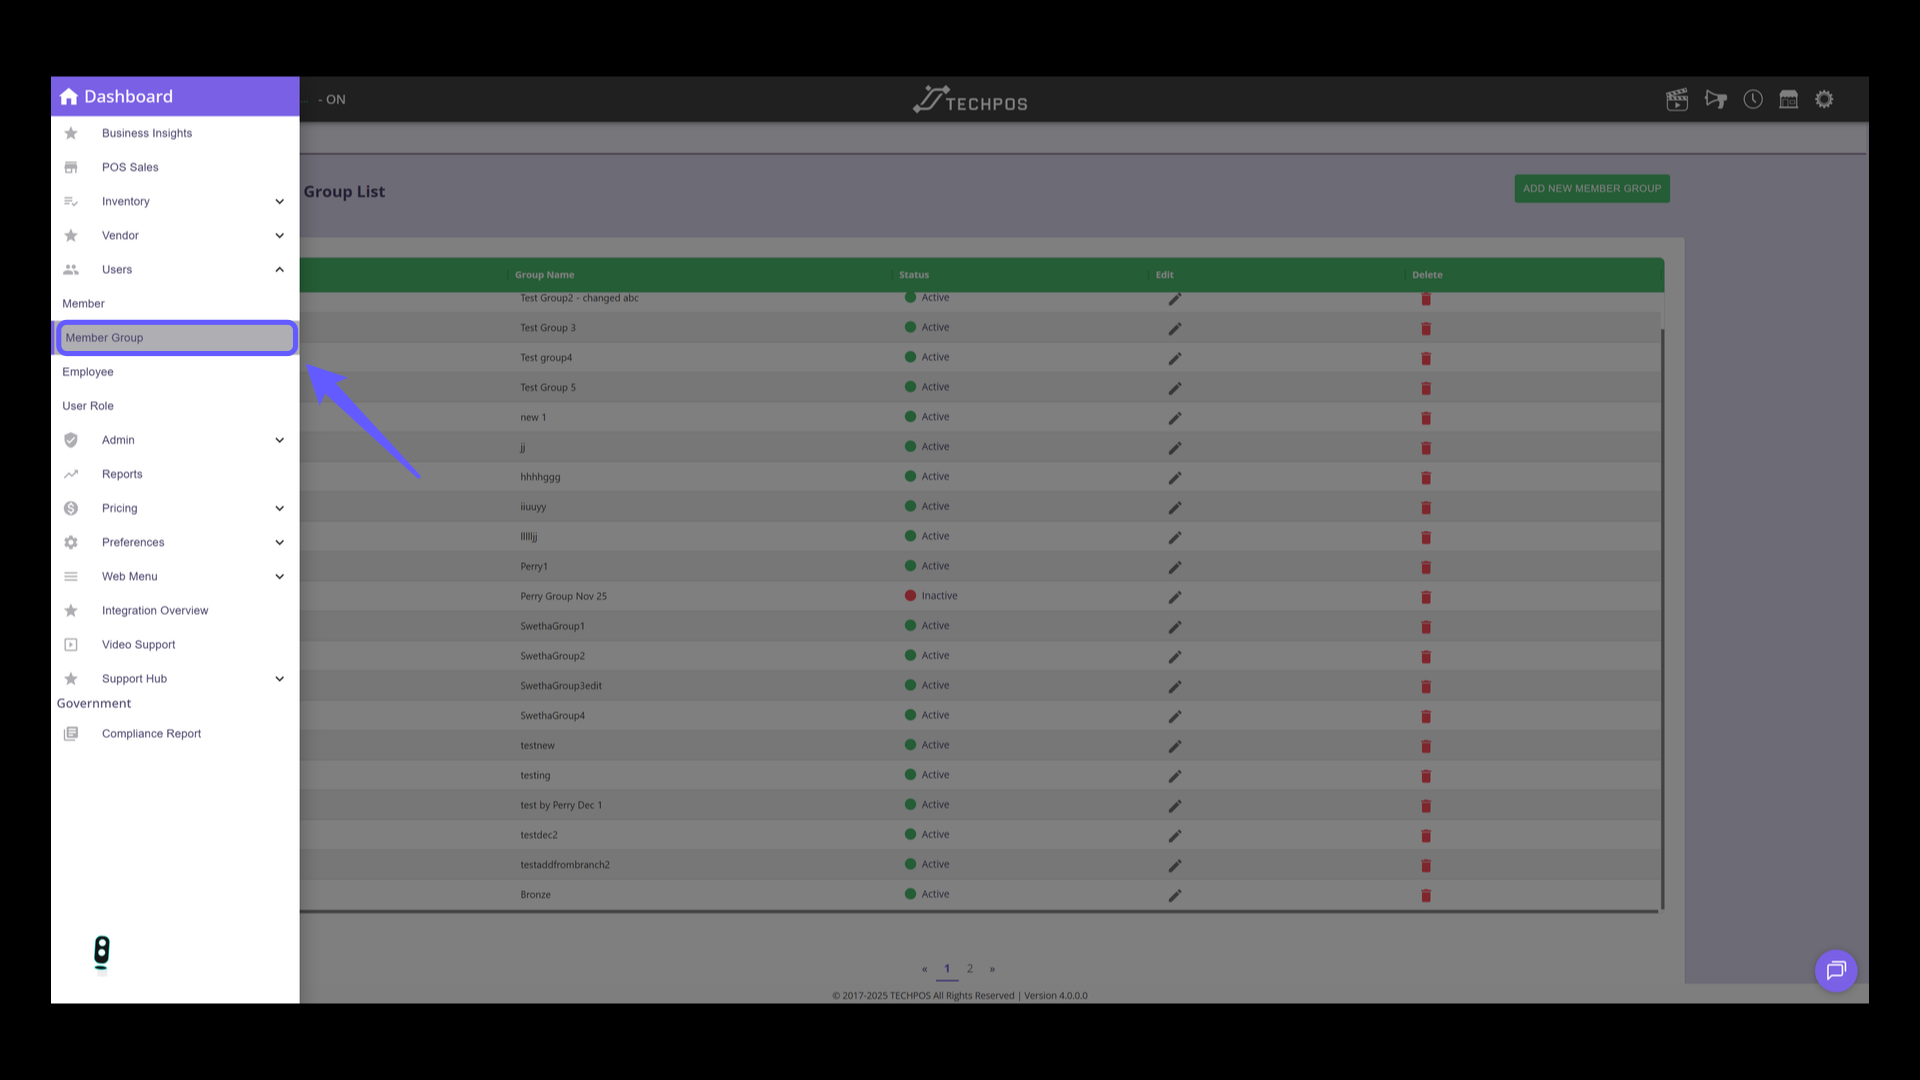
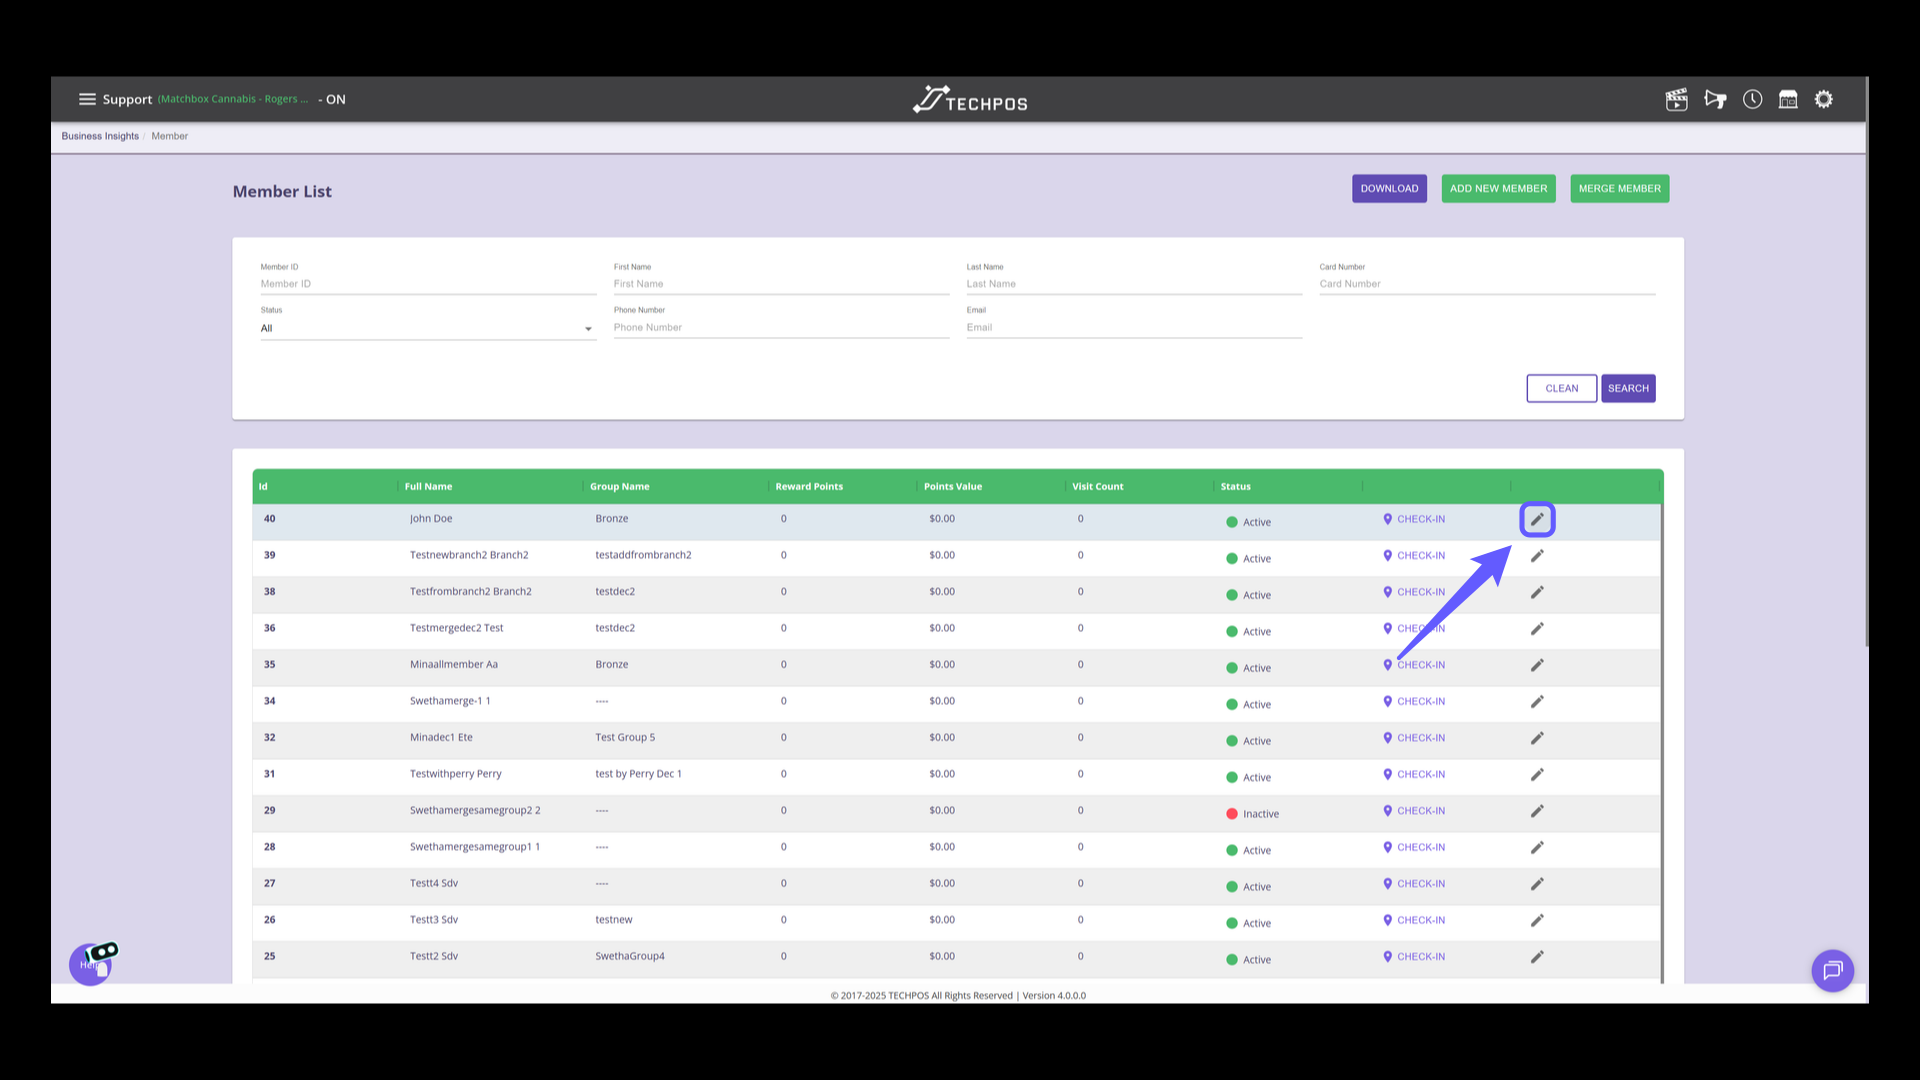
11. Access Member Section
Click 'Member' to access member management options.

12. Edit Member Selected Member
Click the pencil icon to edit the selected member.
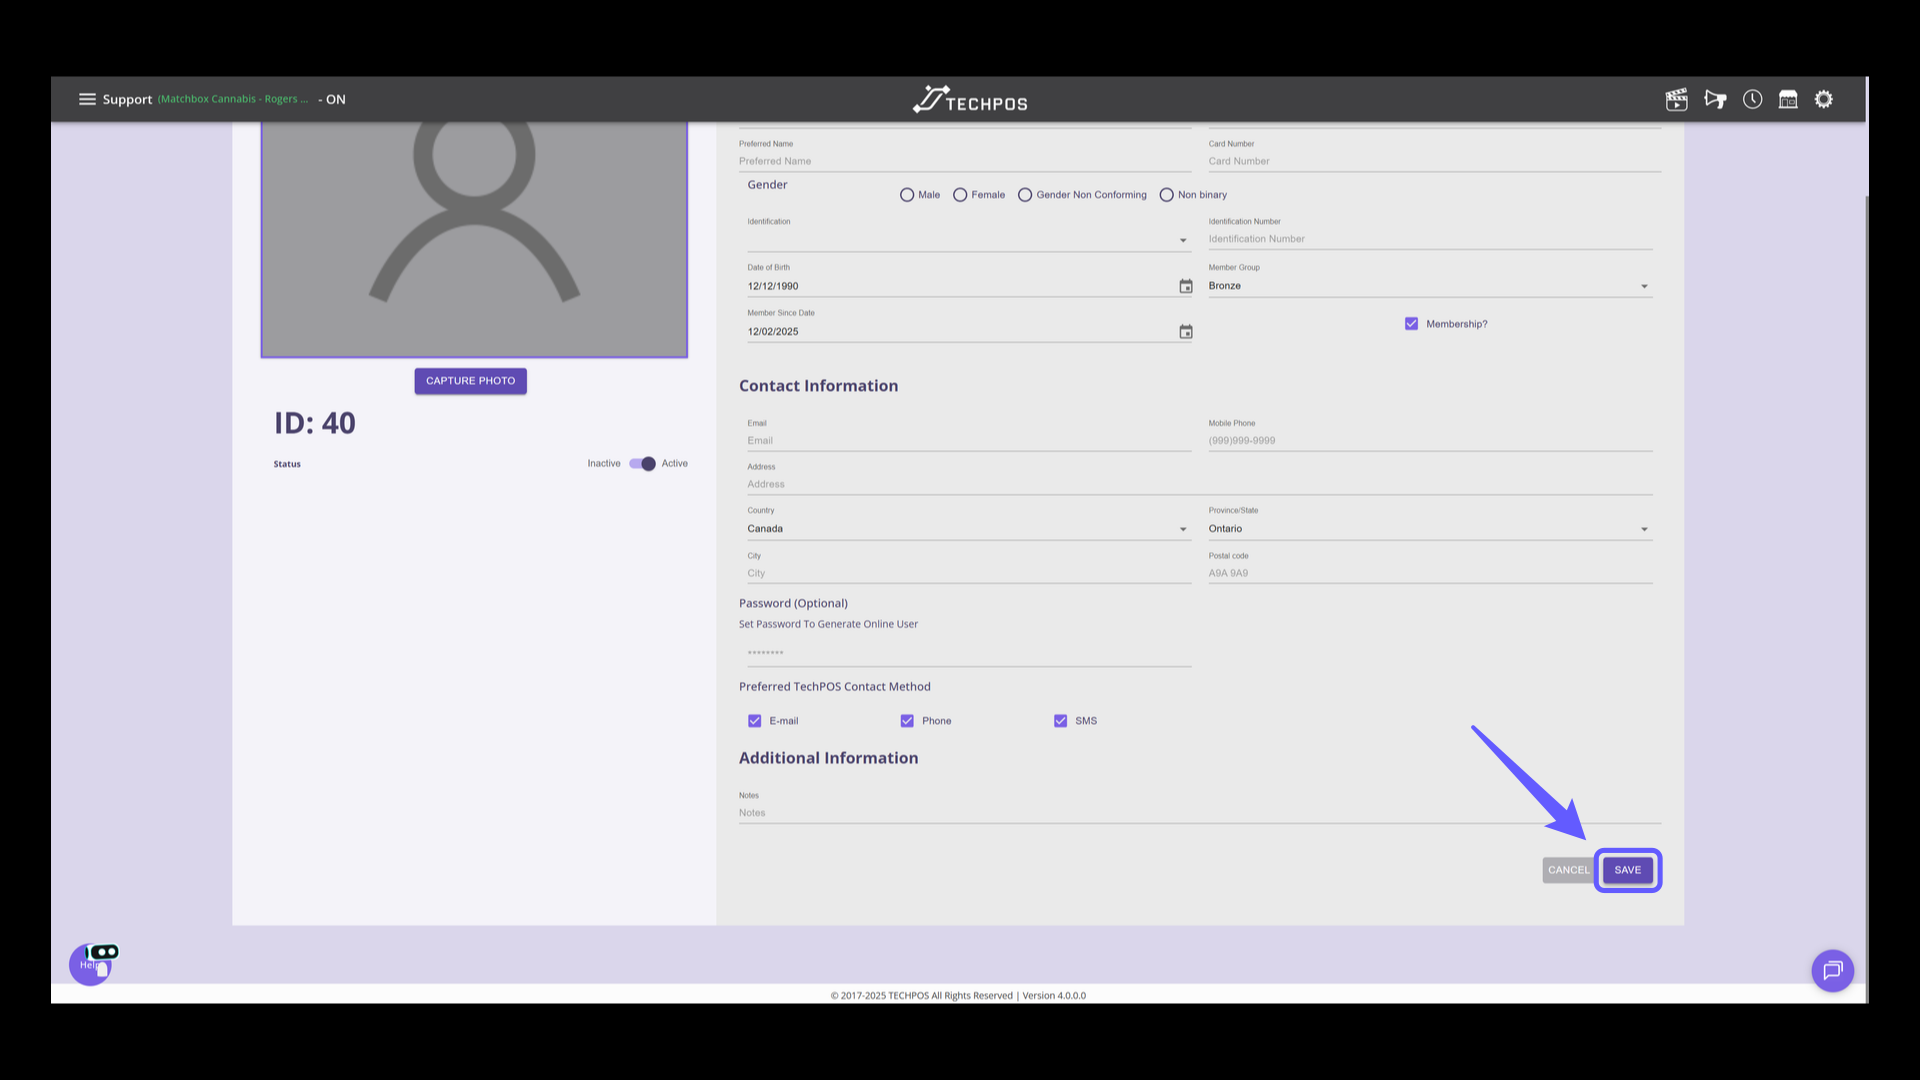
13. Select Member Group
Locate the Member Group Section, and select the member group from the drop down.
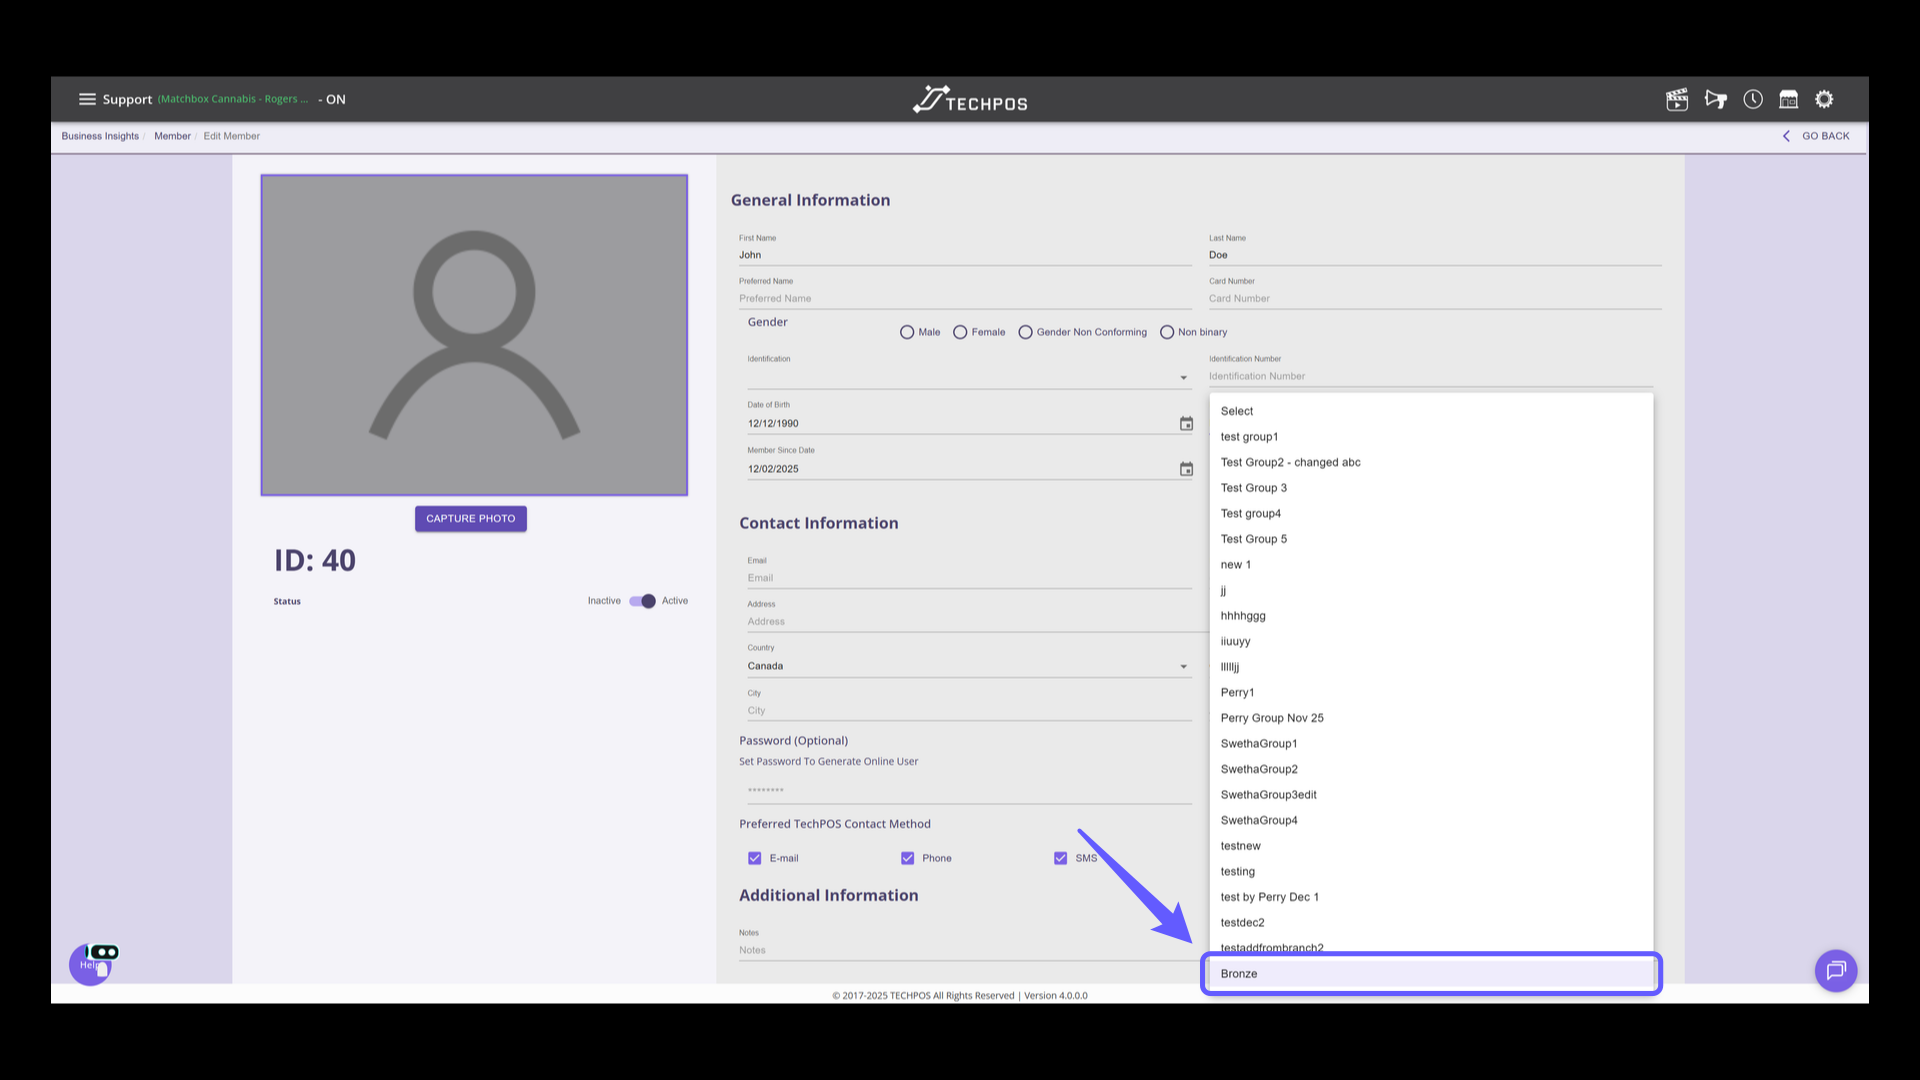
14. Save the Changes
Click the 'Save' button to store the entered information in the system.