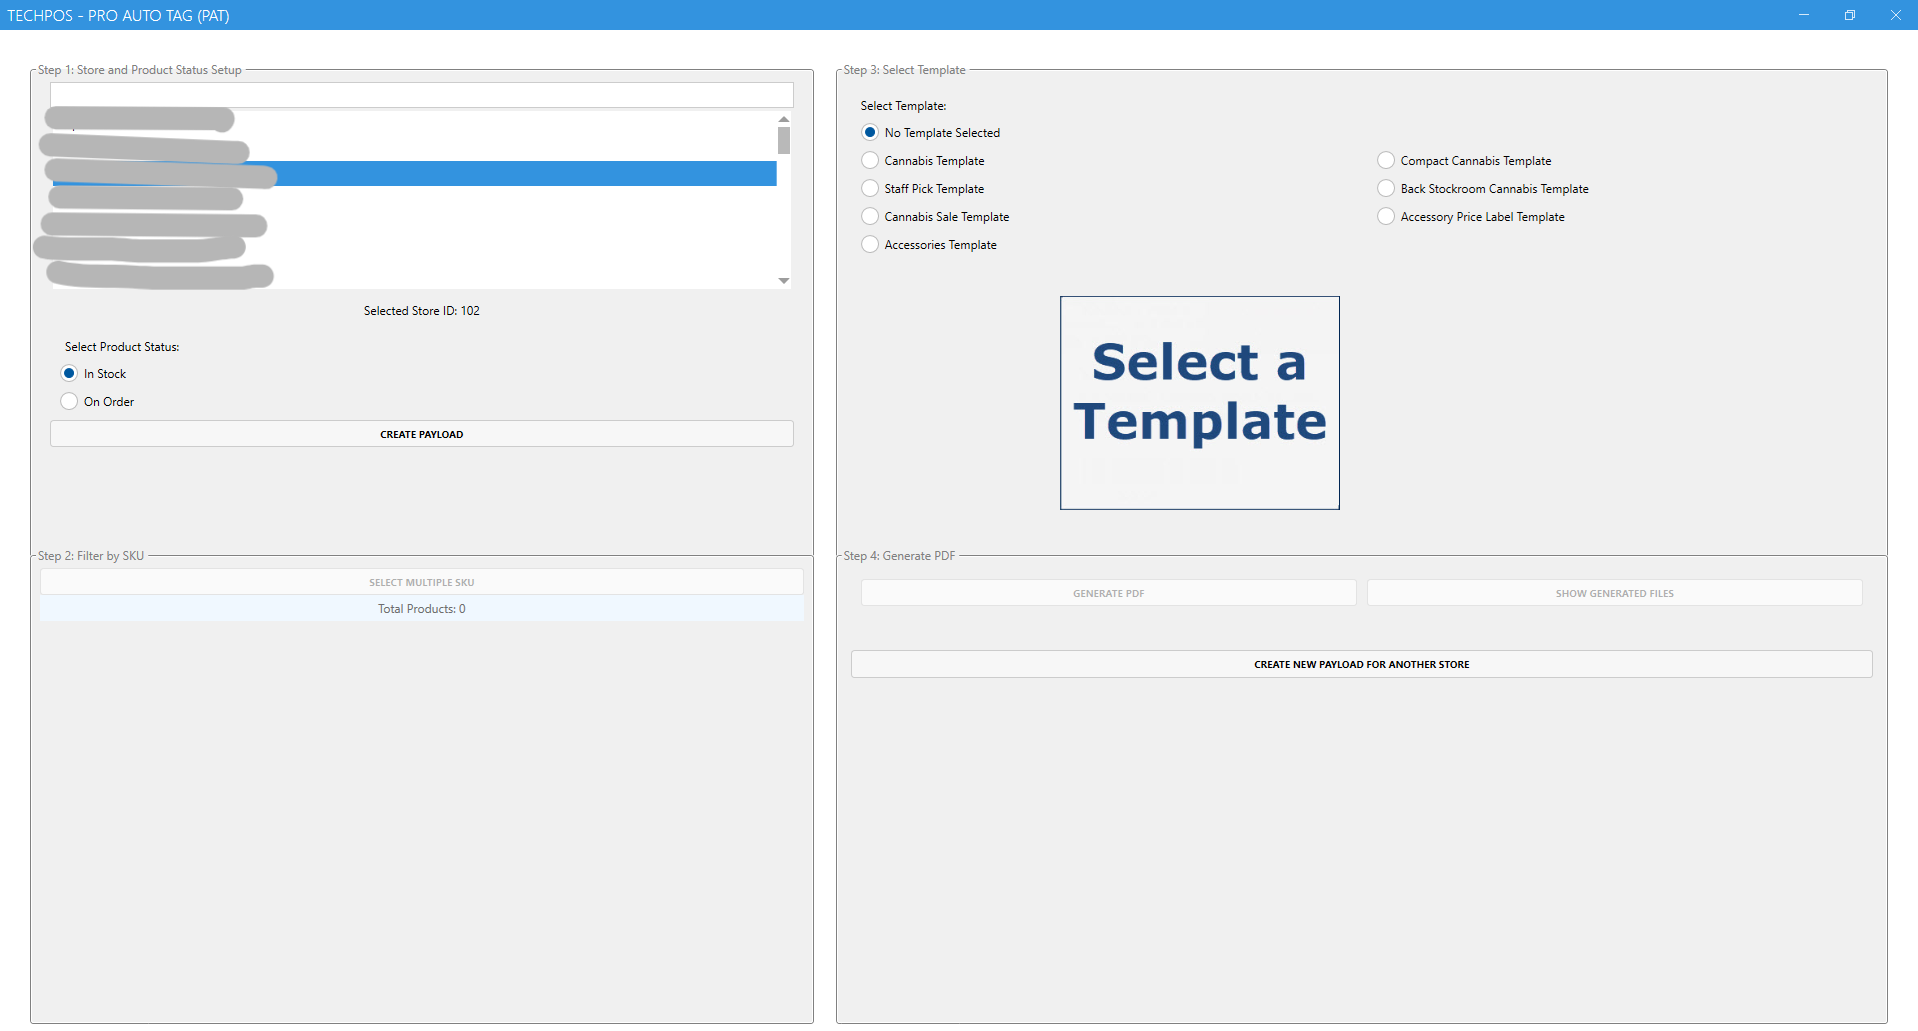
Step 1: Select Your Branch
Go to the Store and Product Status Setup
Click the dropdown menu and choose the branch where the product will be sold
Select In Stock to retrieve product that are in stock
Selecting the correct branch ensures the tags reflect the right pricing, branding, or local details.

Step 2: Choose Your Product SKU(s)
In the SKU Selection field, search or browse to find the product(s) you want to print tags for.
You can use the drop down option to select specific category each time.
You can select one SKU at a time or multiple, depending on your needs.
If you don’t know the SKU, try searching by product name.

Step 3: Pick a Tag Template
Go to the Template Selection area.
Choose the tag design that best suits your product type or display preference.
Templates may vary by size, layout, or branding.

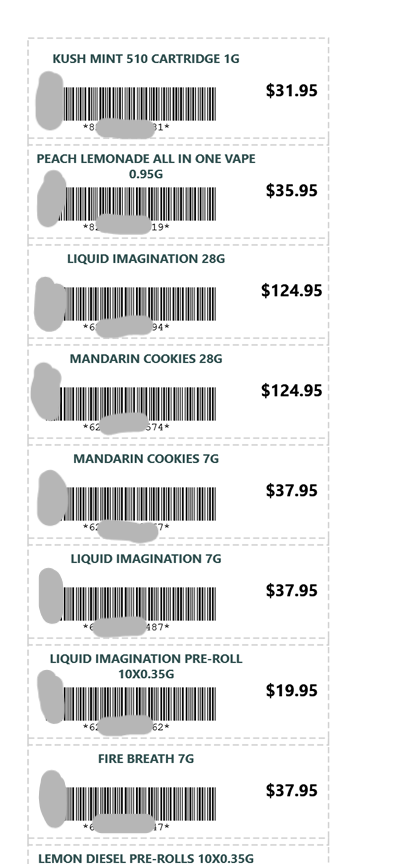
Step 4: Generate the PDF
Once you’ve chosen the branch, SKU(s), and template, click the 'Generate PDF' button.
The system will process your selection and create a PDF file with your product tags.
Step 5: Print
When the PDF is ready, open the PDF file and print it using your tag printer or a standard printer with tag sheets.