Part 1: Create Member Group
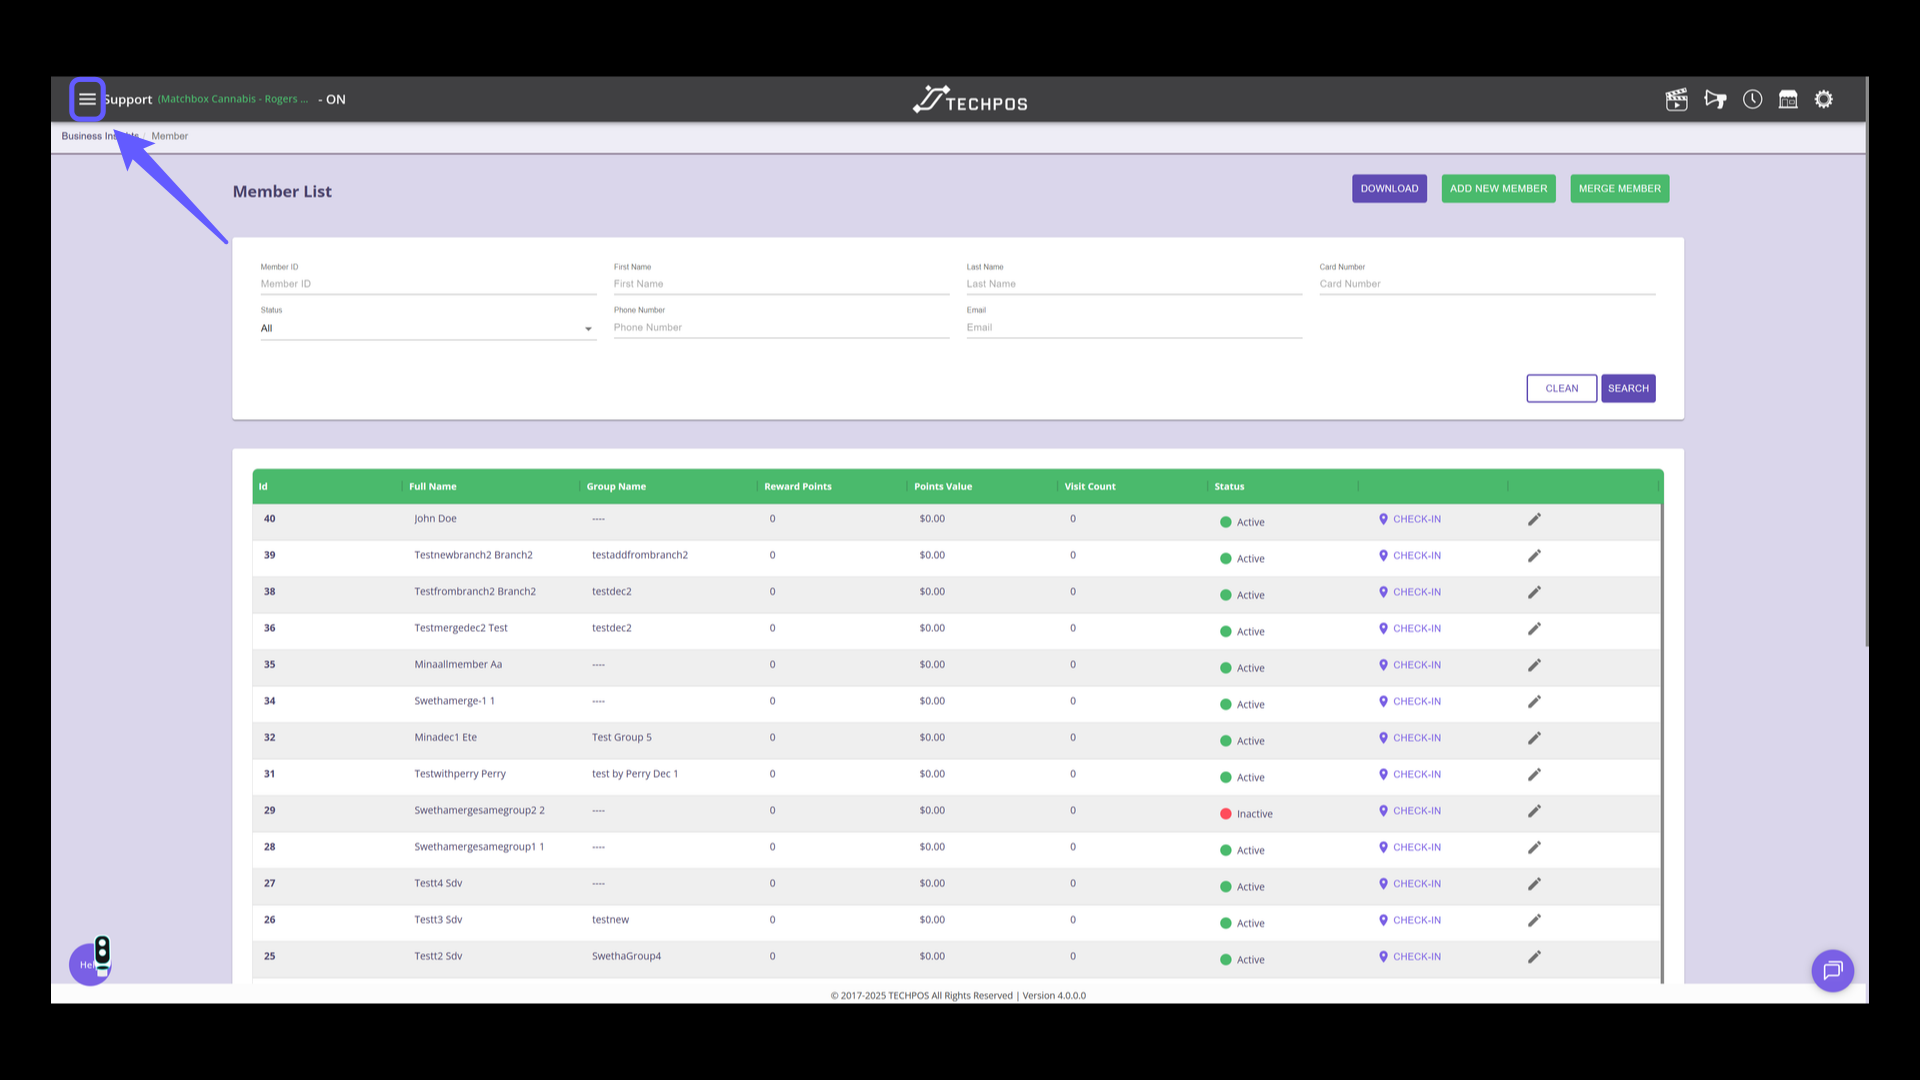
1. Go to Menu
Click the icon to open the main menu for navigation options.
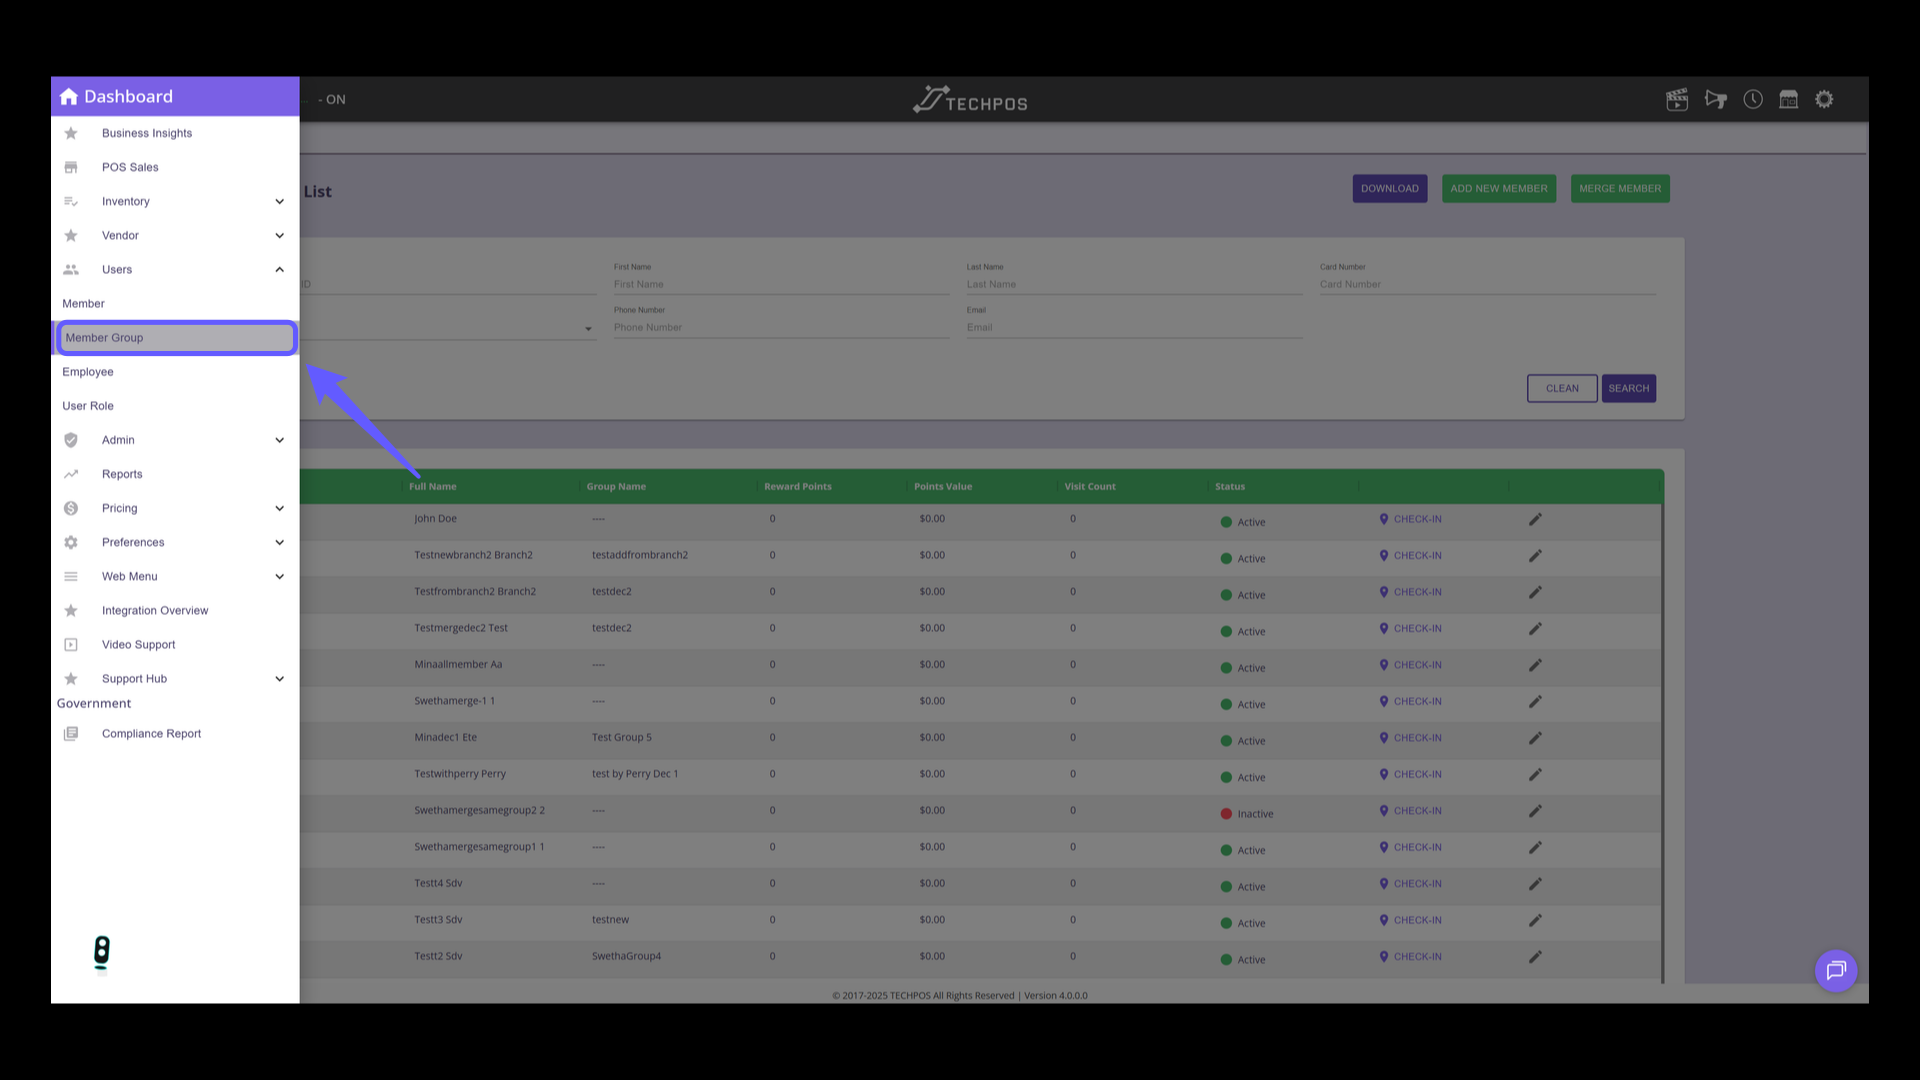
2. Navigate to User Management
Select 'Users' from the menu to manage user accounts and access settings.

3. Access Member Group
Select 'Member Group' from the menu to manage member groups.
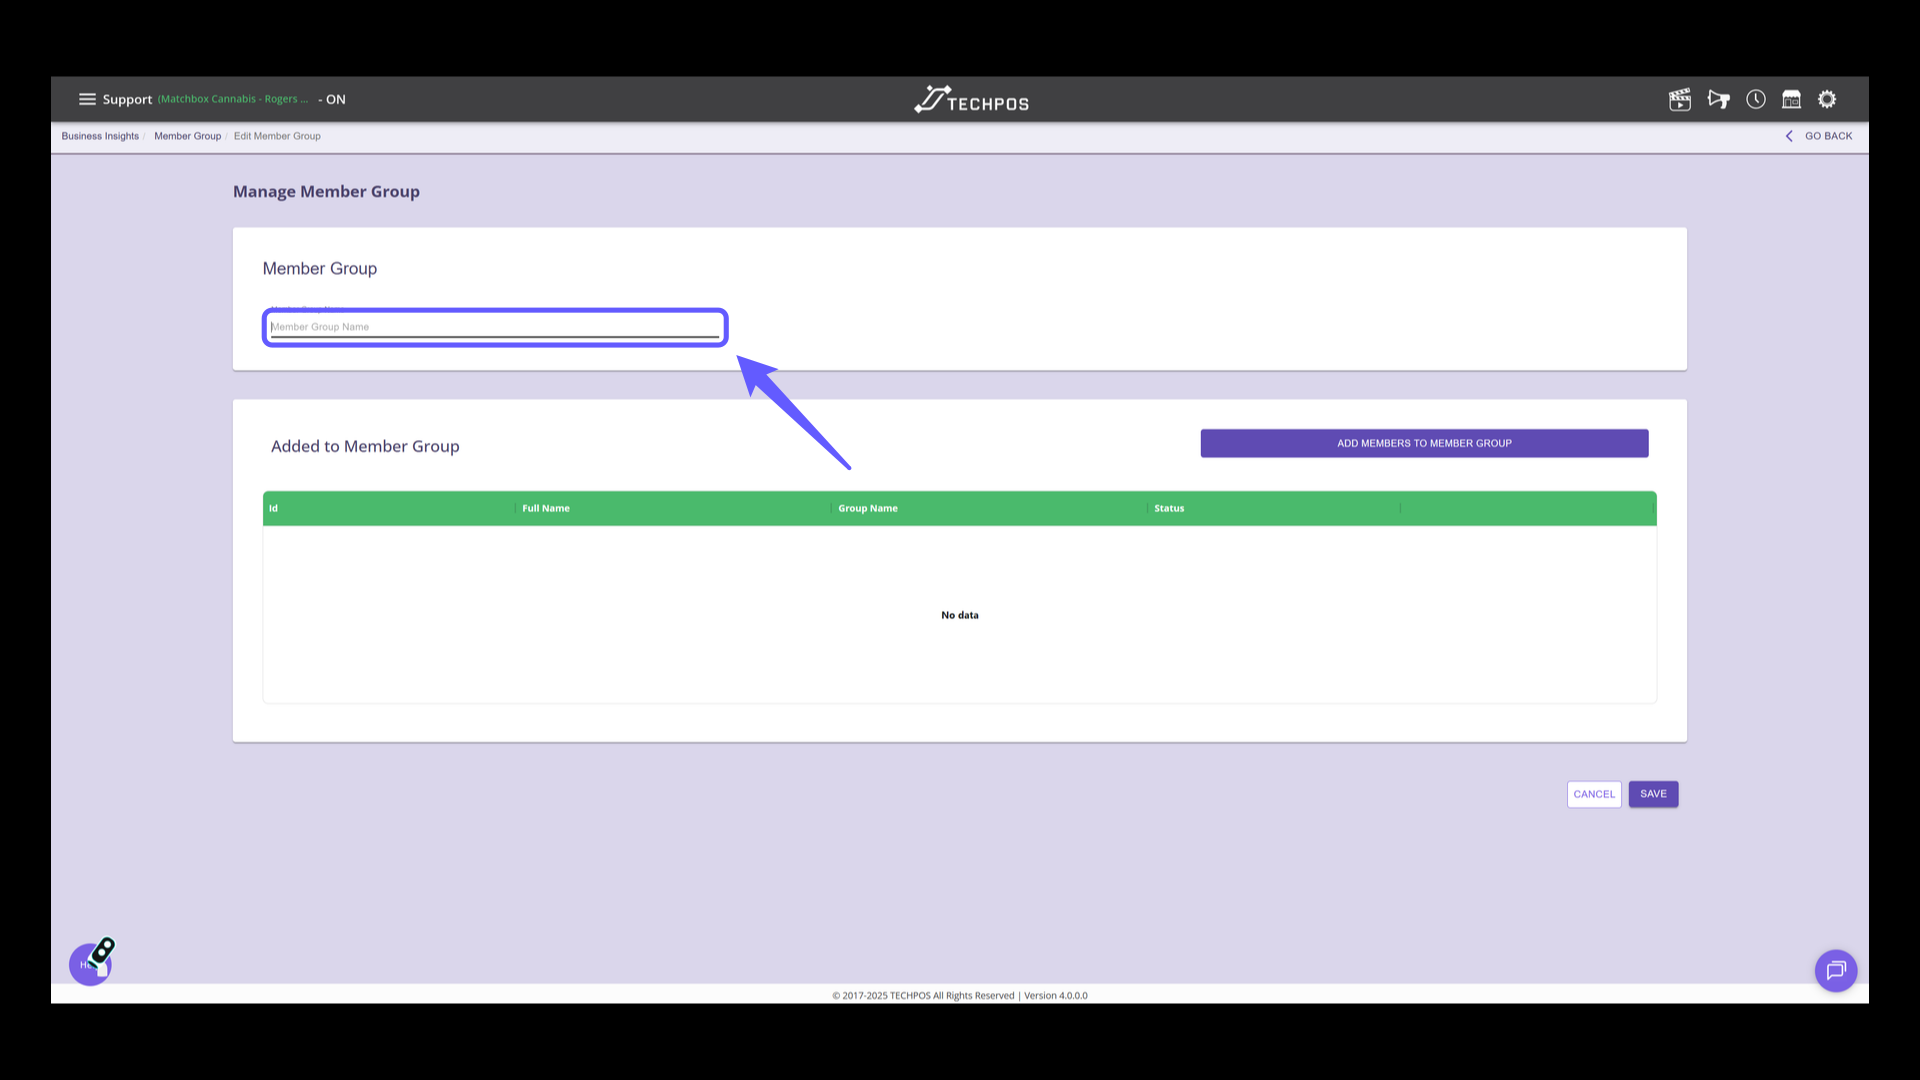
4. Add a New Member Group
Click to add a new member group.

5. Enter Member Group Name
Input a name for the member group.
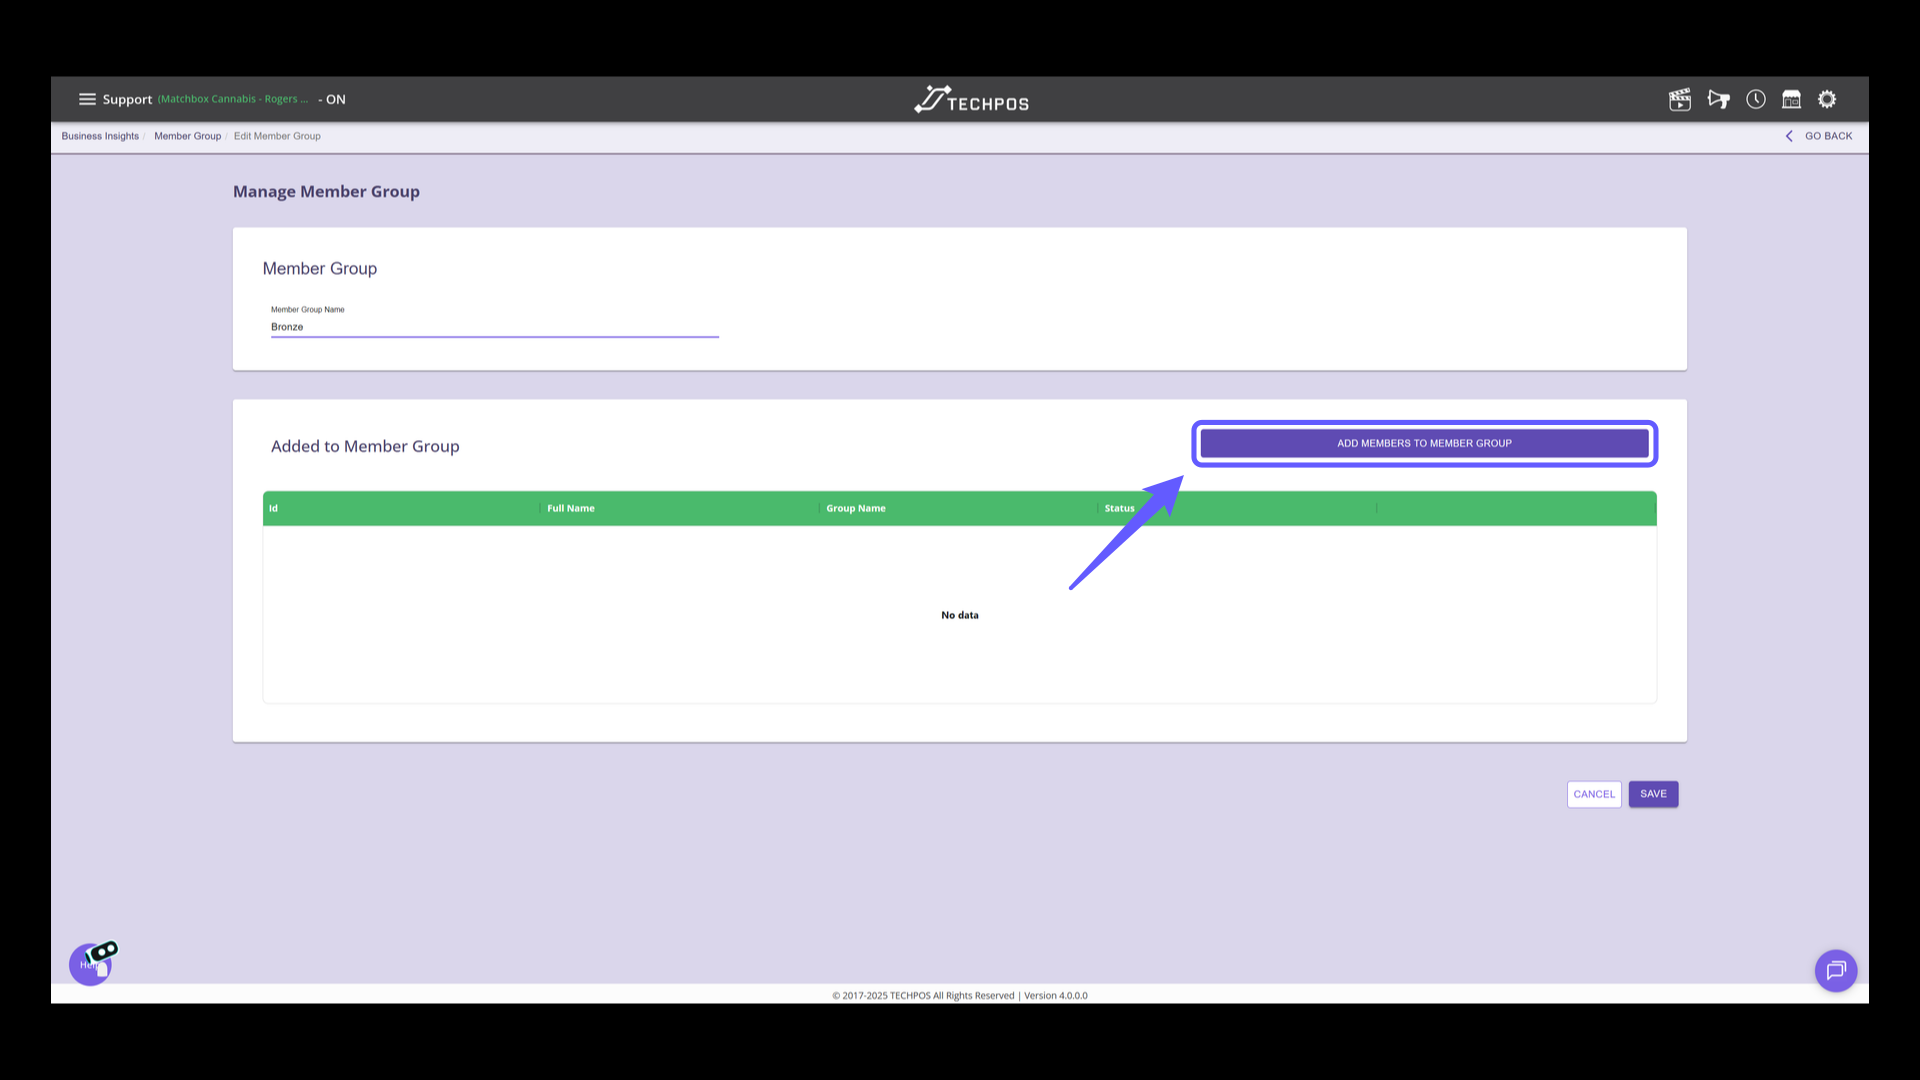
6. Add Members to Group
Click 'Add Members to Member Group' to include new members in the current group.
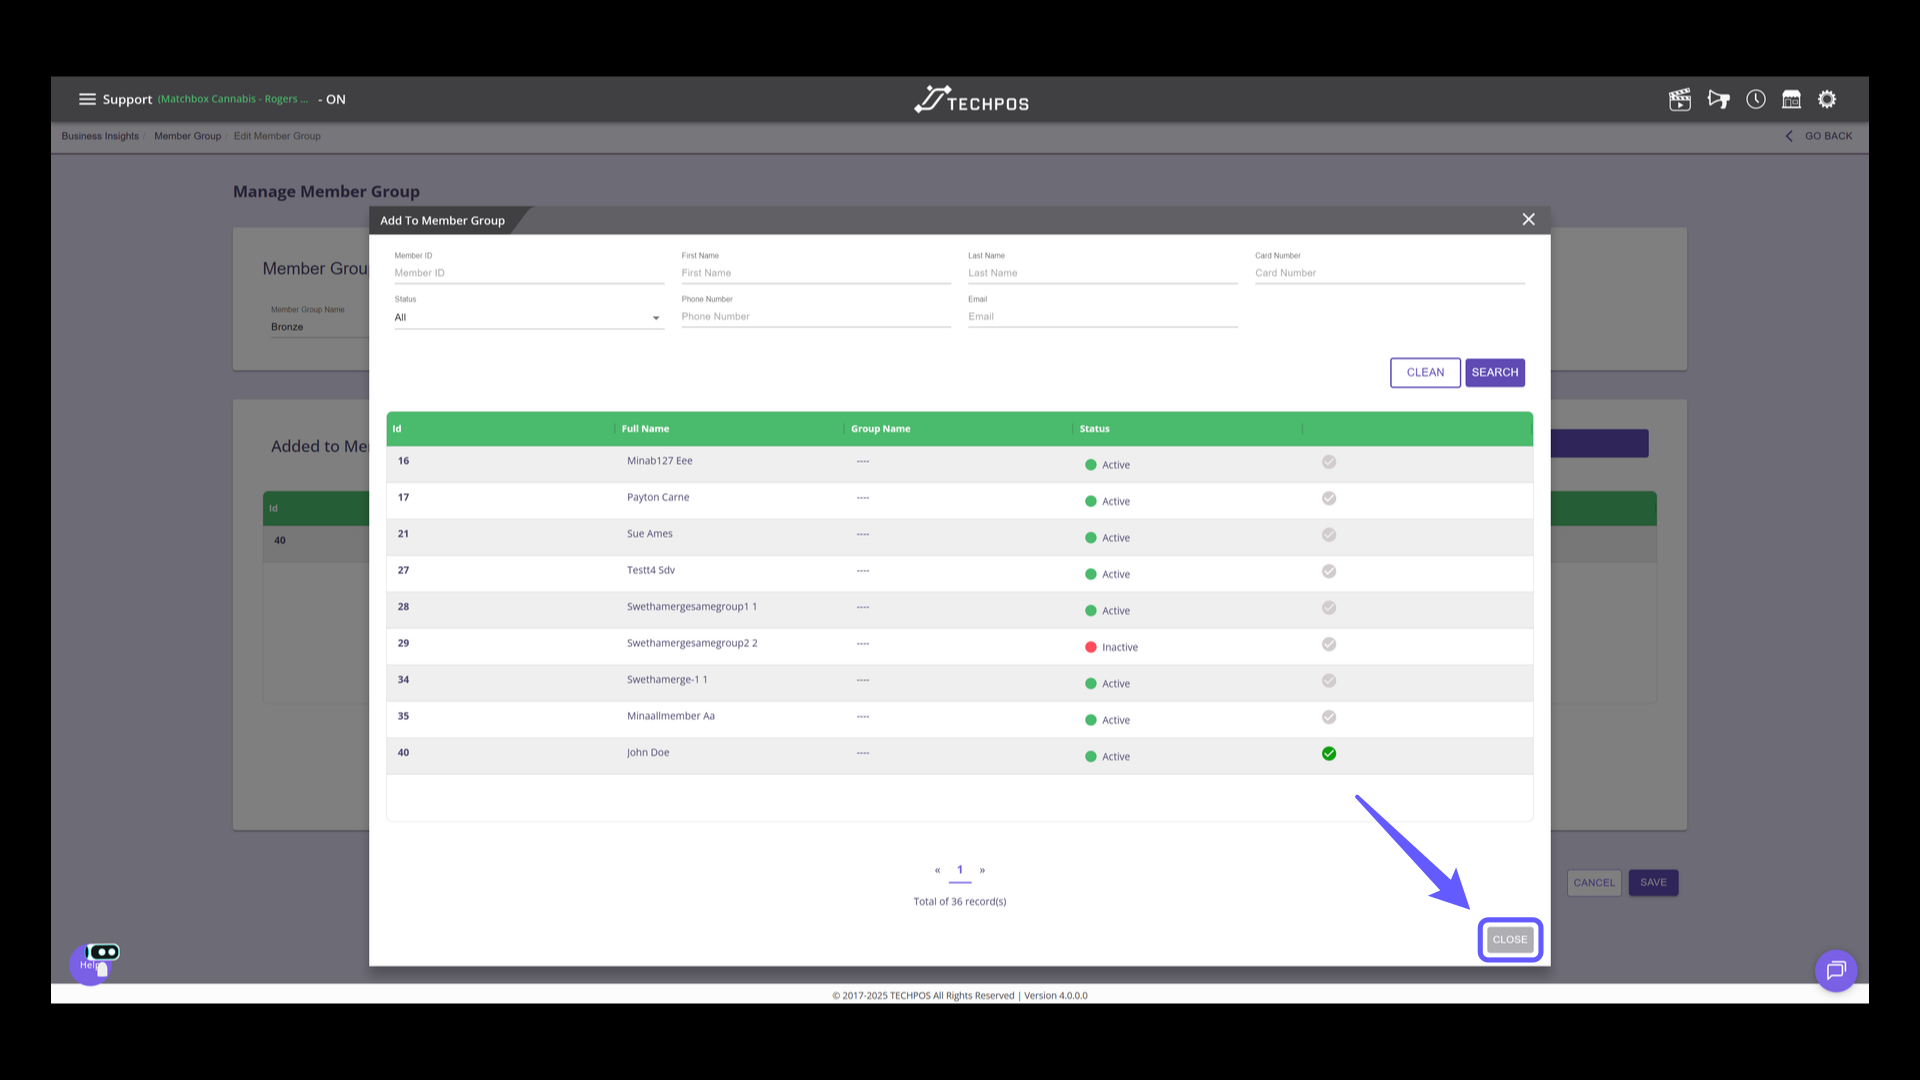
7. Select Member to Add
Select the checkbox for the members to be added. Utilize the search filters to locate members easily.

8. Close the Member Group Window
Select 'Close' to exit the member group management window.
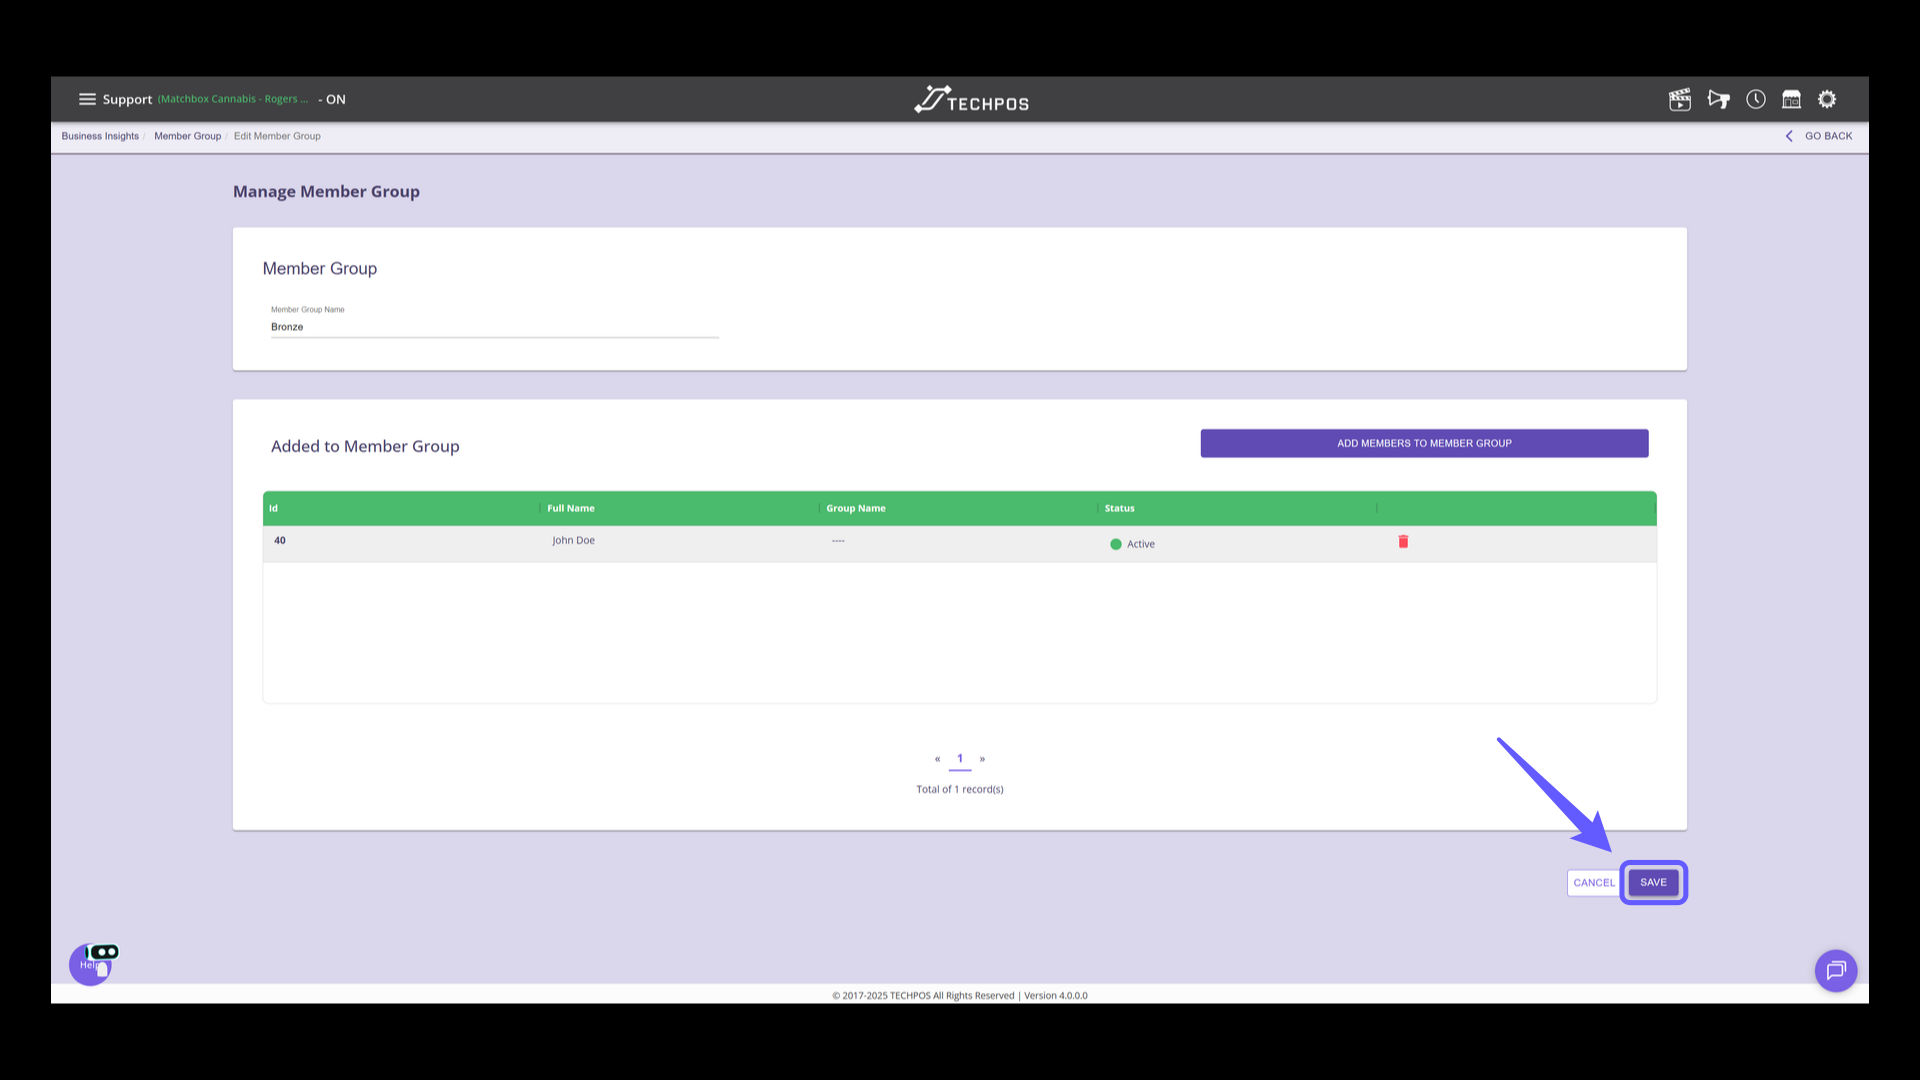
9. Save Changes
Click the 'SAVE' button to confirm and apply your changes to the member group.