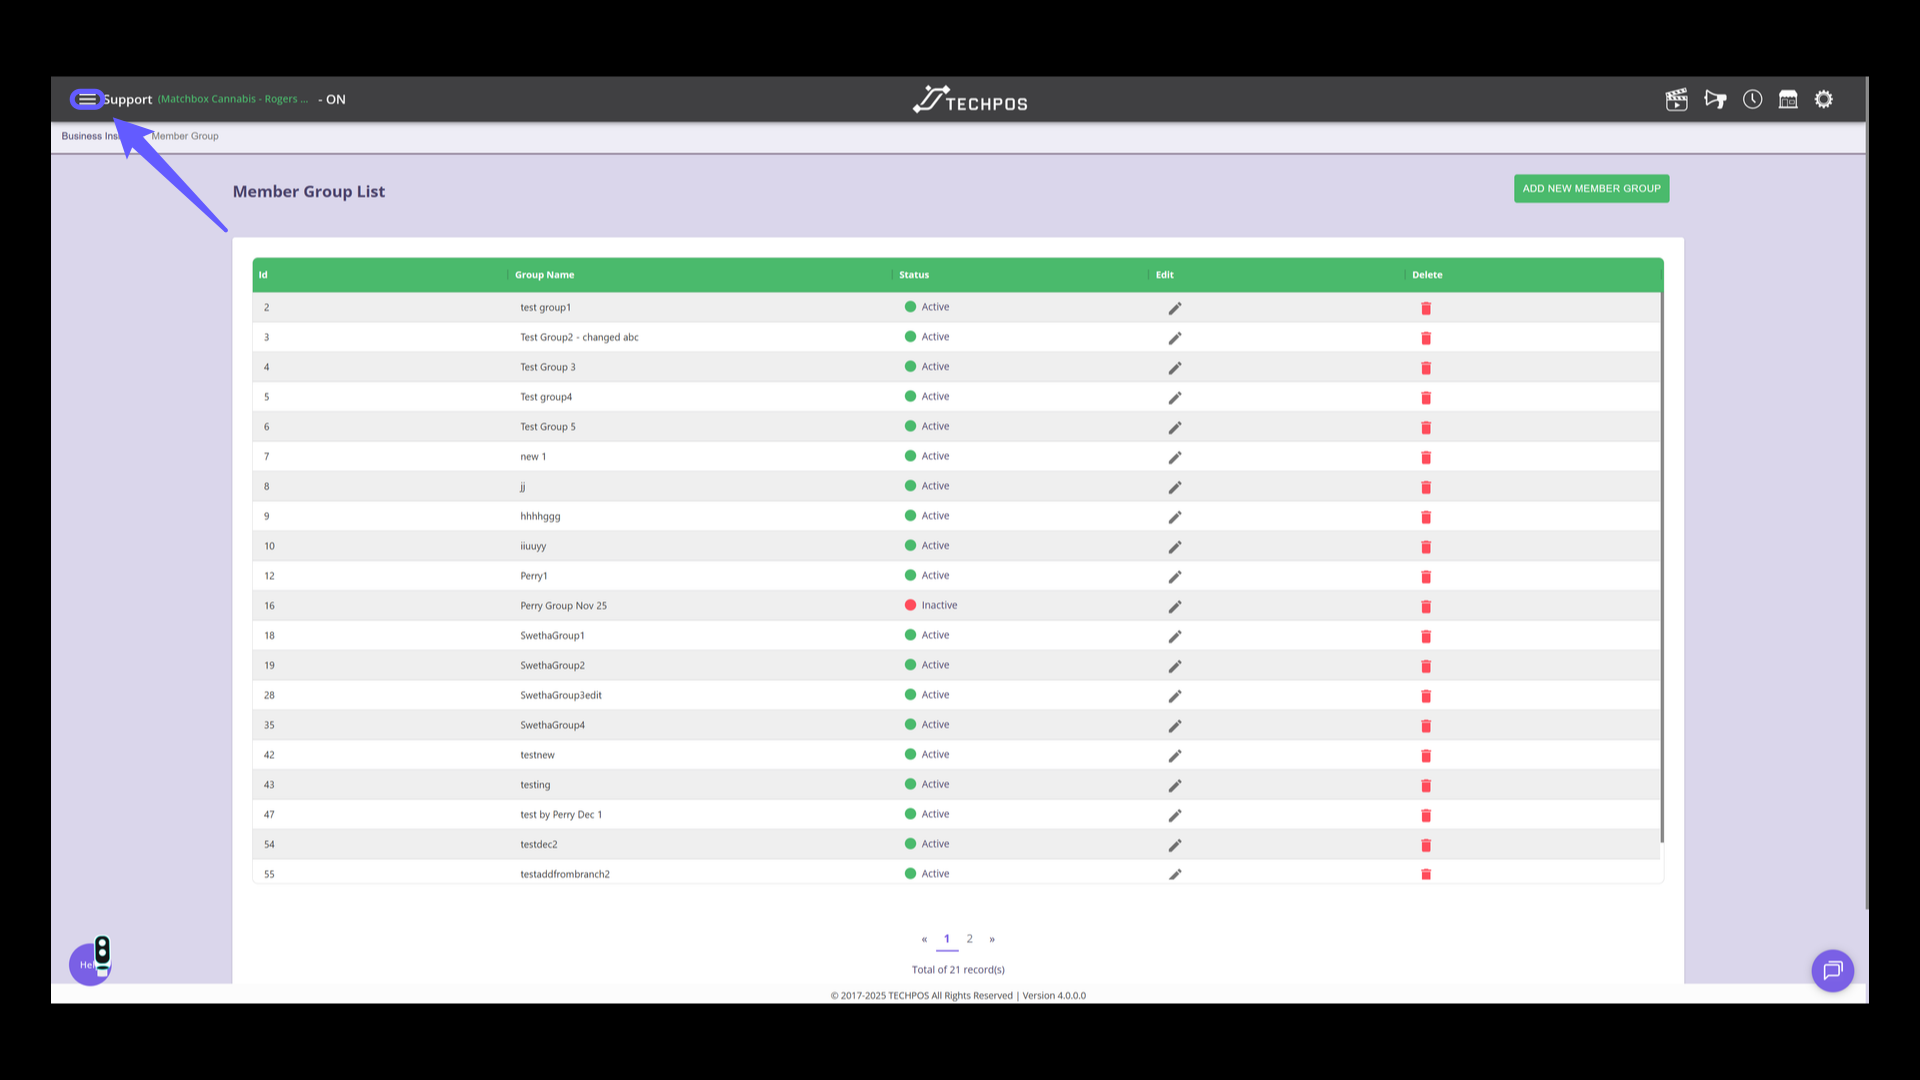
1. Go to Menu
Click on the menu icon.
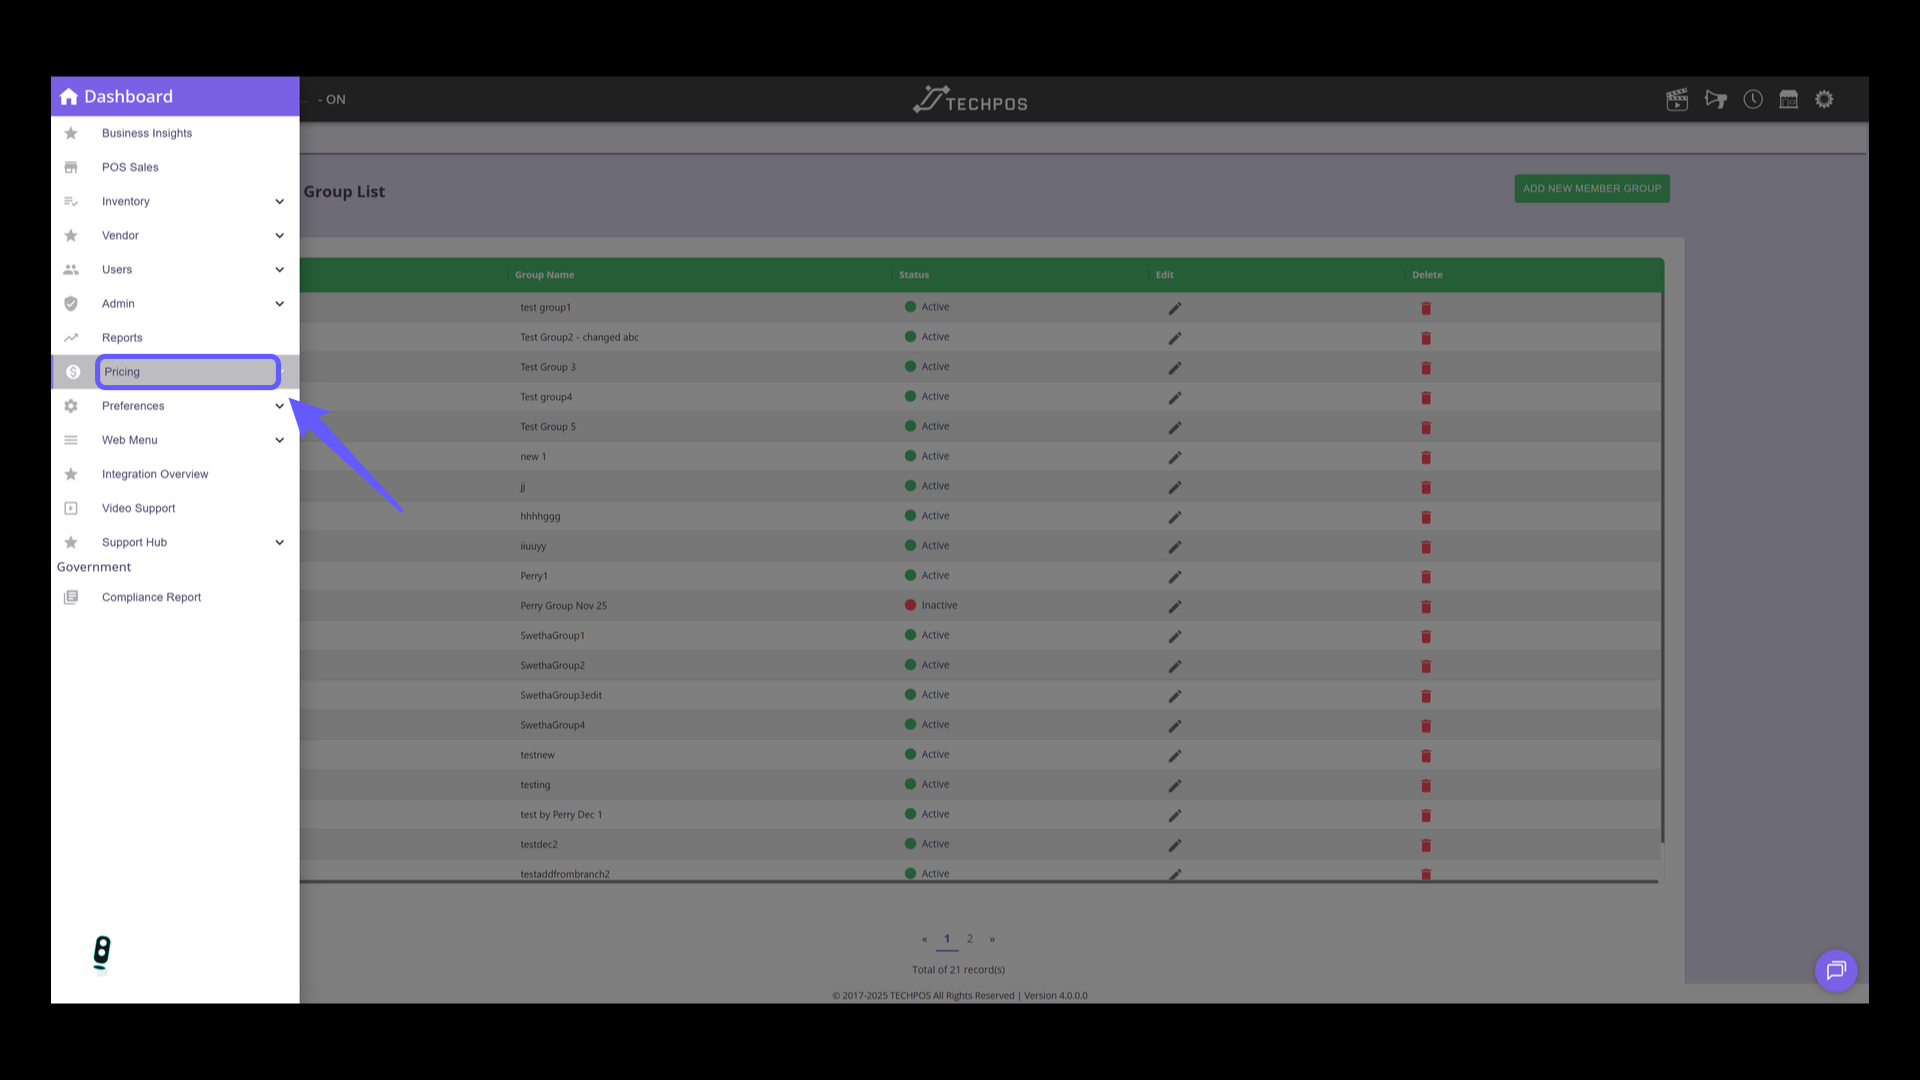
2. Navigate to Pricing
Select 'Pricing' from the menu.
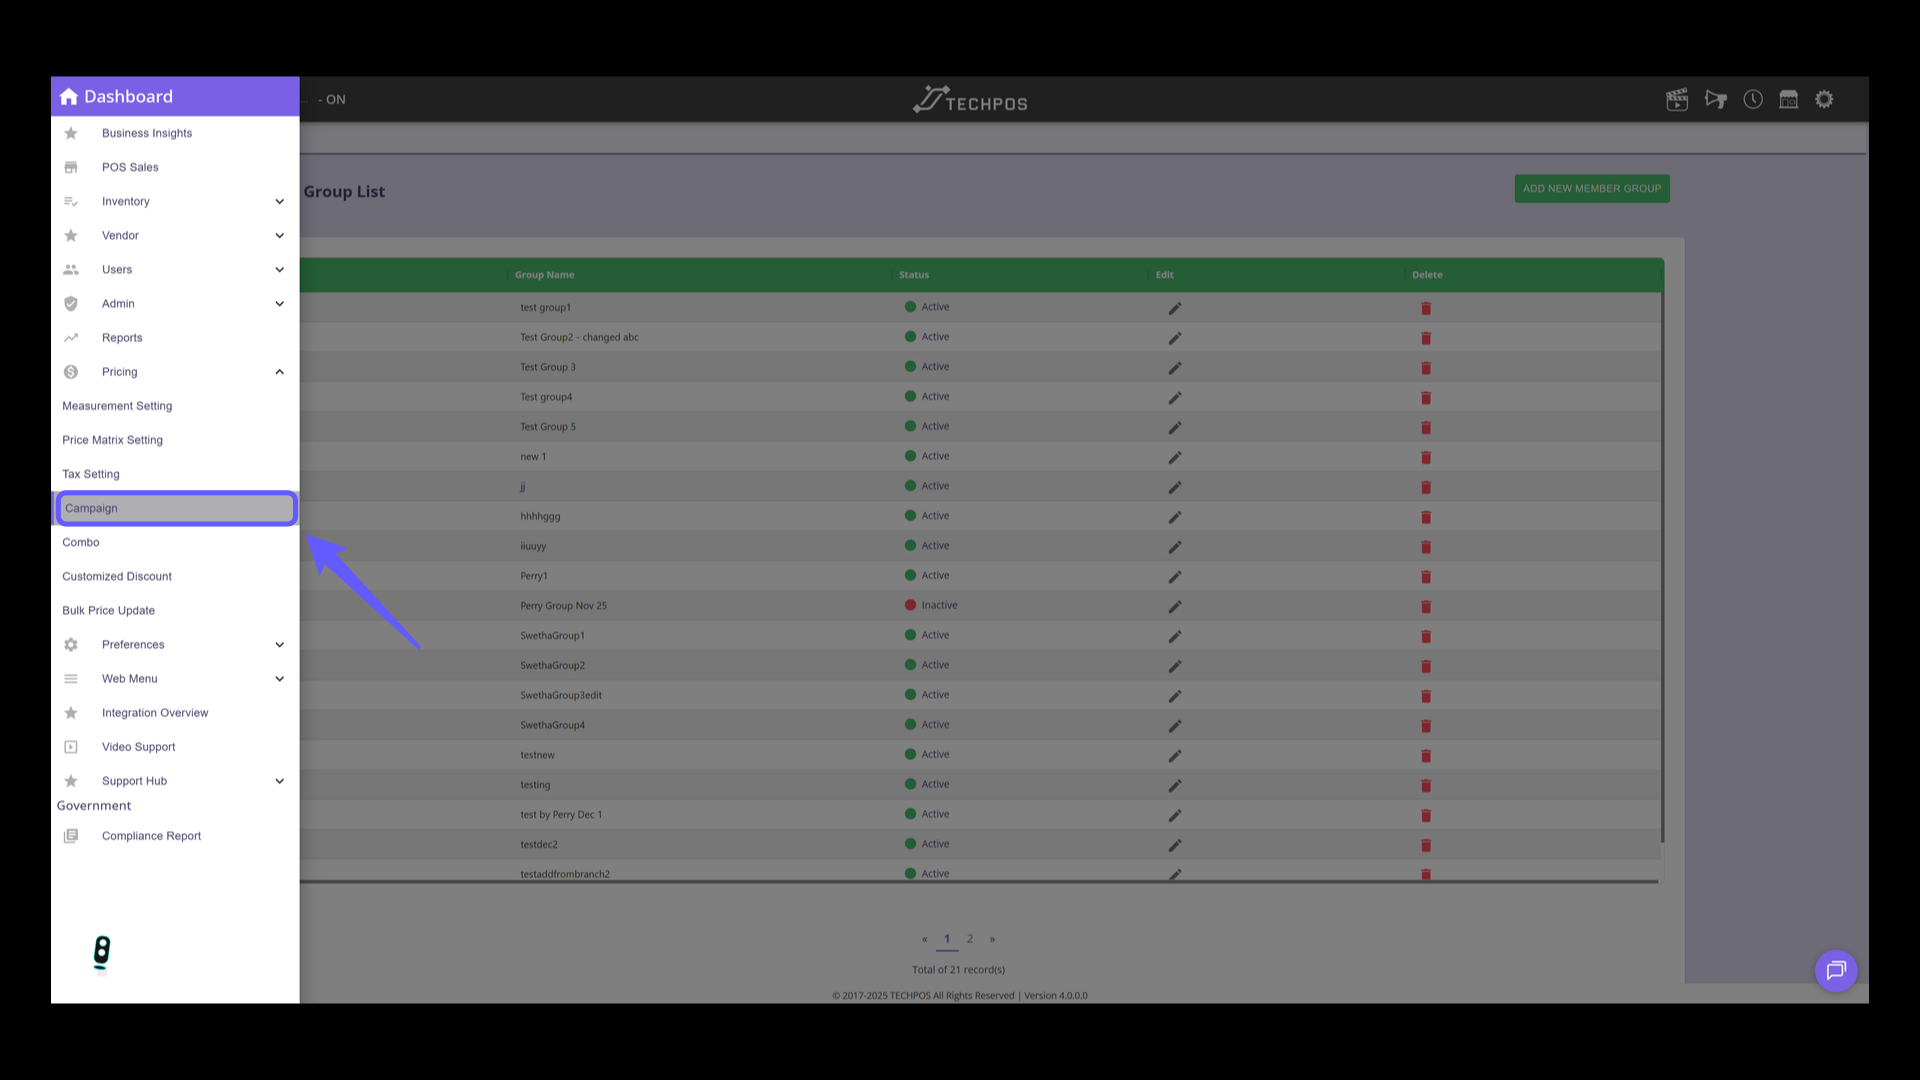
3. Click on Campaign Section
Select 'Campaign' from the dashboard menu.
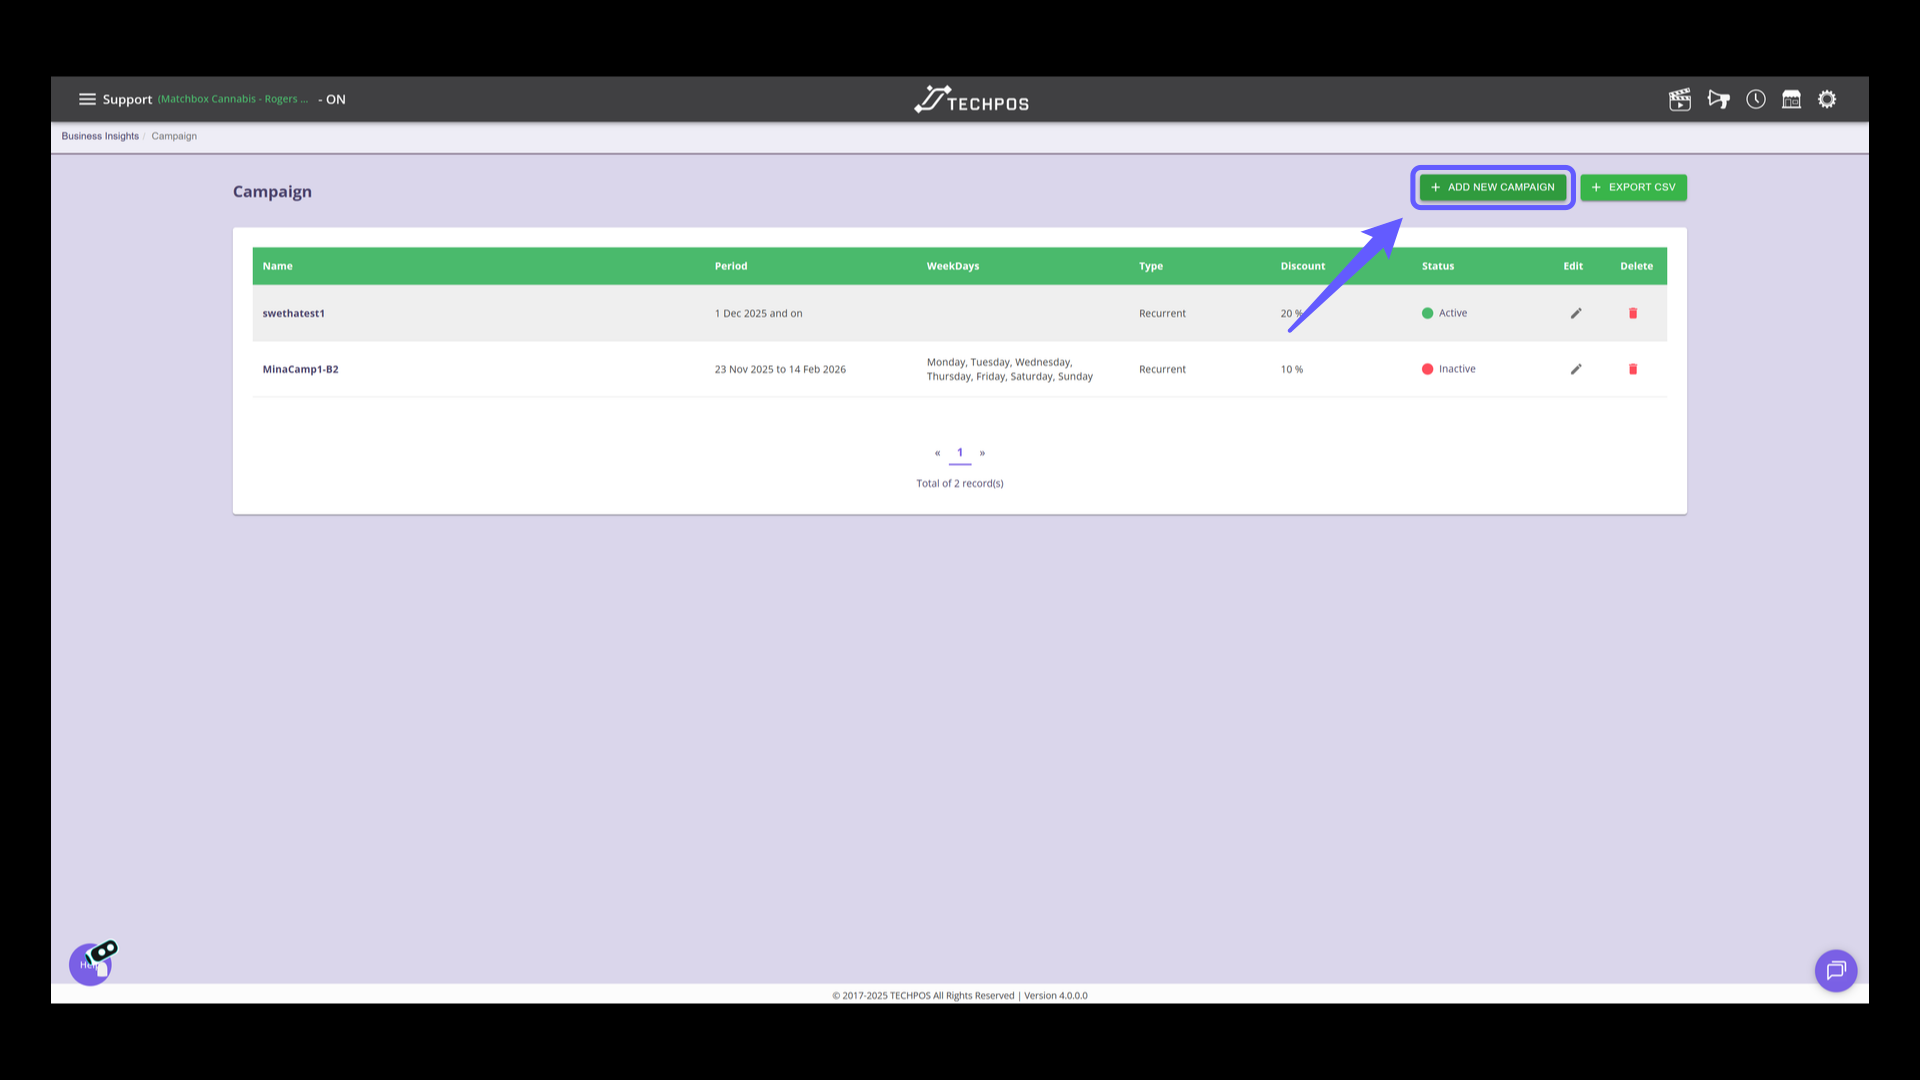
4. Create New or Edit Existing Campaign
Click on 'Add New Campaign' to initiate a new campaign, click on pencil button to edit existing campaign.
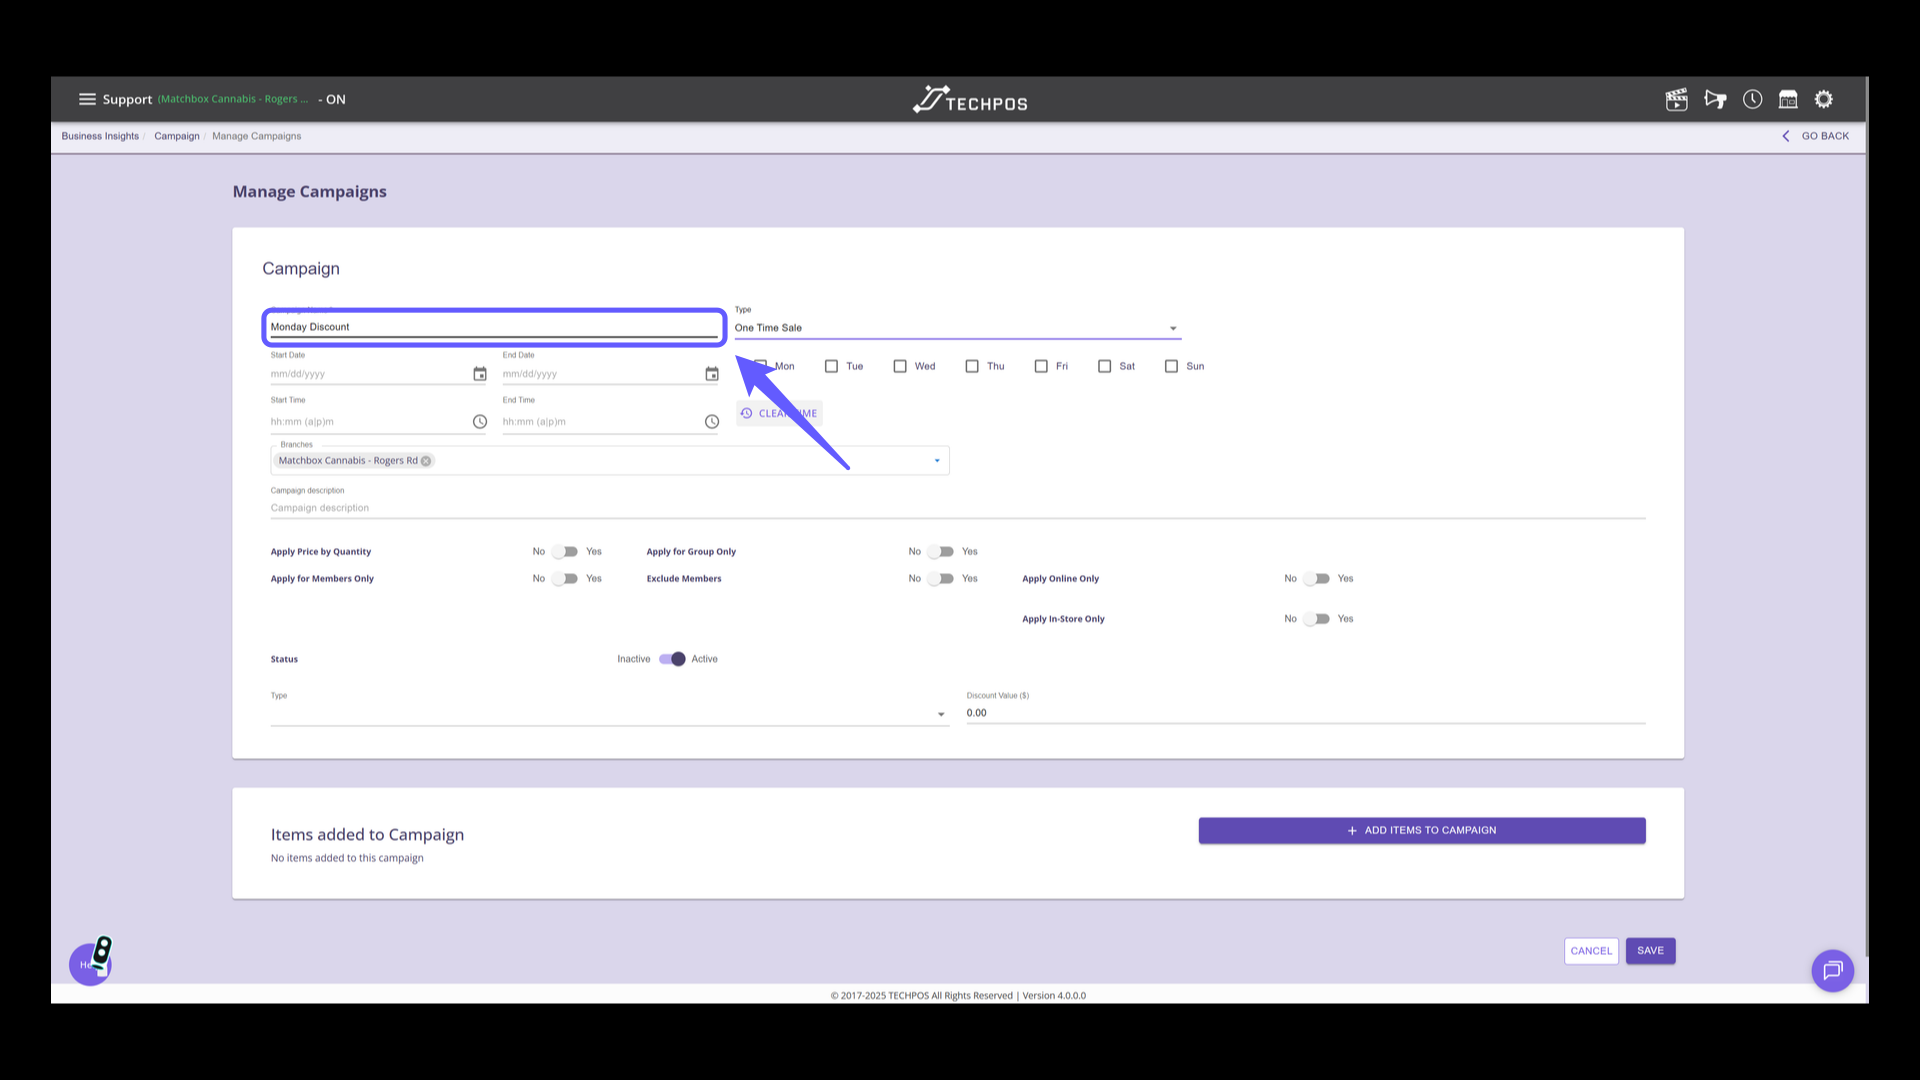
5. Enter Campaign Name
Input the desired name for your campaign.
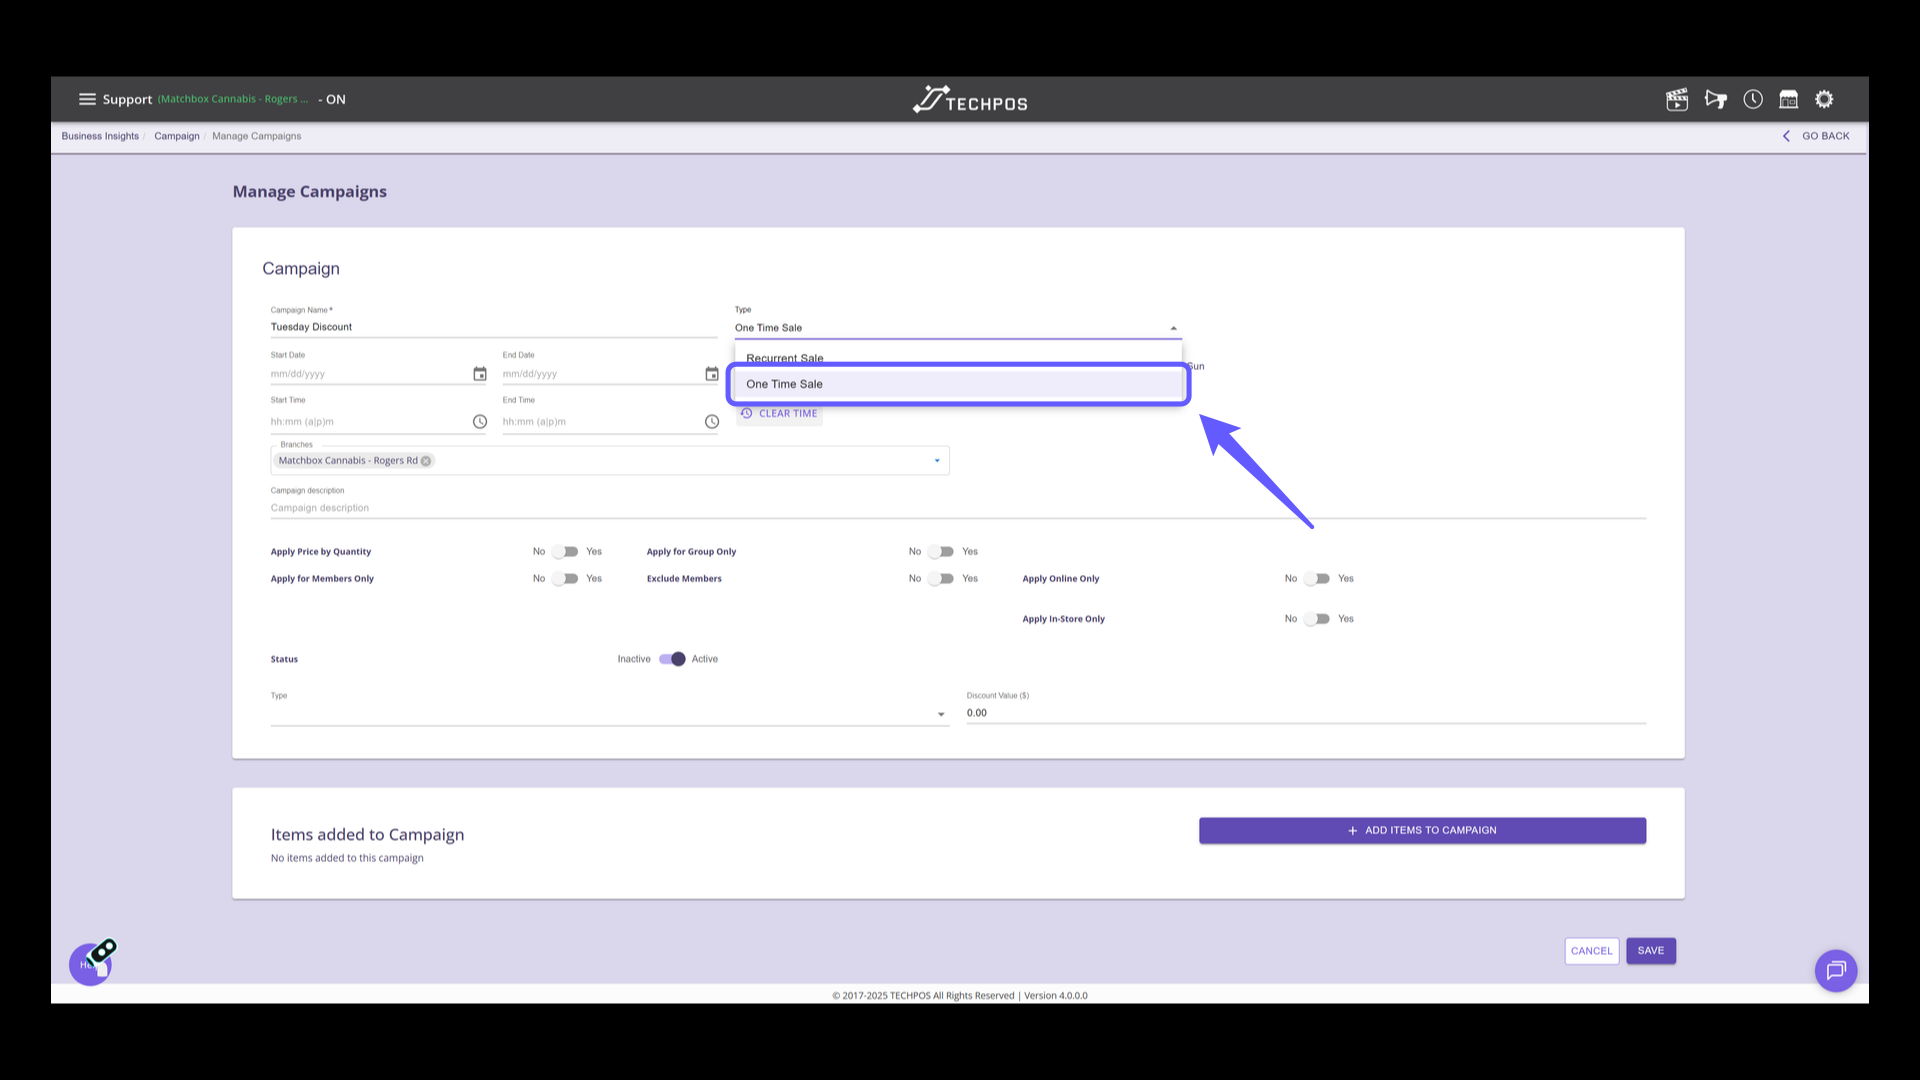
6. Select Campaign Type
Choose 'One Time Sale' for one day promotion, or 'Recurrent Sale' for ongoing promotion.
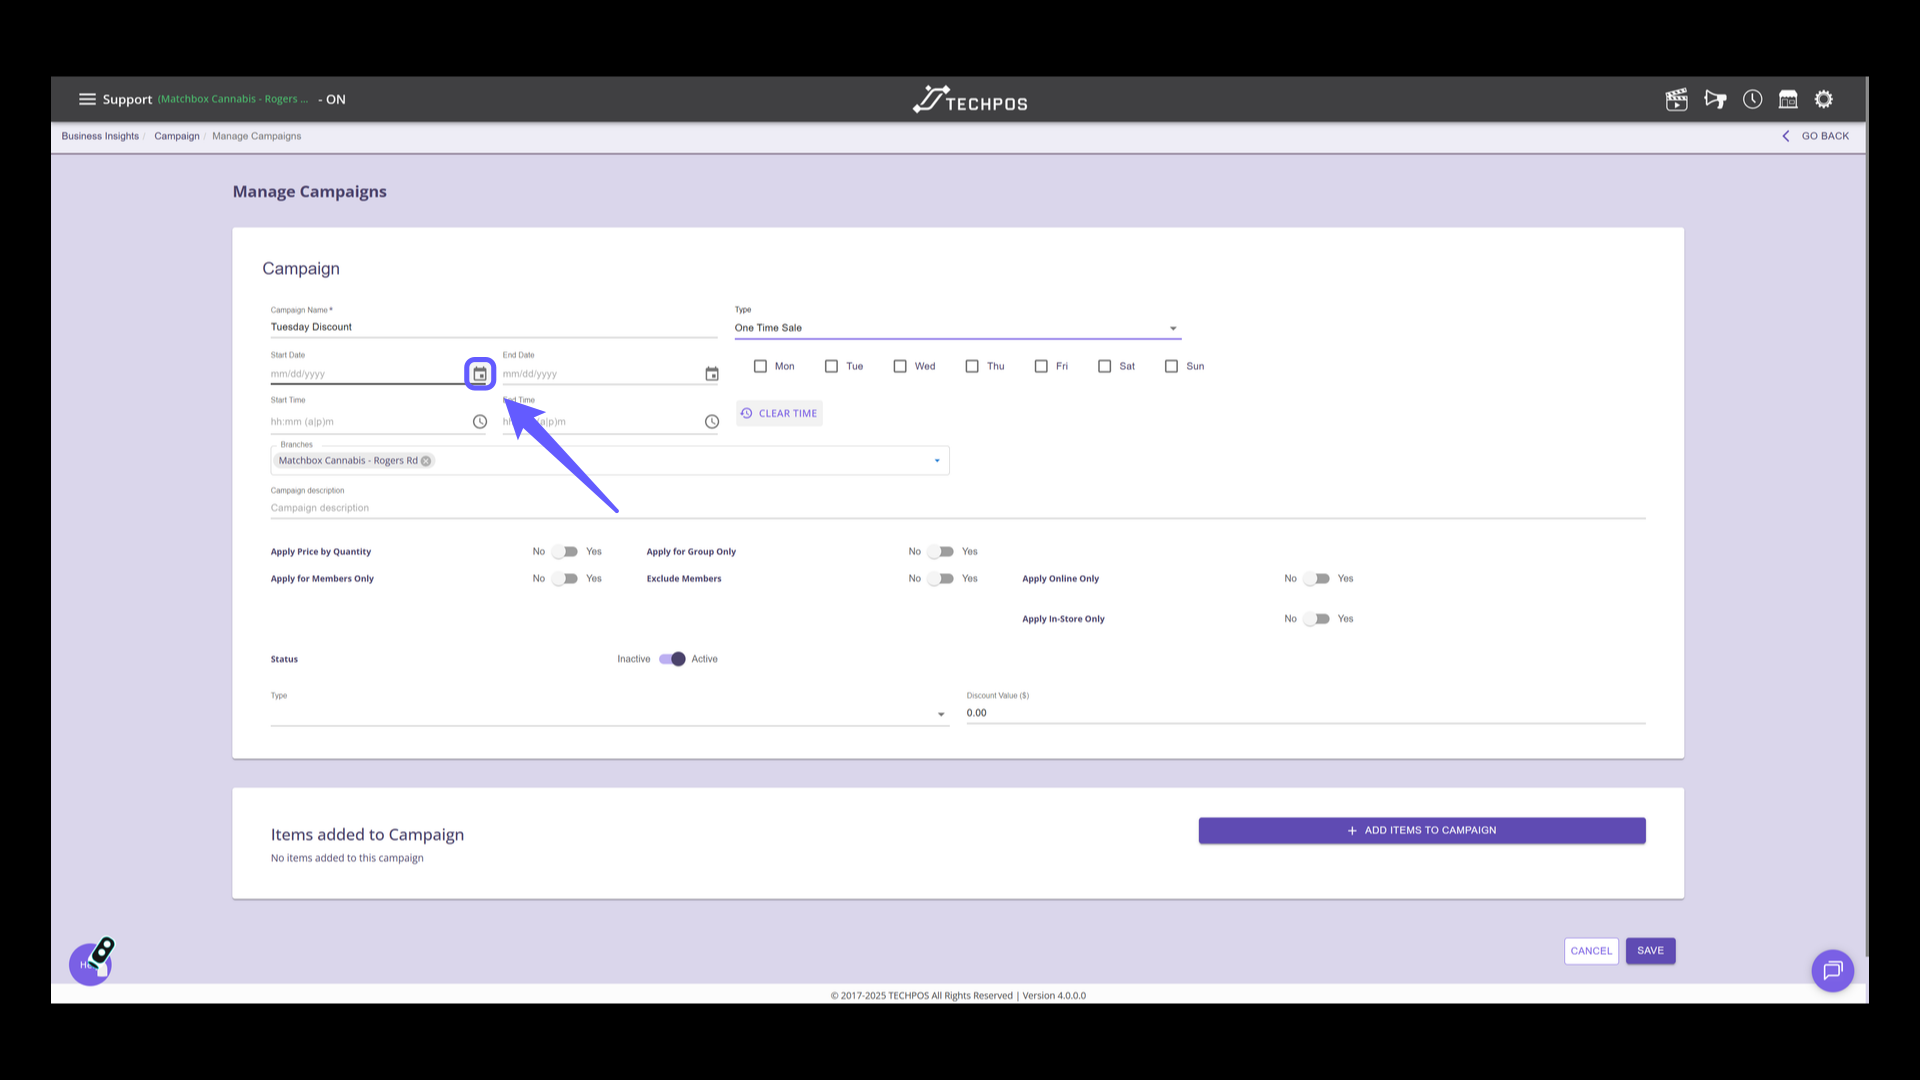
7. Select Start Date
Click the calendar icon to choose the start date for your campaign.
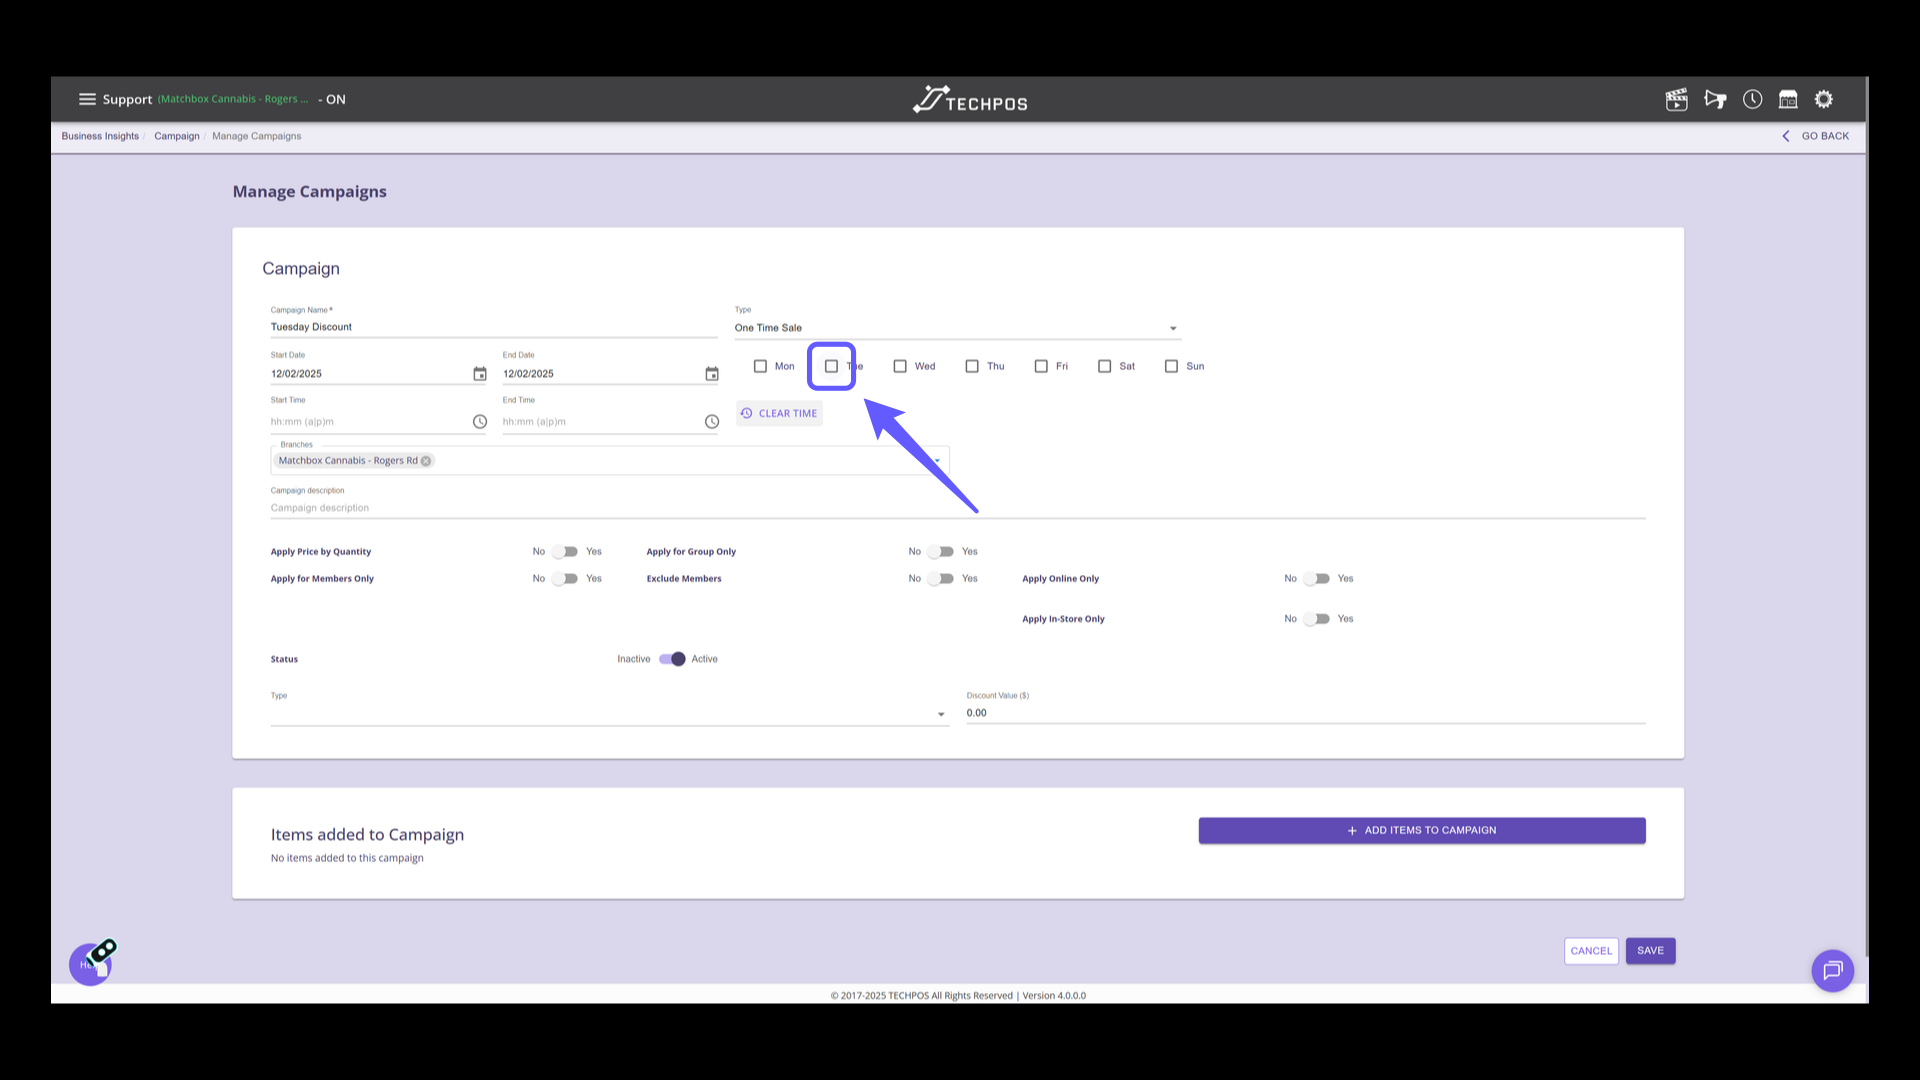
8. Select the Days for Campaign
Click the checkbox to select days for the campaign schedule.
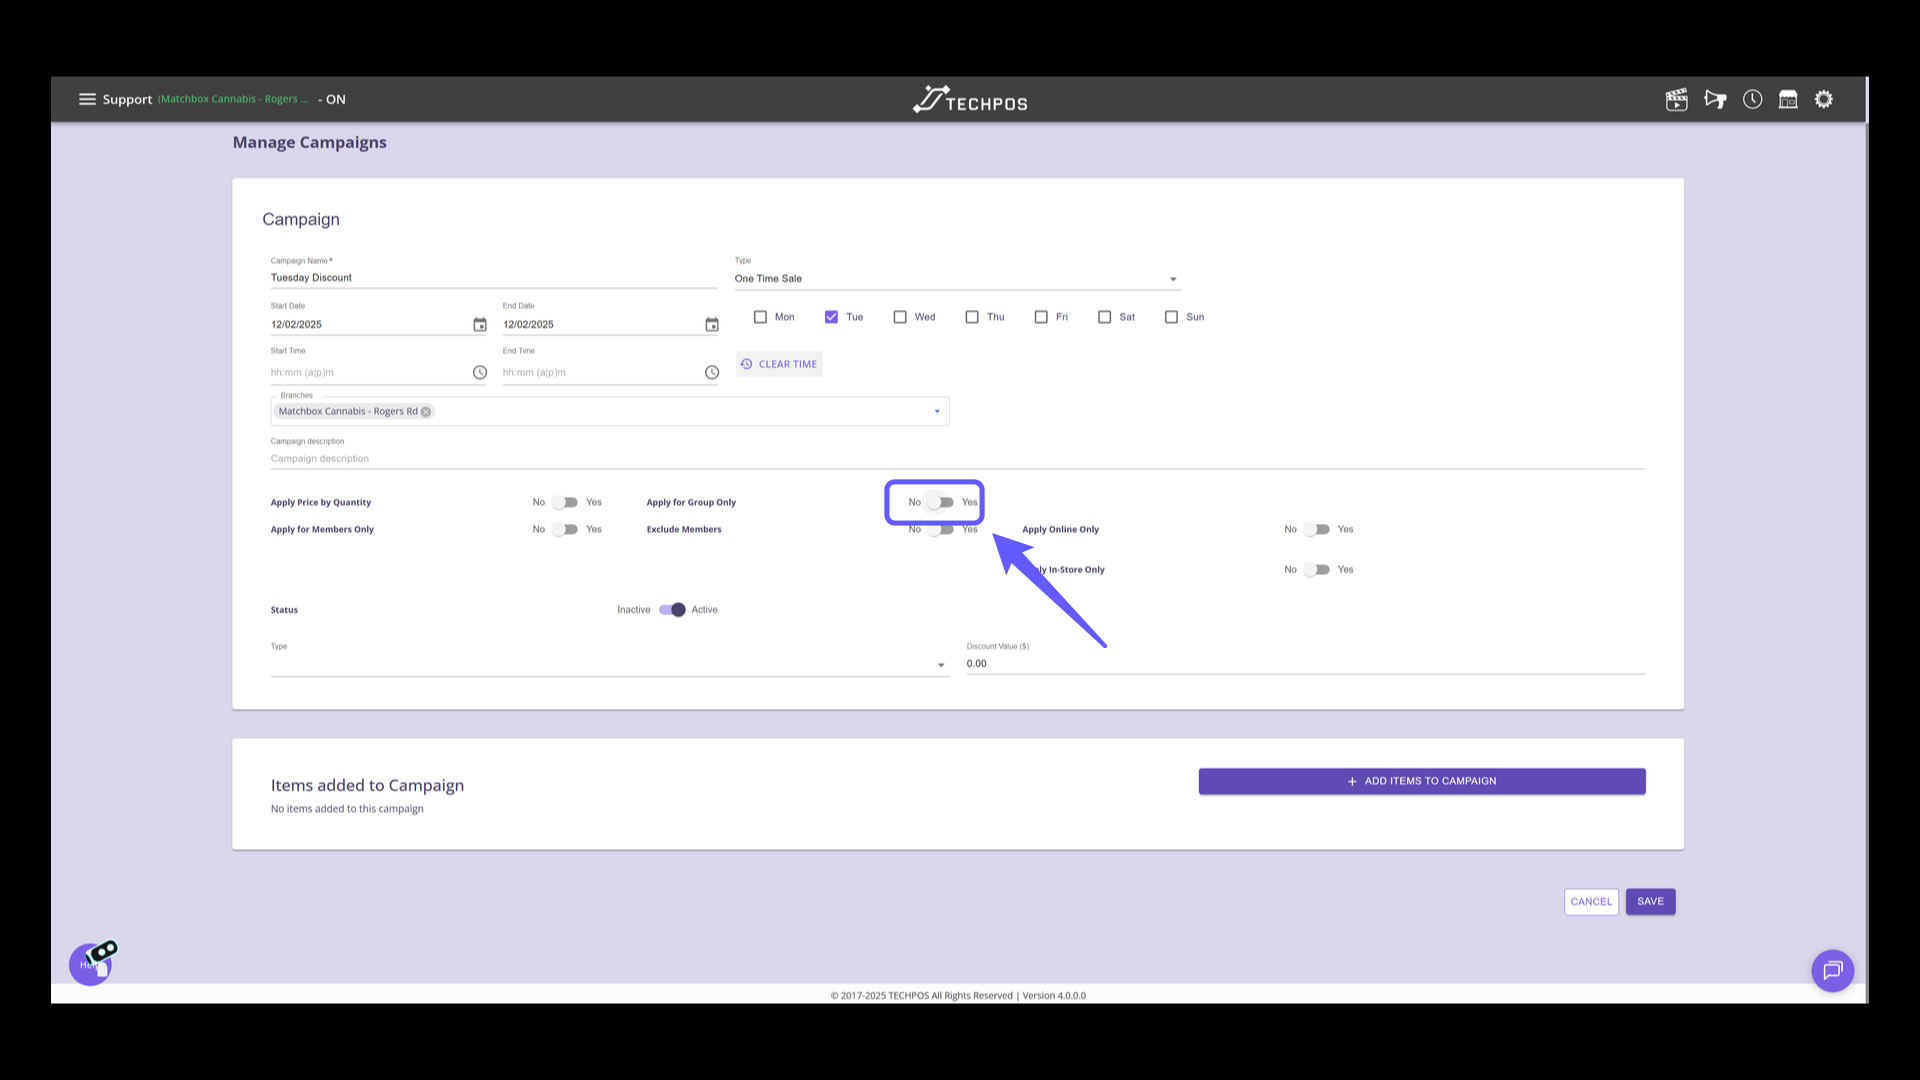
9. Enable 'Apply for Group Only' Toggle
Switch the toggle to 'Yes' to apply for members group only.
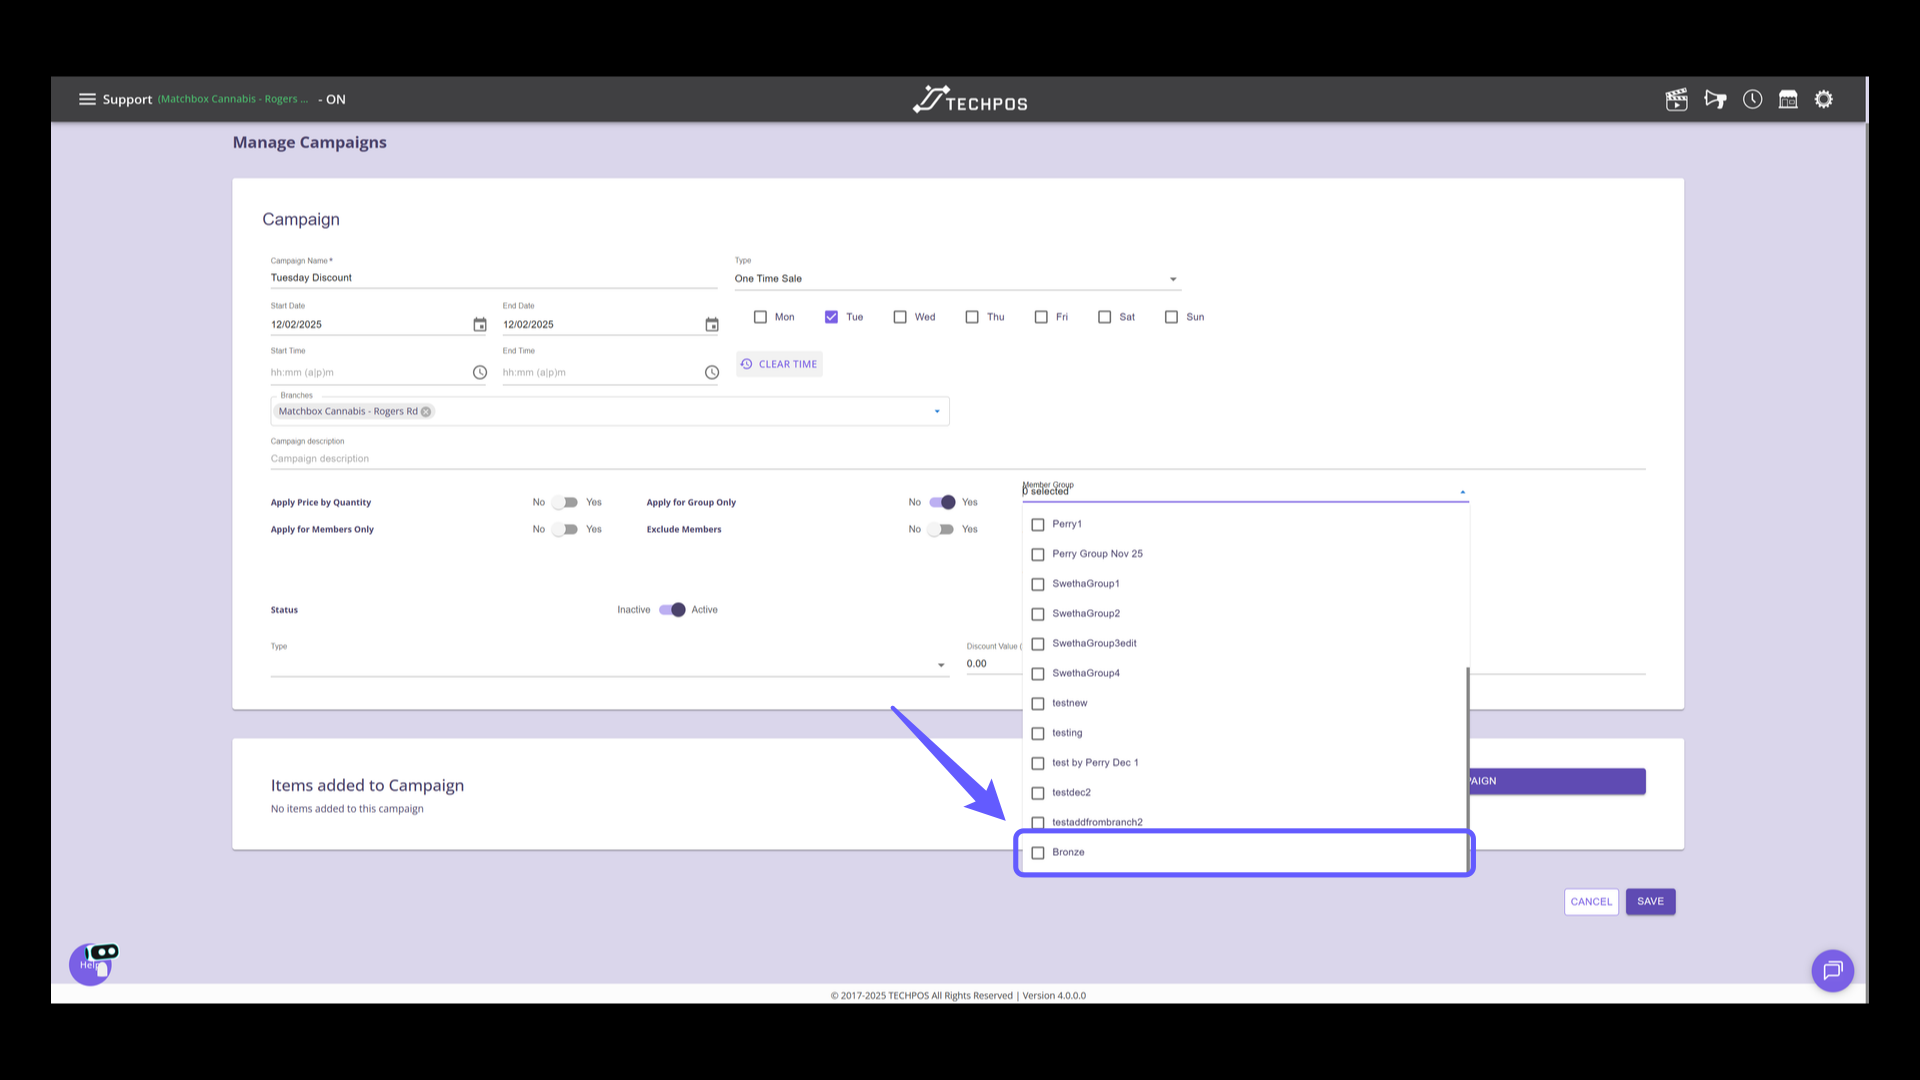
10. Select Member Group from the List
Choose member group by clicking the dropdown menu.
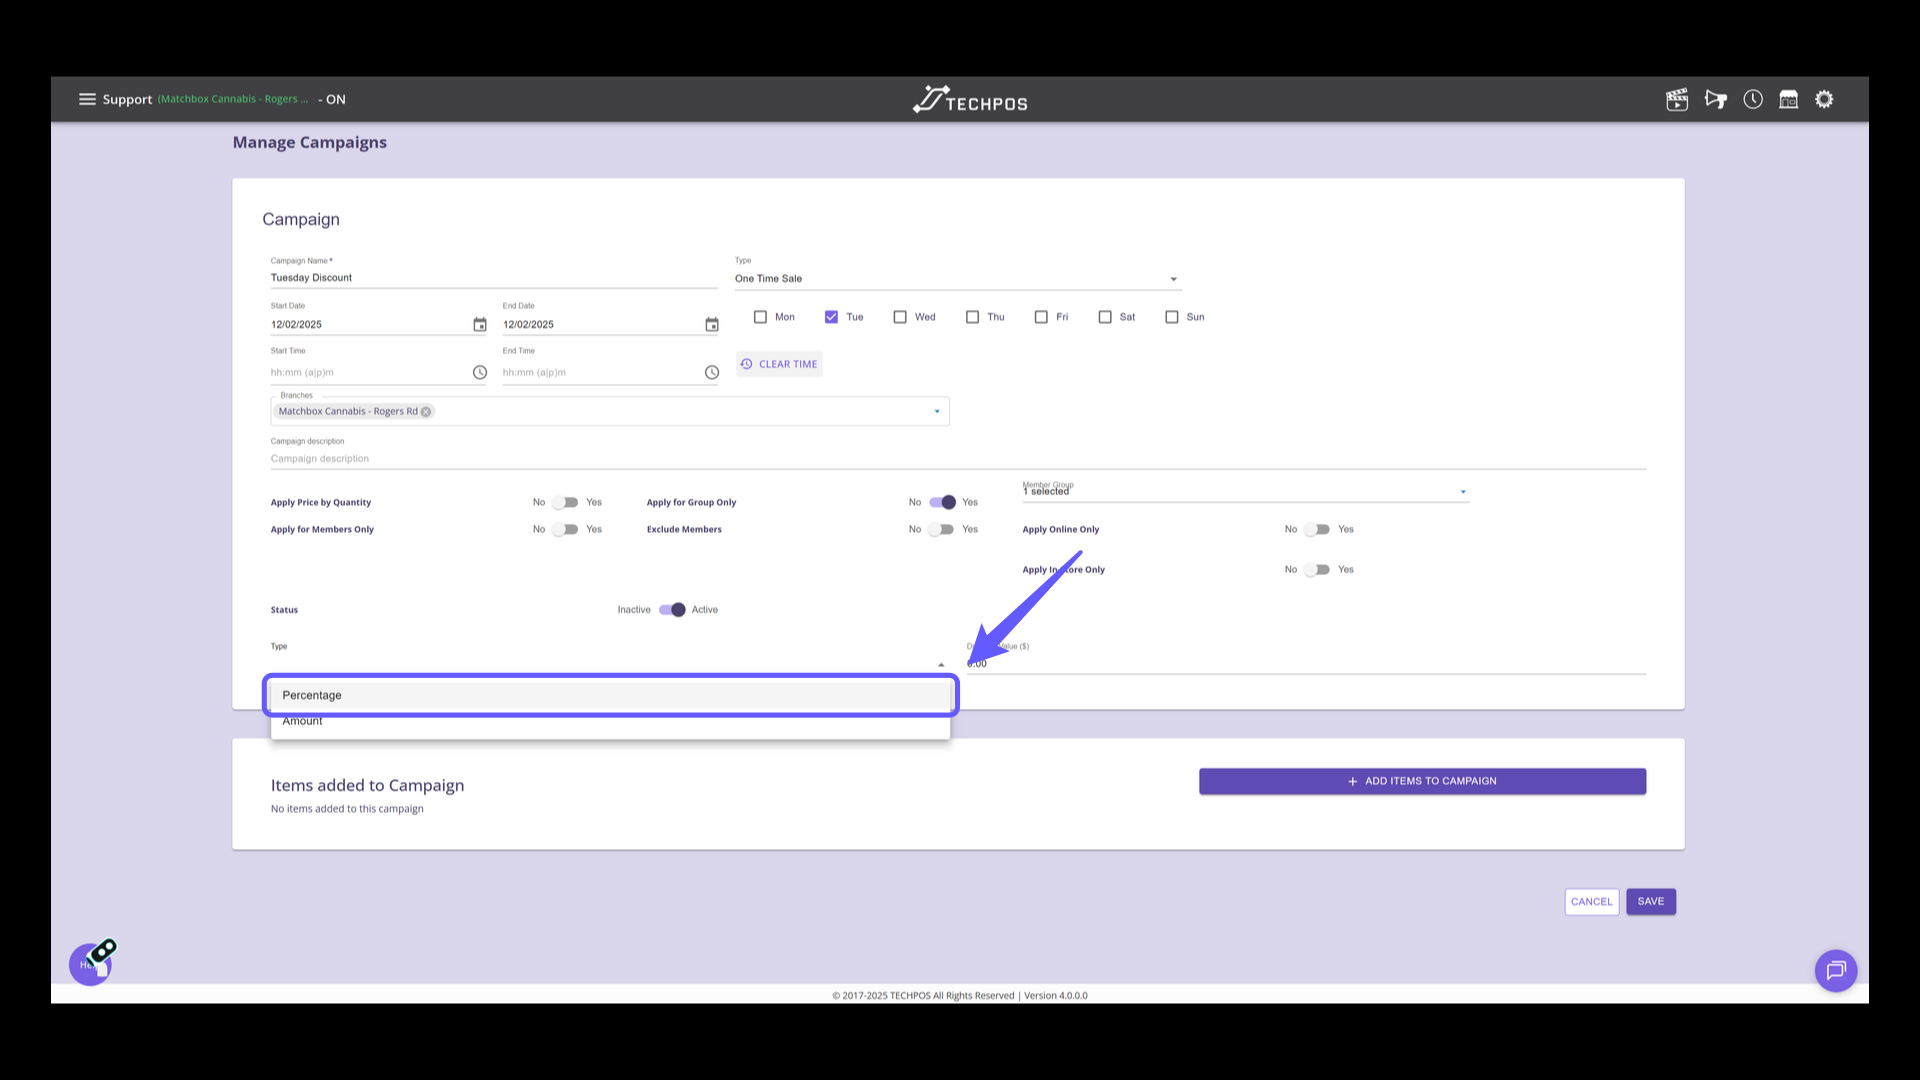
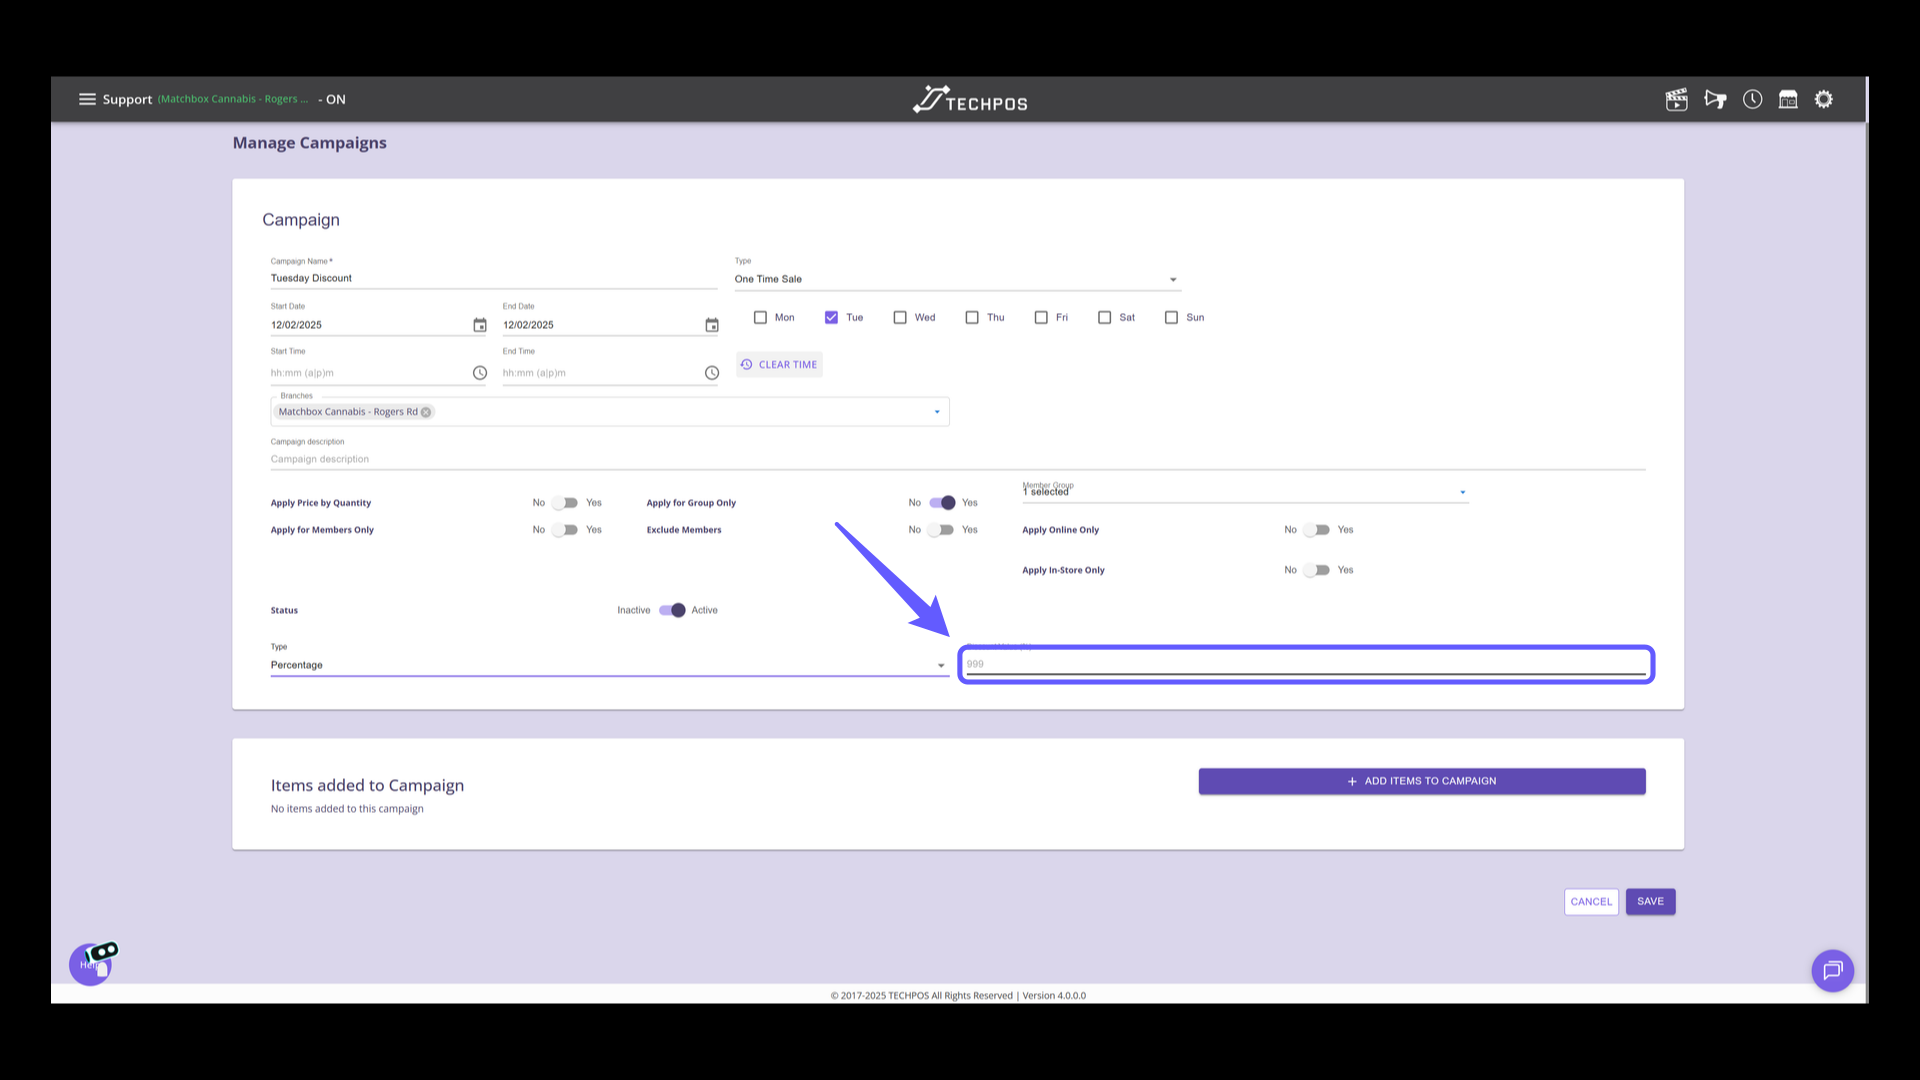
11. Select Discount Type
Select the appropriate discount type from the dropdown menu to apply the desired promotion to the campaign.
12. Set Discount Value
Enter the percentage discount value. Ensure accurate input to apply the desired discount correctly.
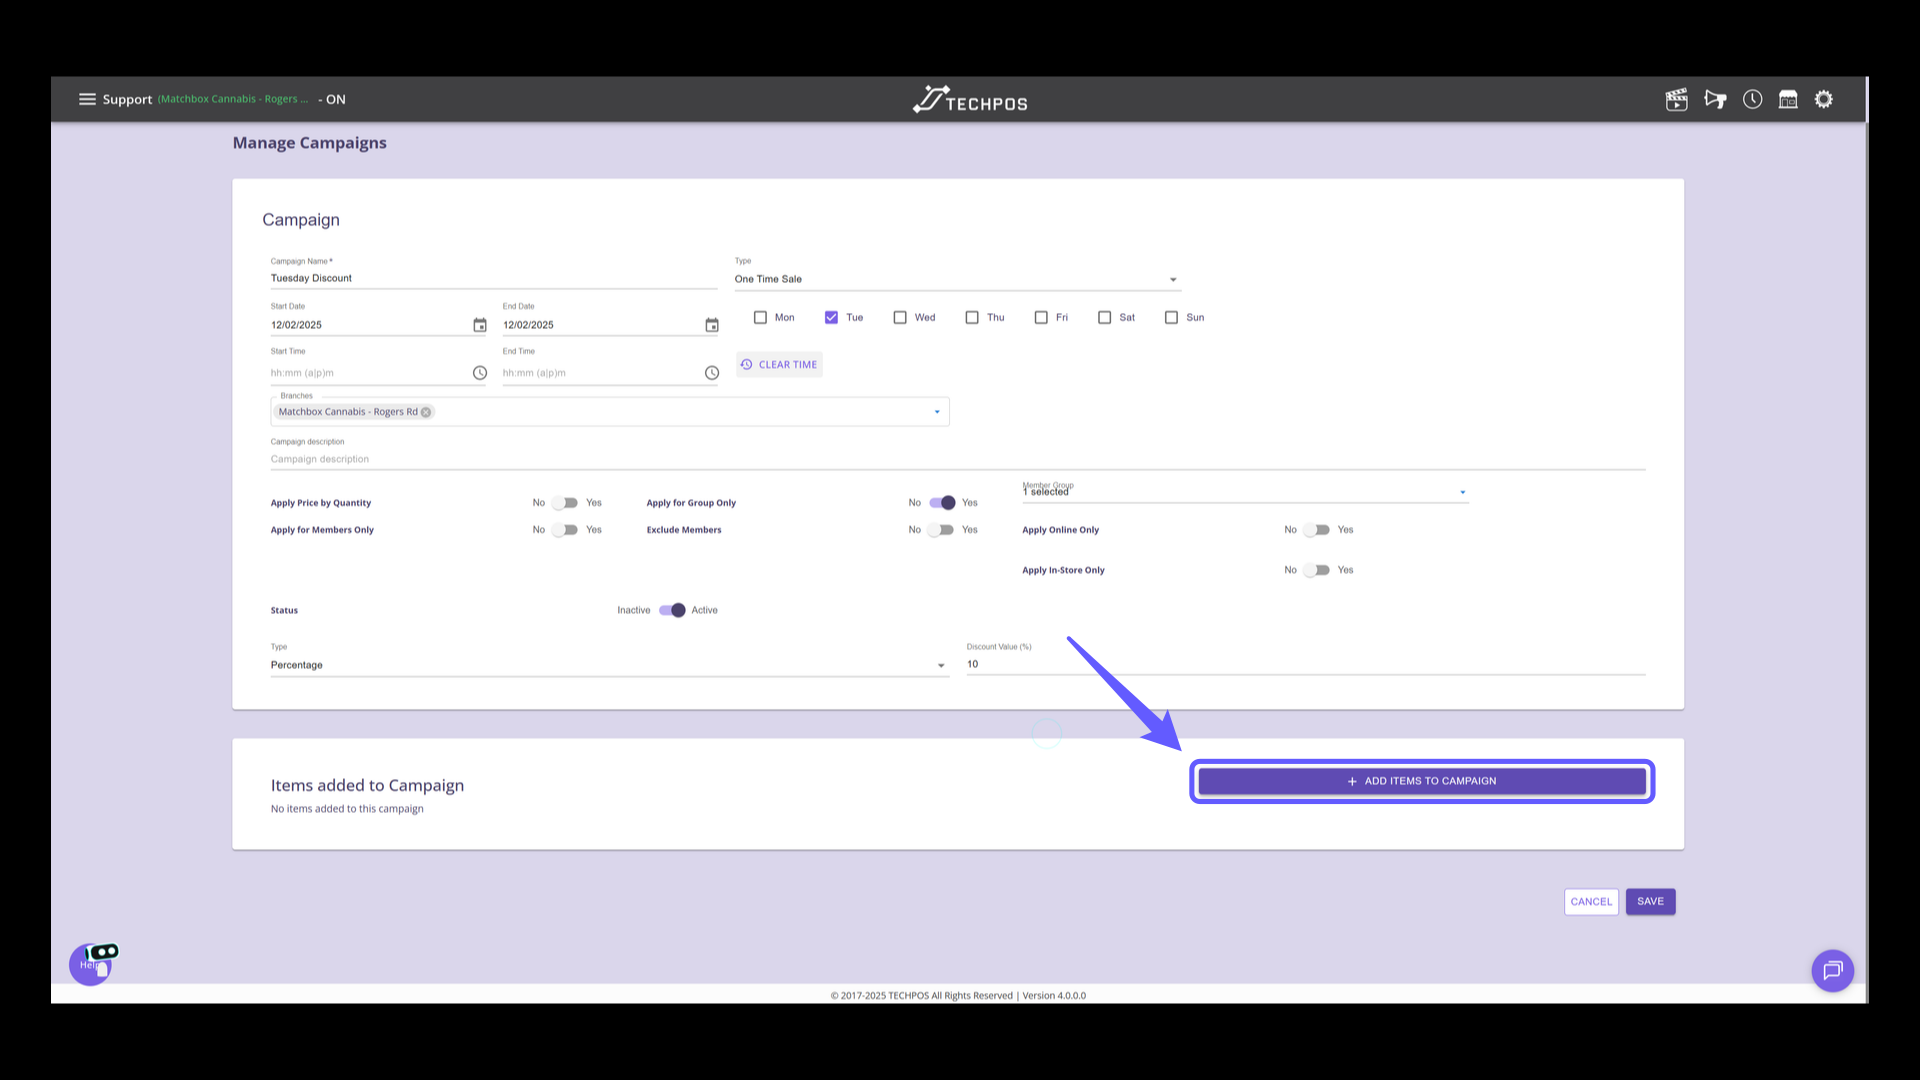
13. Add Items to Campaign
Click the button to add items to the campaign.
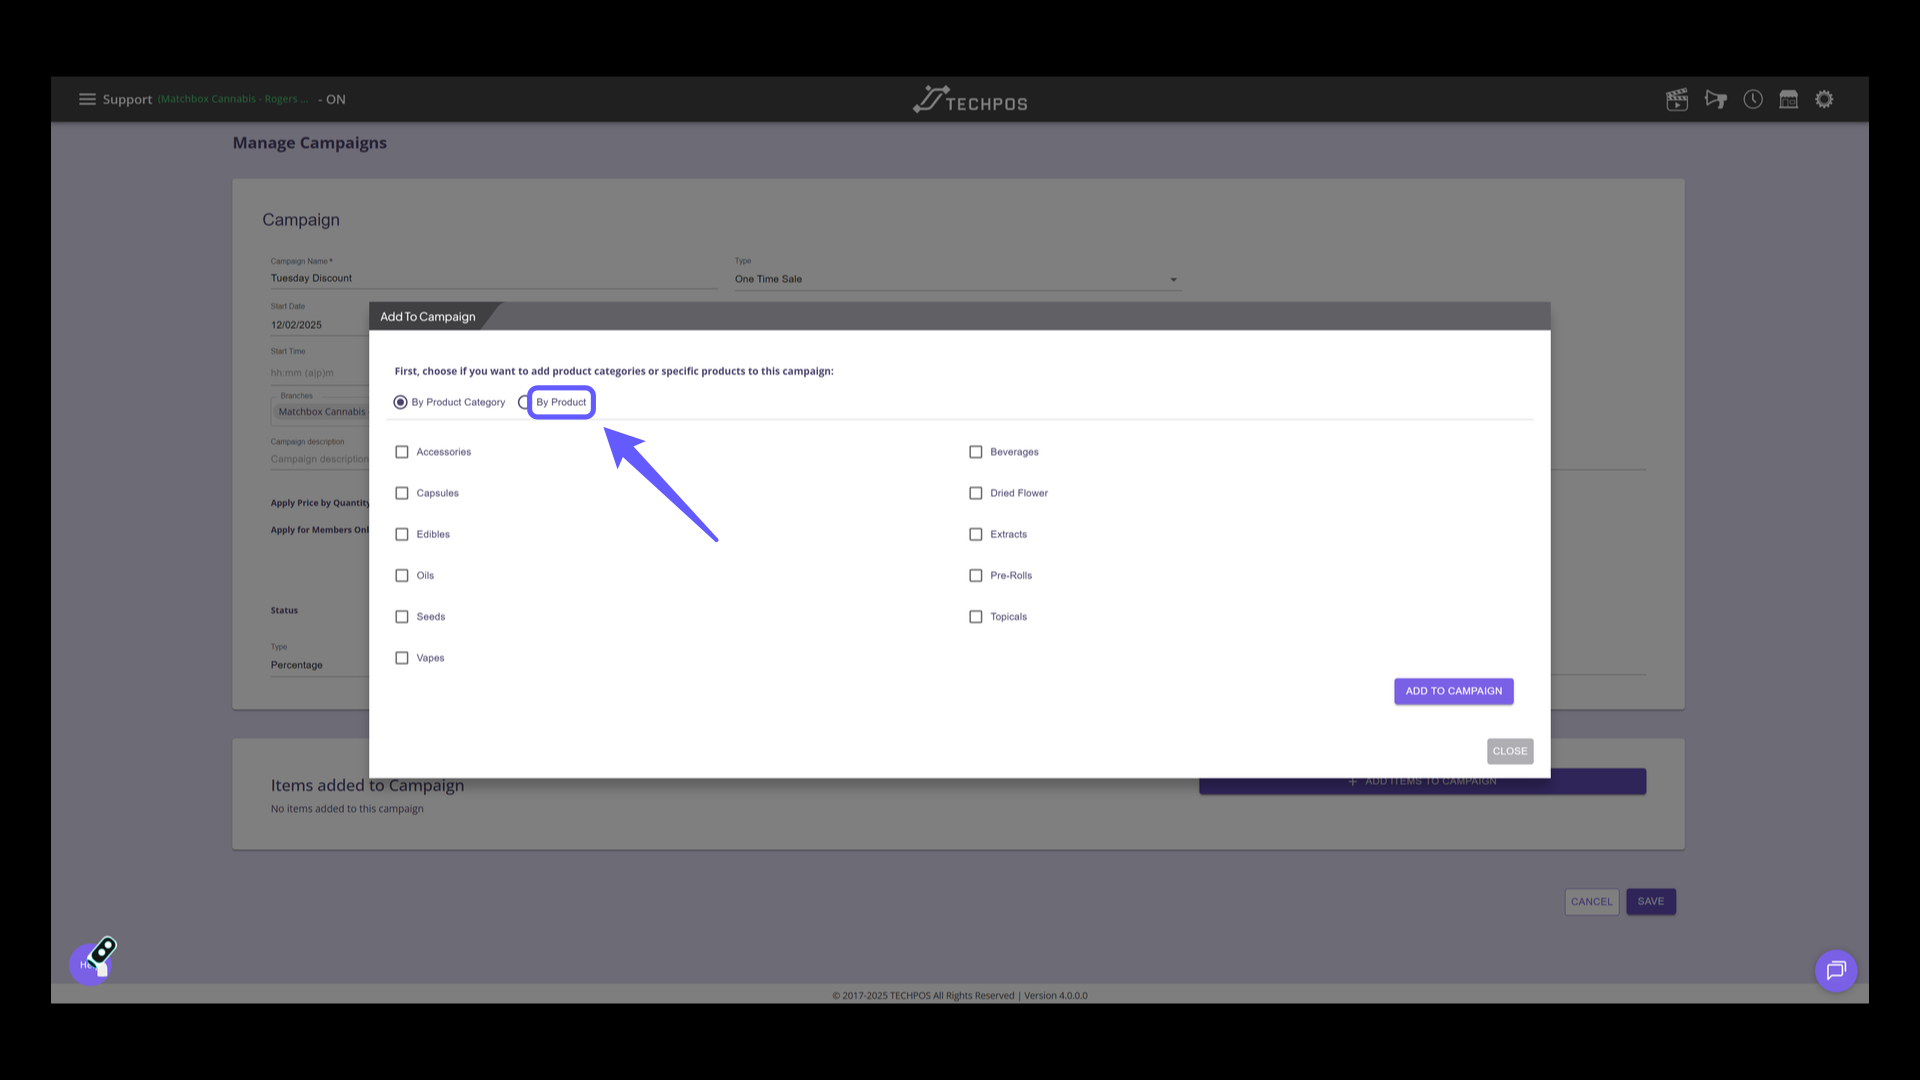
14. Select Add by Product or Category
Select by product or category.
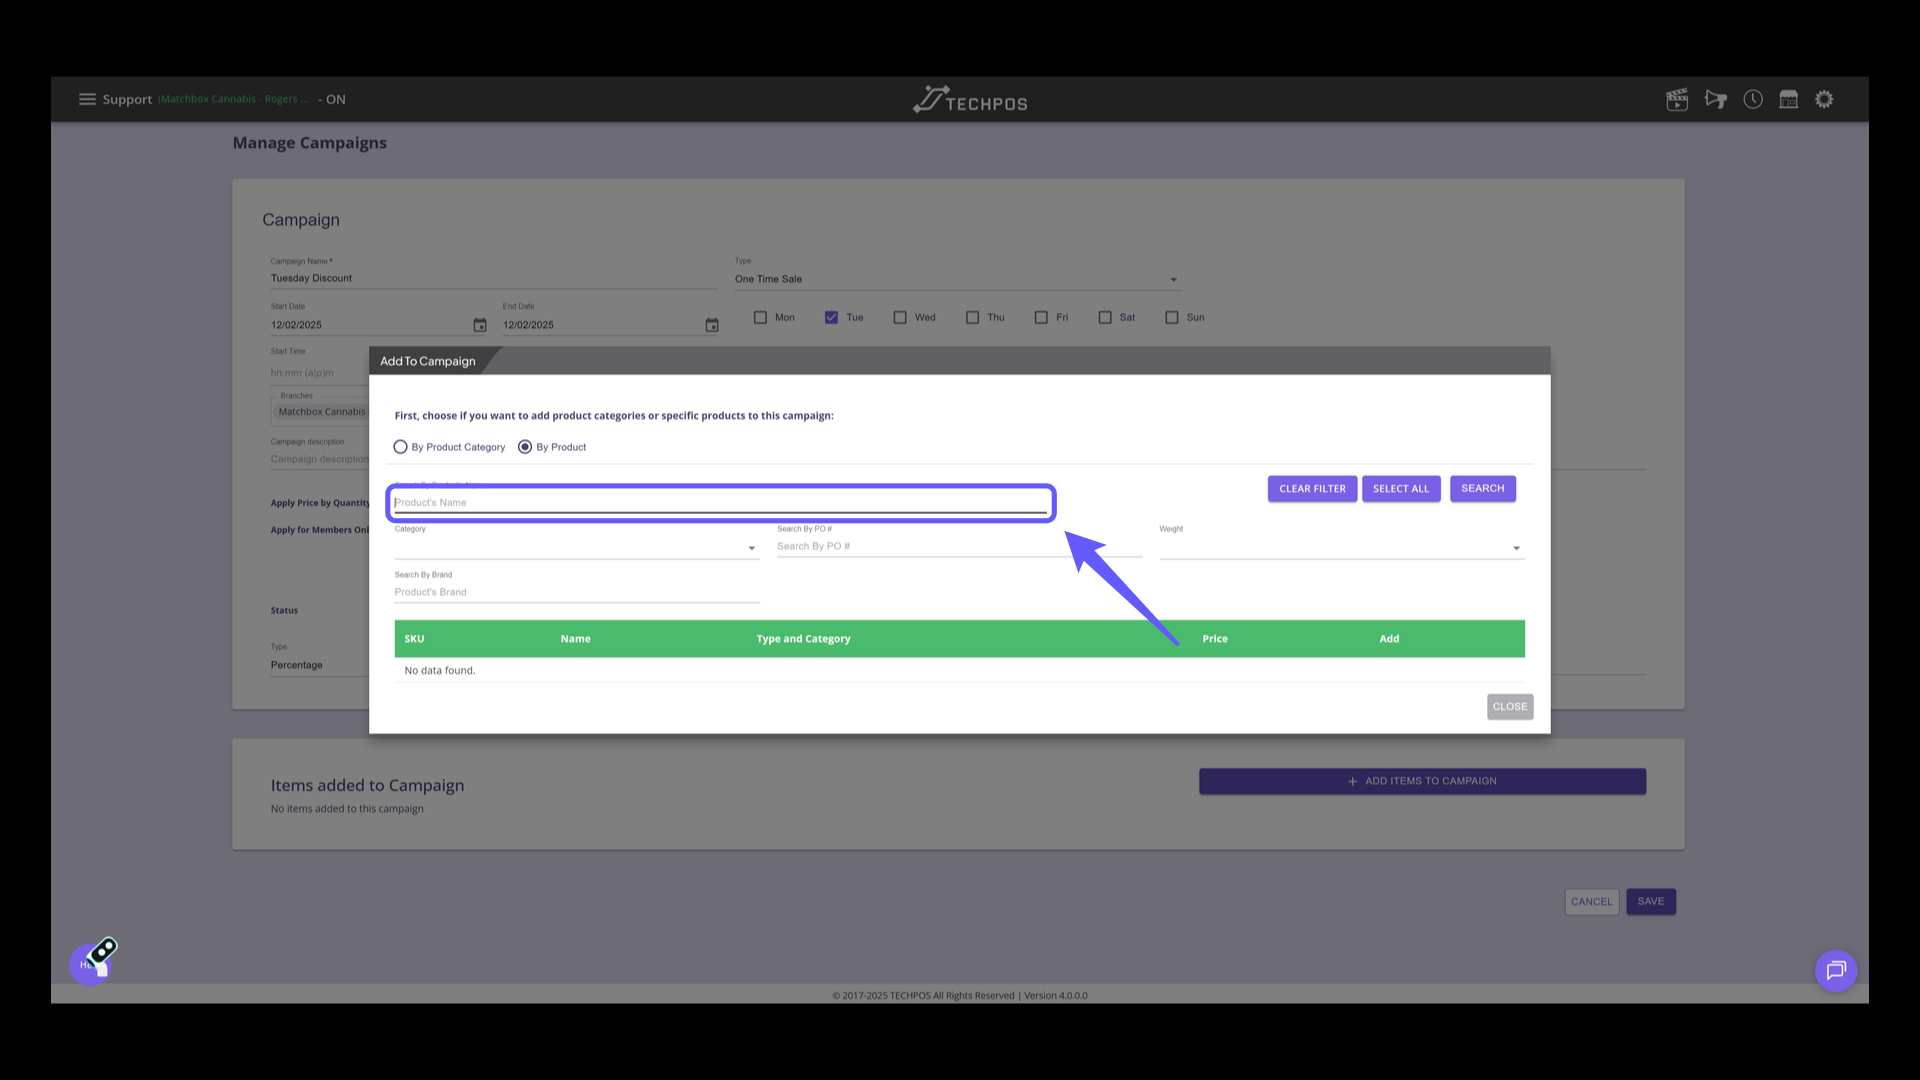
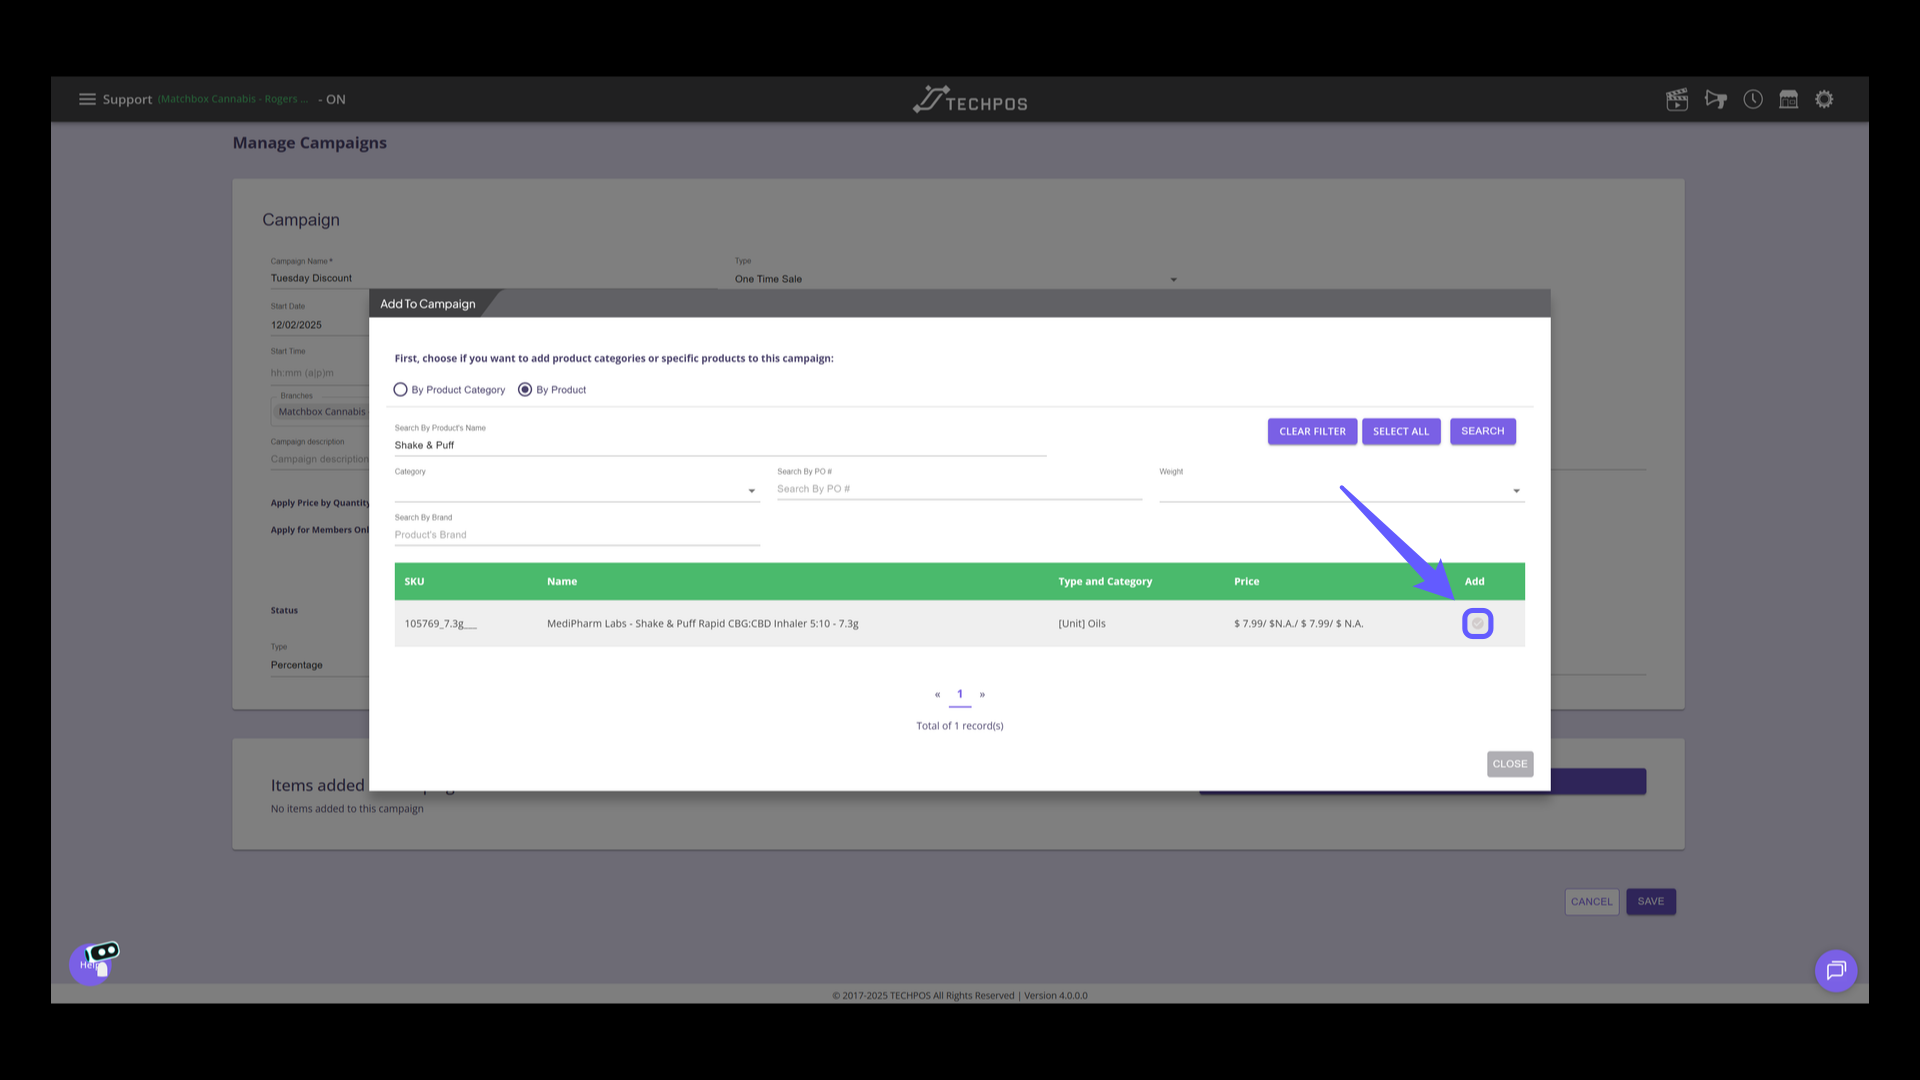
15. Search for Product
If adding by product, enter the product's name in the search box to find specific items.
16. Add Product to Campaign
Click the circular checkbox beside the product to include it in the campaign.
17. Close the Add to Campaign Panel
Select the 'CLOSE' button to exit the panel on adding products to the campaign.
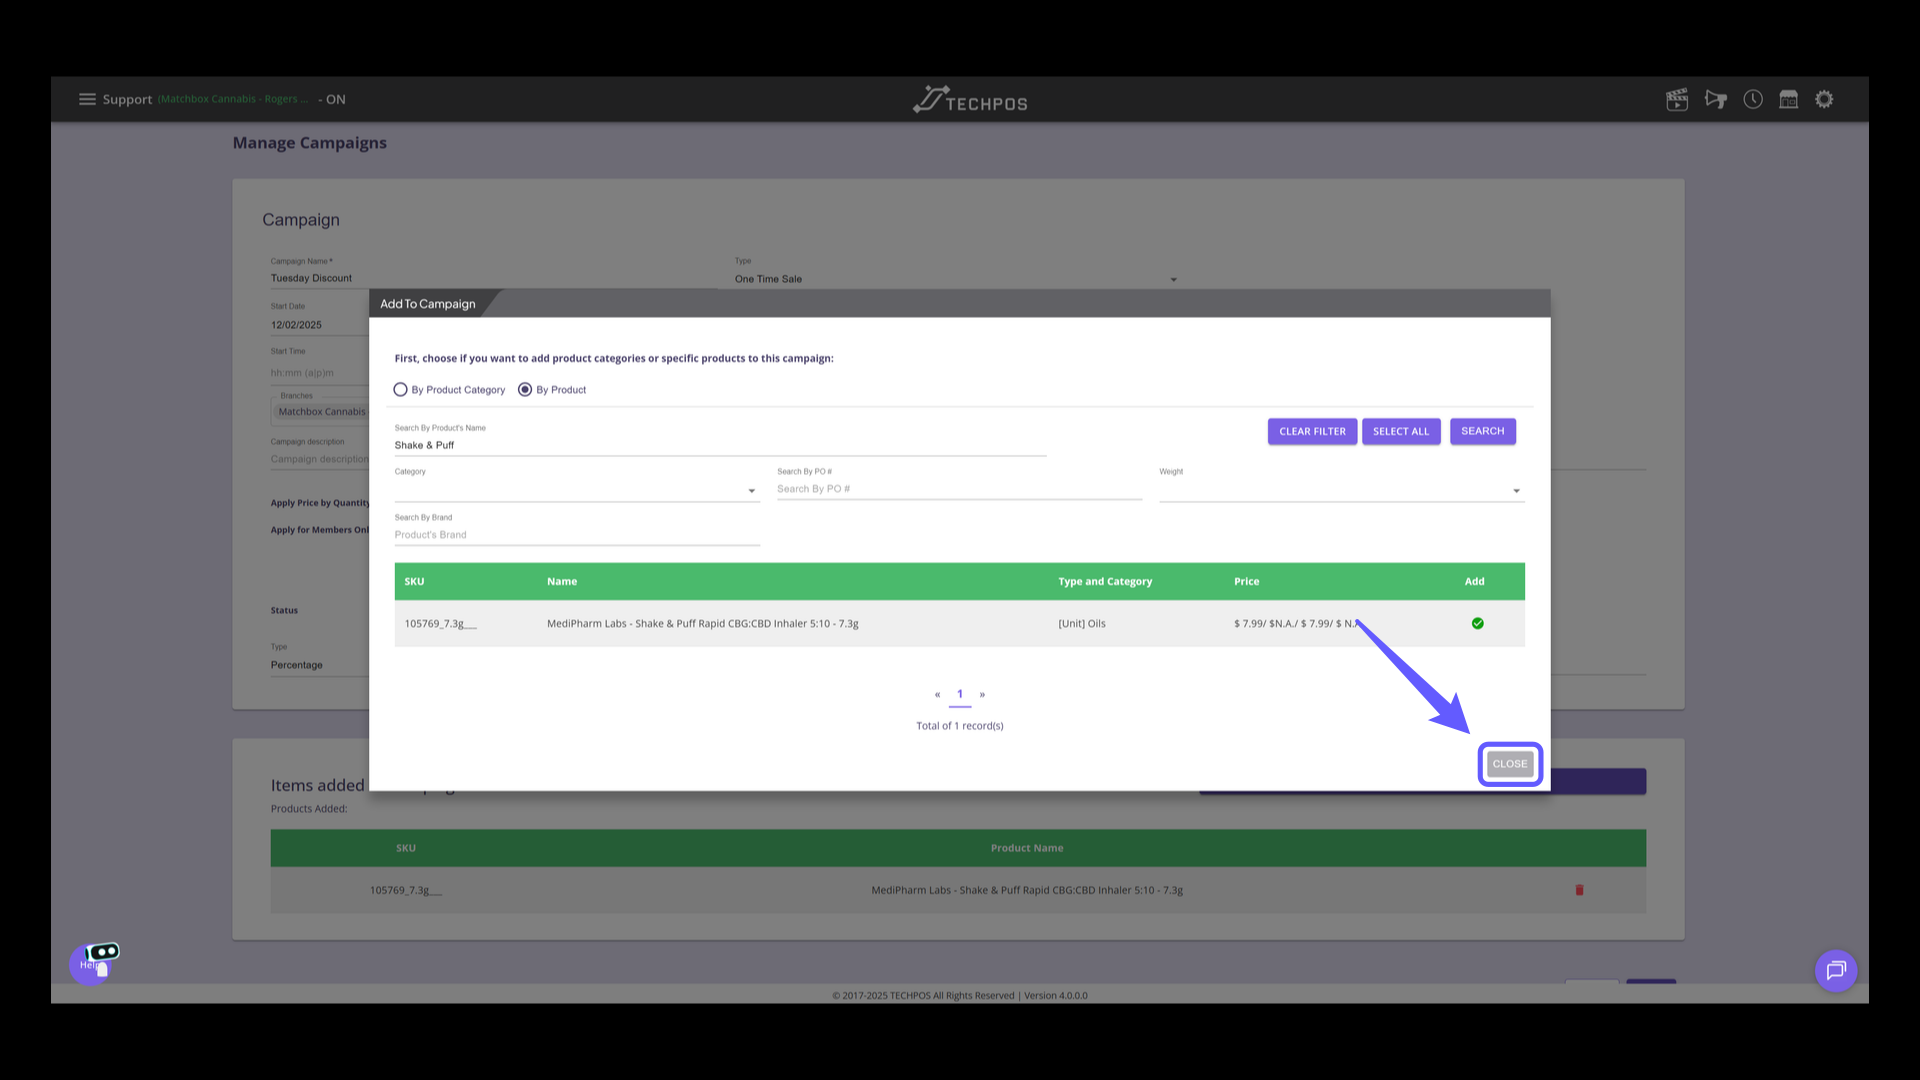
18. Save Campaign Settings
Click 'SAVE' to apply the changes made to your campaign settings.

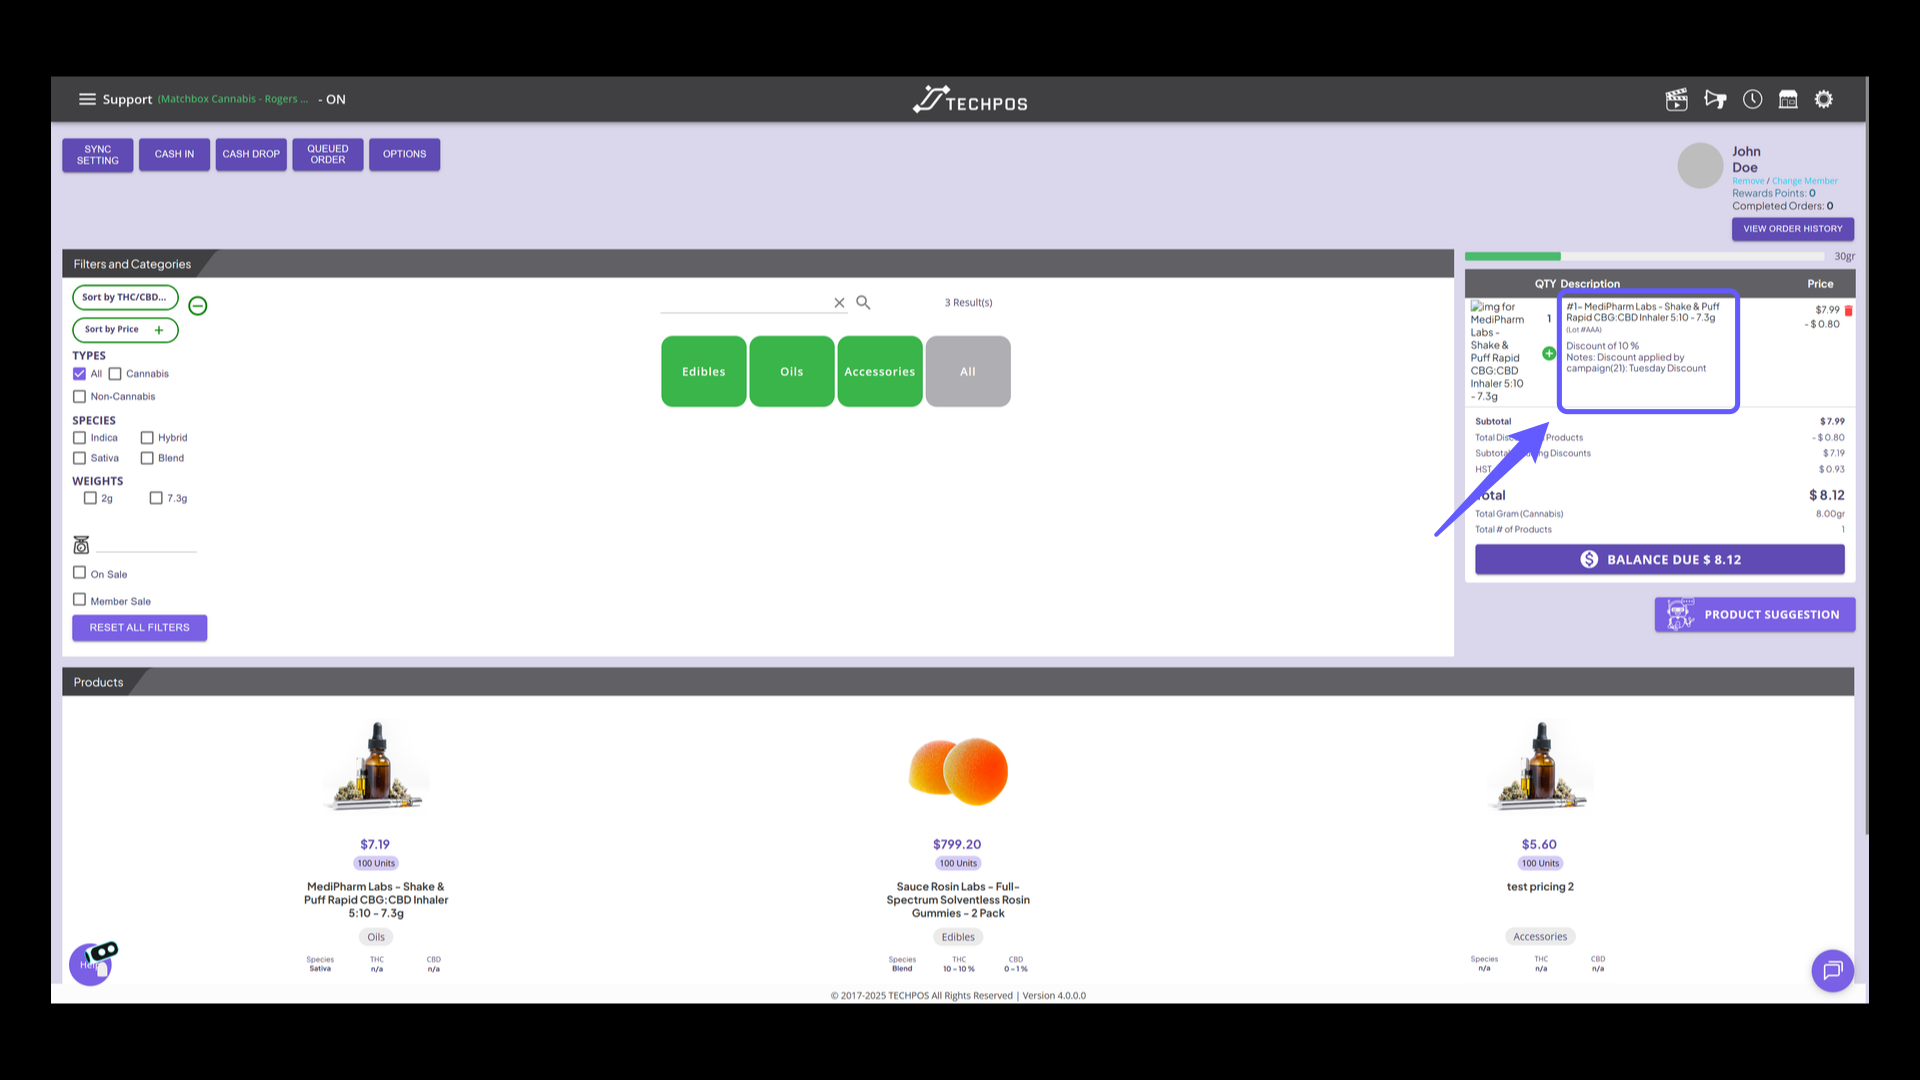
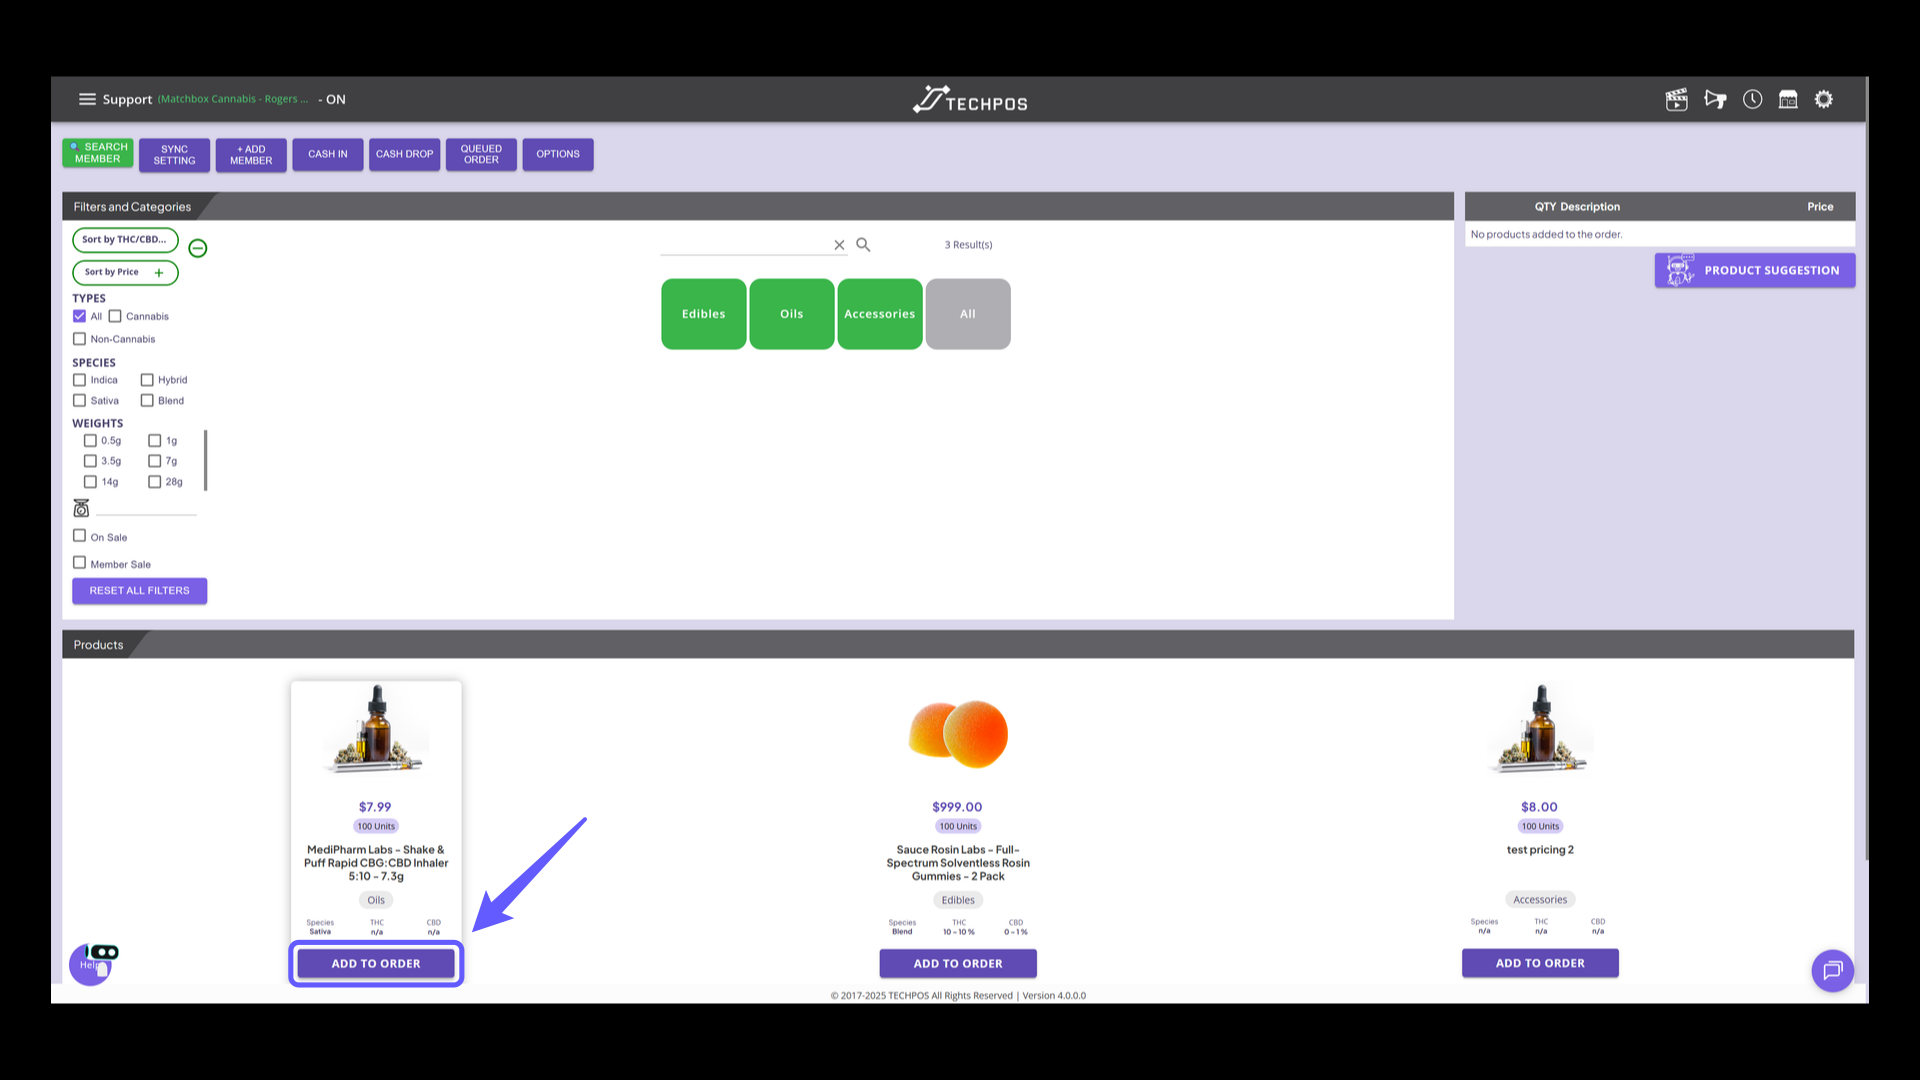
19. Processing Campaigns on the POS (Non-Member)
Based on the previous example of creating a campaign for specific group -- If no member is added to the cart, regular price is displayed. For example, the Share & Puff CBD Inhaler regular price $7.99.
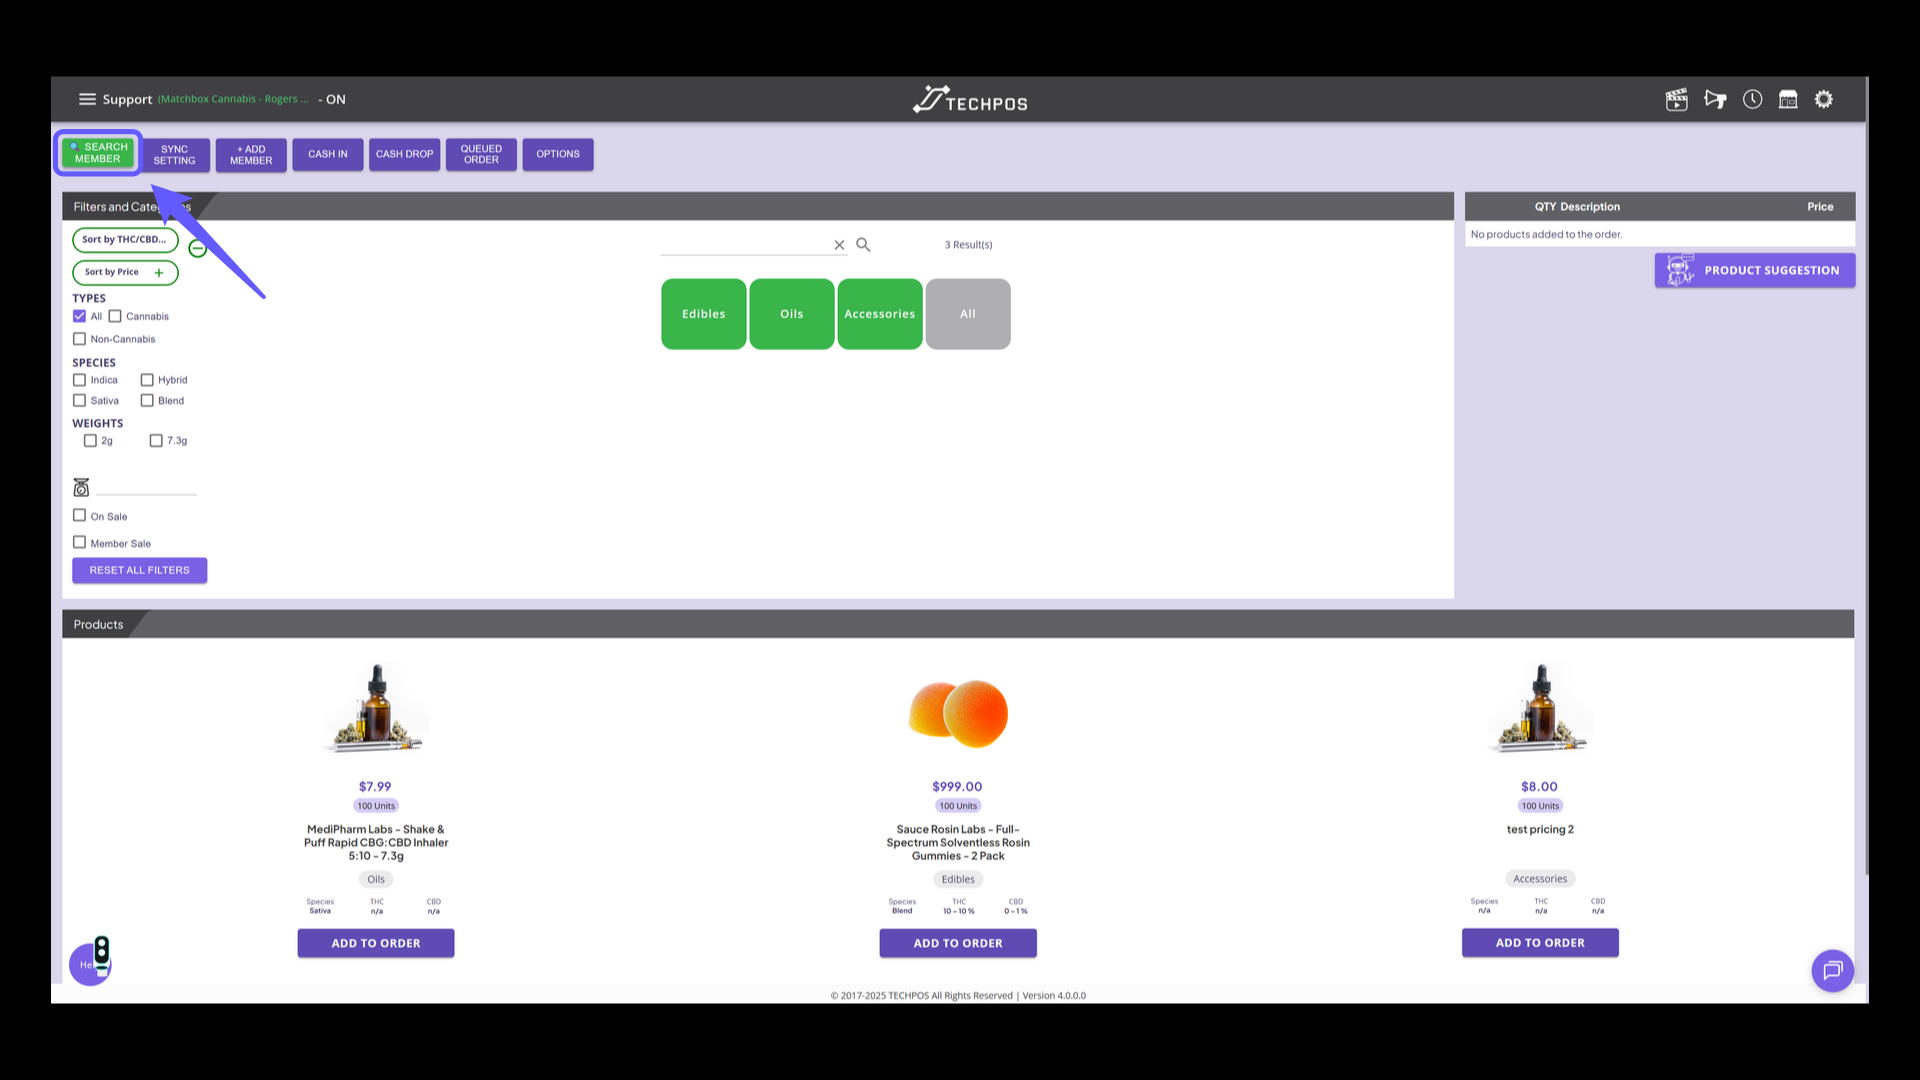
20. Processing Campaigns on the POS (Non-Member)
Now for members, campaign price is automatically applied. Click 'SEARCH MEMBER' to start searching a specific member in the system.
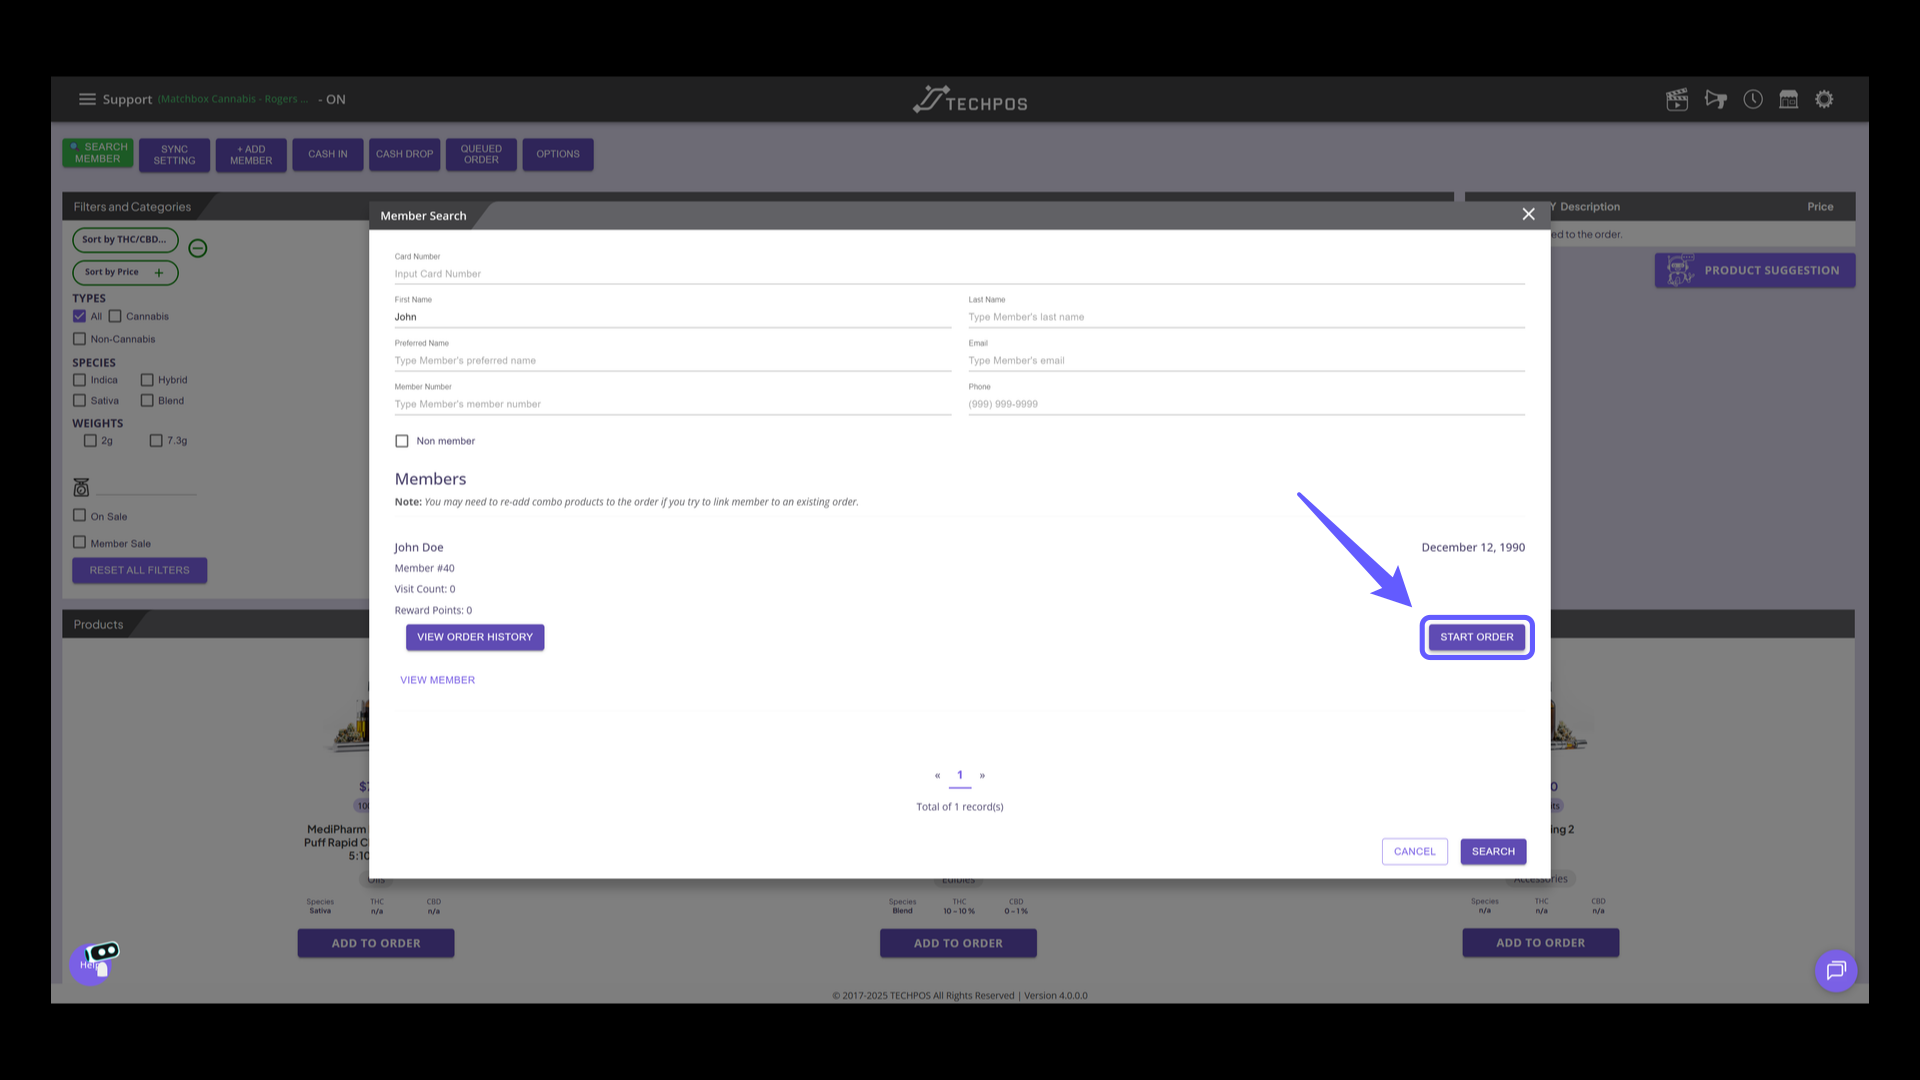
21. Attach Member to Order
Click 'Start Order' to begin processing the customer's order
22. Add Product to Order
Add the product to the cart. Now notice that with the member added, the campaign we set up earlier is now visible, as the current member is part of the member group campaign. Campaign price is automatically applied upon checkout.