This article will teach you how to preform an inventory audit with our inventory audit feature.
To create an Inventory Audit:
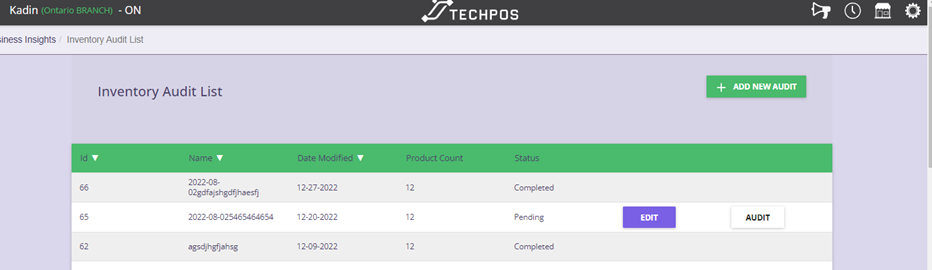
Step 1: Go to Menu > Inventory > Inventory Adjust

Step 2: Once on the inventory audit page you will select the add new audit button.
Step 3: You will need to give your audit a name we would recommend the date and the category you plan to audit.
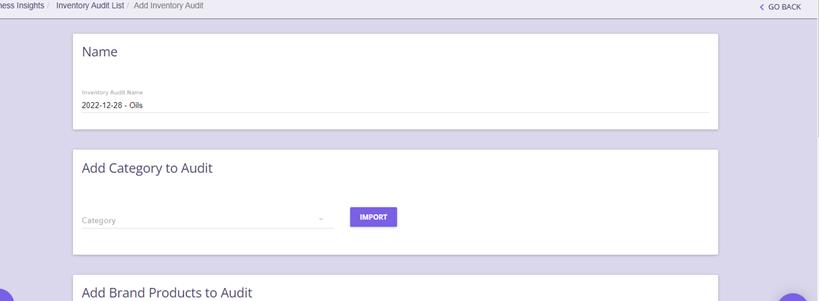
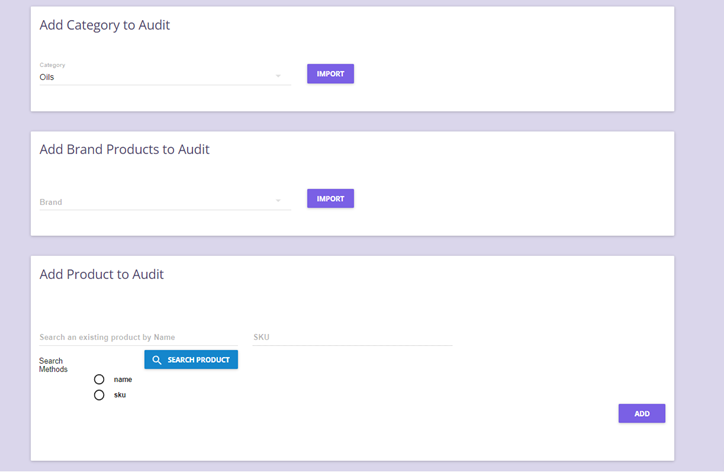
Step 4: Next select a category or brand to audit at a time. If you import in your entire product list it may be very overwhelming. Then hit the import button and this will pull in the products in your system under that category or brand. We also give you option to search and add items individually to your audit as well.
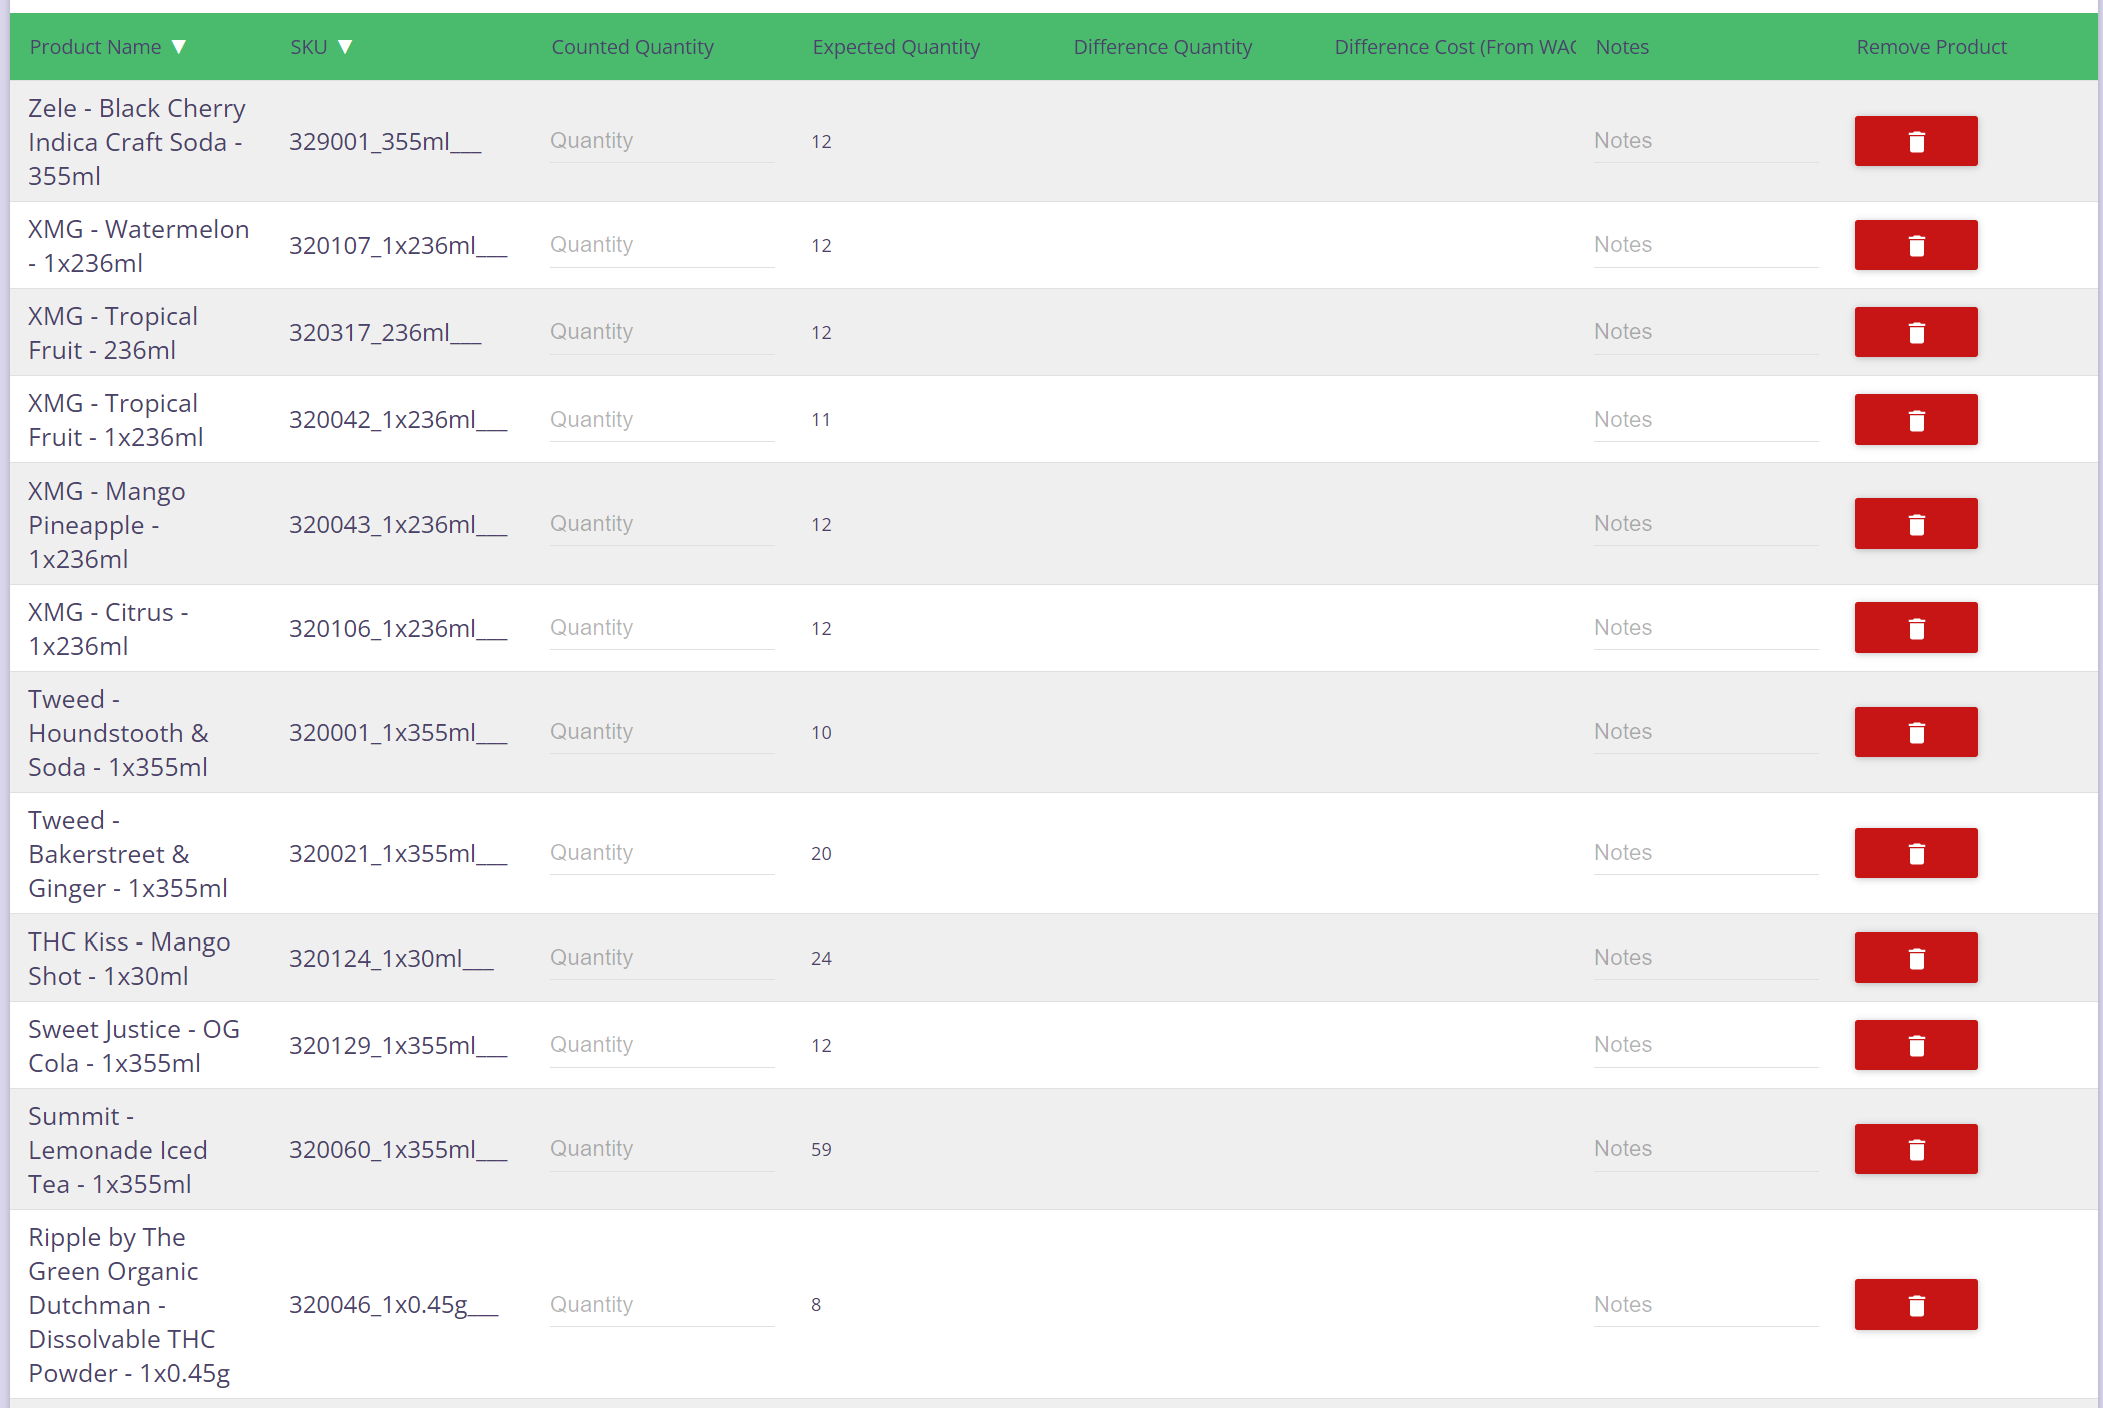
This will bring in a complete list of products you have in this category. It will show the Expected Quantity.
Warning: The Expected Quantity on the Inventory Audit will adjust based on the current Warehouse Quantity. If you have a Pending Inventory Audit then sold or added new Purchase Orders, the Excepted Quantity will adjust accordingly. This will adjust until the Inventory Audit is marked Completed.
To Complete the Inventory Audit:
Step 1: Enter the Counted Quantity. Adjust button will show up when the Expected Quantity does not match the Counted Quantity.

WARNING: The system does not automatically do the adjustment when you enter the Counted Quantity. You need to click on the Adjust button, then proceed with the adjustment.
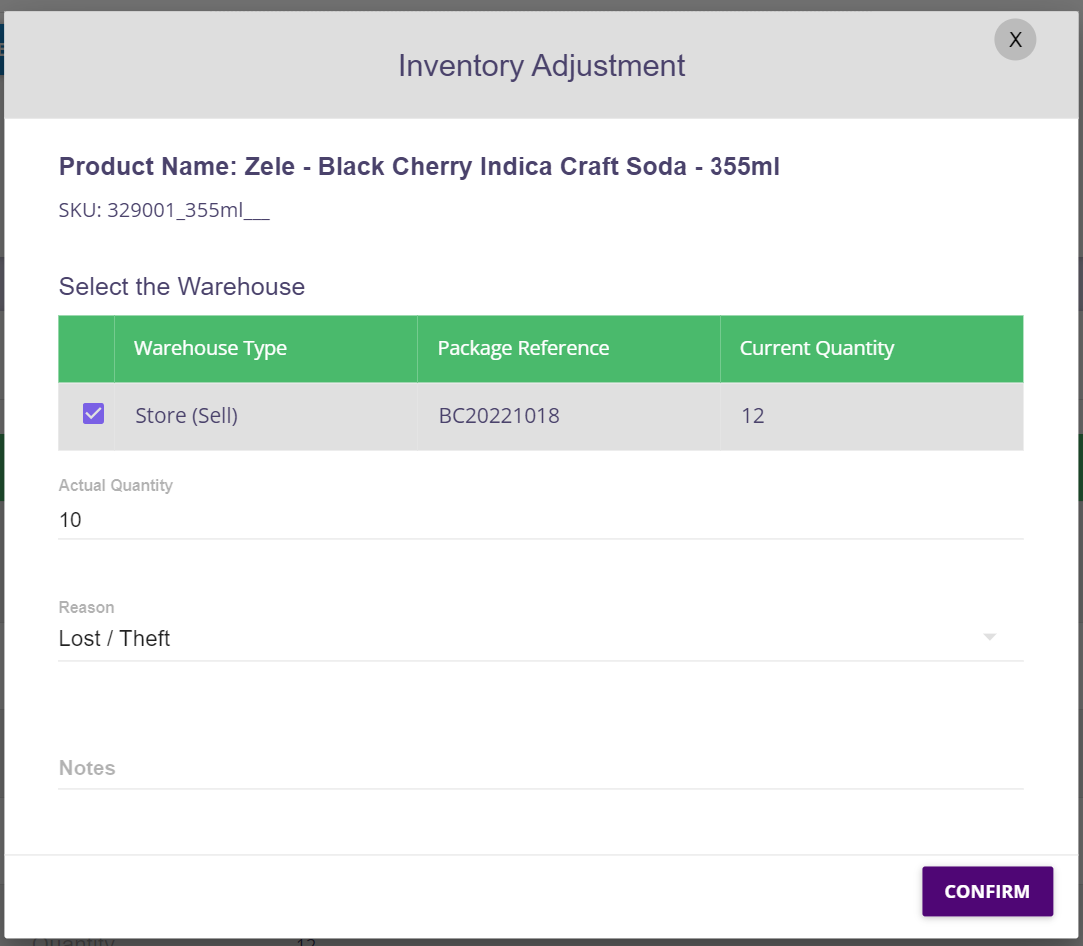
Step 2: Click on Adjust button and proceed with the adjustment. To change your inventory level you need to select the lot number and make the adjustments.
Step 3: Enter the Actual Quantity and Reason, then confirm.
Step 4: Now that the adjustment is done, it will now display the same quantity for Counted and Expected. Follow the steps above for the remaining products.

Step 5: Once you have made all needed adjustments hit complete and be done your audit.
Once the Audit is marked completed, no further changes/adjustments can be done:
