- Click here to download the driver software for the printer.
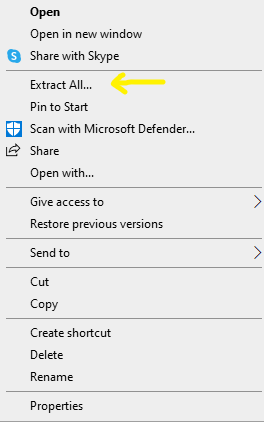
- The downloaded file will be a .ZIP file. Right click and select "Extract All"
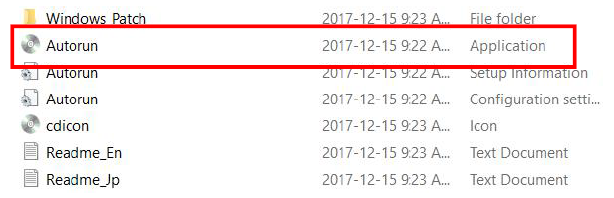
- Double click the unzipped file then double click Autorun.
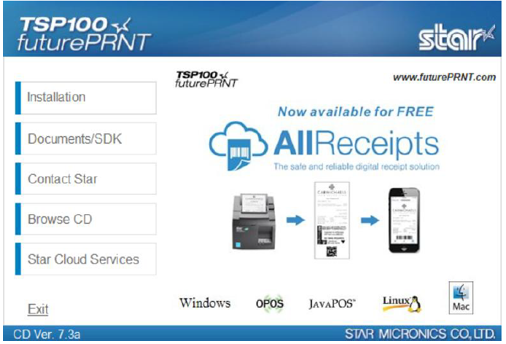
- Click on Installation. Give this a moment, it will sometimes look like nothing is happening but it will start in a few seconds.
- Read and accept the Installation Agreement
- If prompted, provide admin credentials.
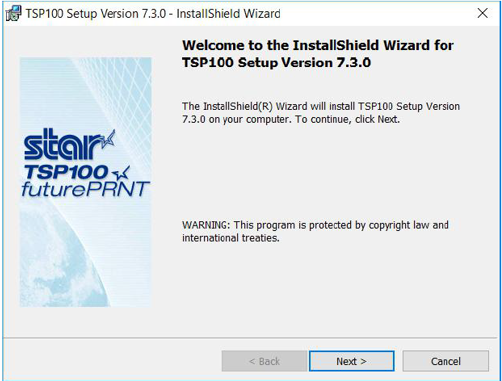
- The installation wizard should pop-up now, click on next
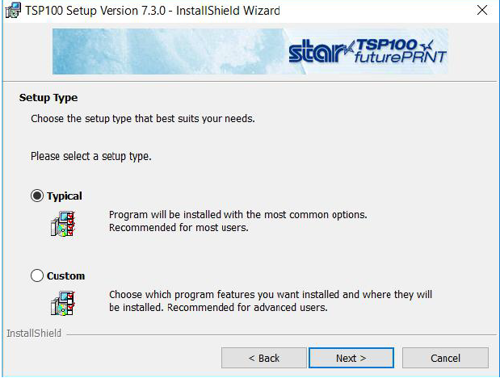
- Typical Installation is selected by default, leave that as it is and click on next.
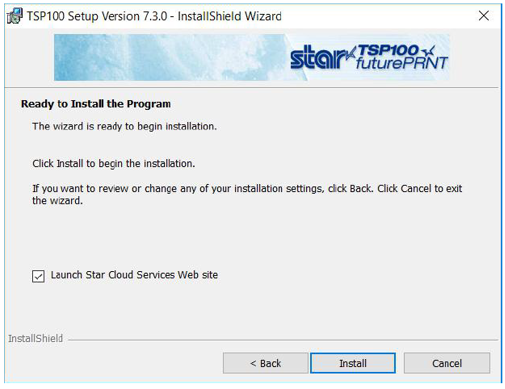
- Click on Install to begin with the installation.
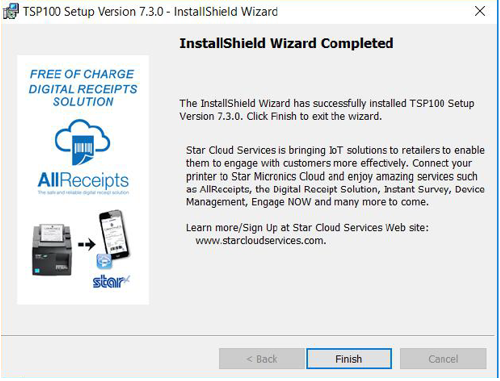
- Wait for the installation to complete and click on Finish when it's done.
- Restart the computer (while the printer is still disconnected)
- Once the computer is back up, plug in the printer (via USB cable) and turn it on.
- Open Windows Menu and type "Printers & Scanners" and click on the app with that name.
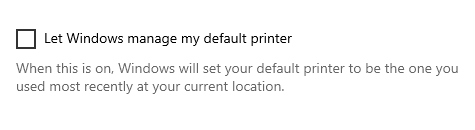
- Scroll down and ensure the "Let Windows Manage My Default Printer" checkbox is NOT selected.
- Next, click on the TSP100 and select "Manage"
- In the window that pops up, select "Set as Default"